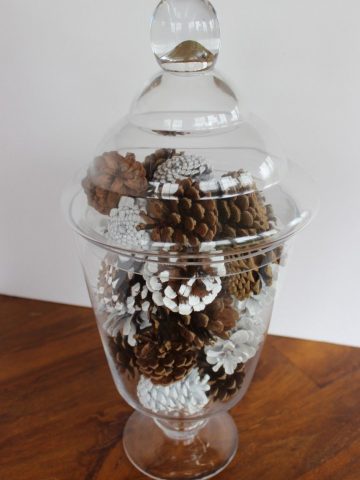
I love pinecones. I especially loved seeing the painted pinecones! The first time I painted them was in 2014! These white-painted pinecones are pretty mixed in with natural pinecones. If you happen to have everything in your house/yard, this can be a totally free craft!

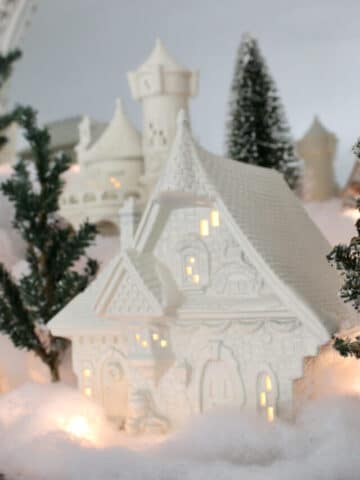
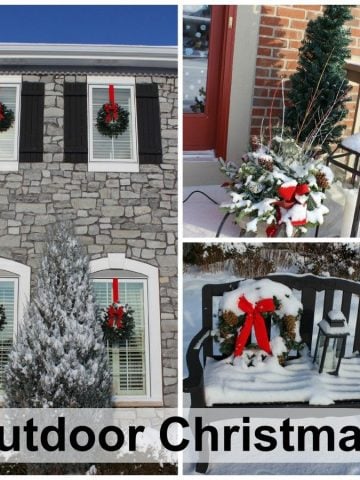
If you are embracing a white theme for your decor, take a look at how I painted my Christmas houses white! I love these little white houses in my Christmas village with a more modern look! Here are some more Easy Homemade Ornament ideas as well.
Why I love these
They are a simple way of decorating using a natural element. I like to always have things from the outdoors brought inside. These look beautiful mixed in with natural unpainted pinecones!
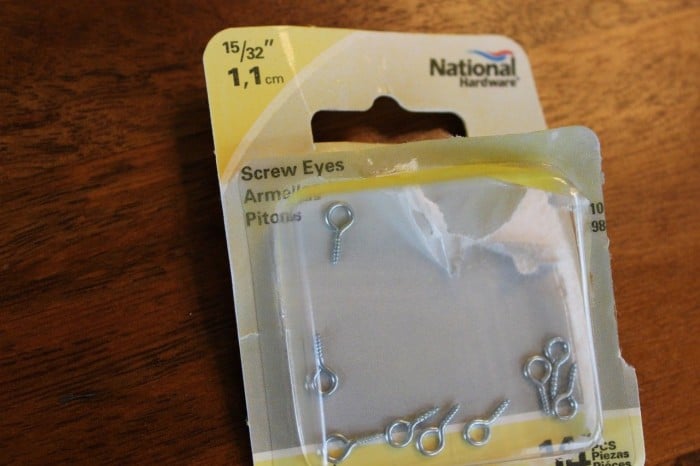
Supplies
White paint
Thin flexible wire (like florist wire)
Like many crafters, I had a quart of bright white paint, most unused.
Instructions
I did get some florist wire. Any color is fine since you are only using this to hold onto the pinecone when you dip it and dry it. You do want the wire and not string because those little pinecones get awful heavy when they have a ¼ of the paint in the can hanging on them initially. I'm not kidding, either. Those things get heavy!
The first and most important step is ensuring the pinecones are very dry. I put tin foil on a baking sheet and then spread a single layer of pinecones on it. I put the oven at 200 degrees, leave it on for about 10 minutes, then turn it off. Do not open the oven door, and let the pinecones stay in the oven until the oven is cool. I usually just leave them overnight.
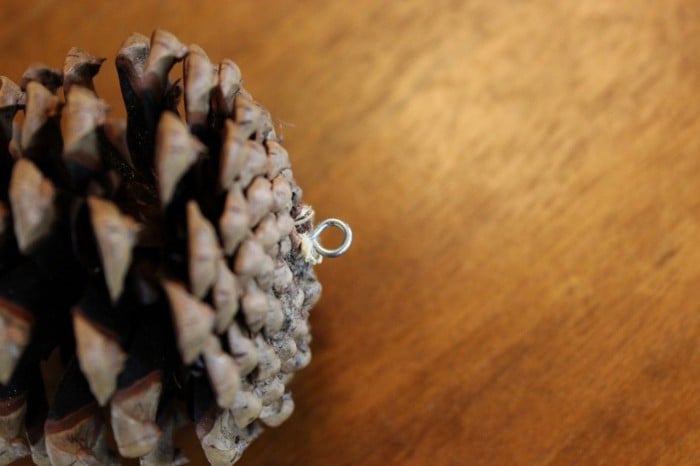
Next, I screwed the eyes crew into the bottom of the pinecone. It's a little harder than you expect, but once you get the threads to bite, it's easy to twist them in. Be warned, your finger and thumb get sore doing this. Next time I do this, I will predrill the hole.
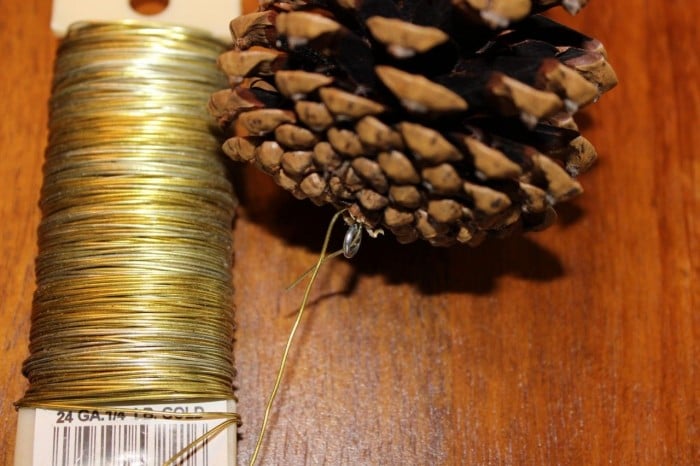
A piece about 7 inches long (no need to be exact!).
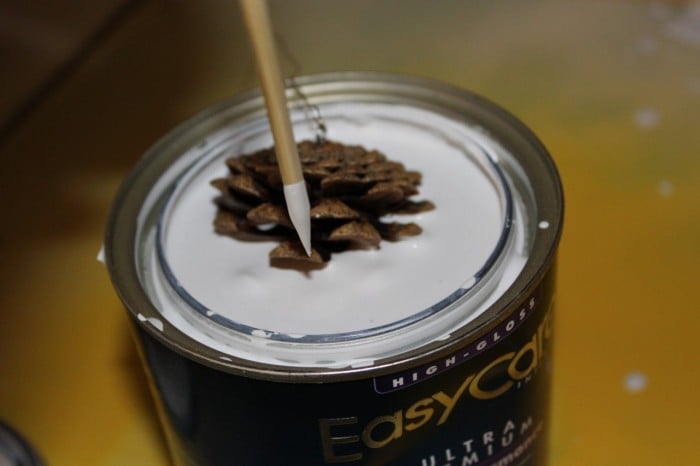
Keep in mind that wood floats. And the paint is thick. I used a wooden skewer to push the pinecone into the paint so that it was totally immersed.
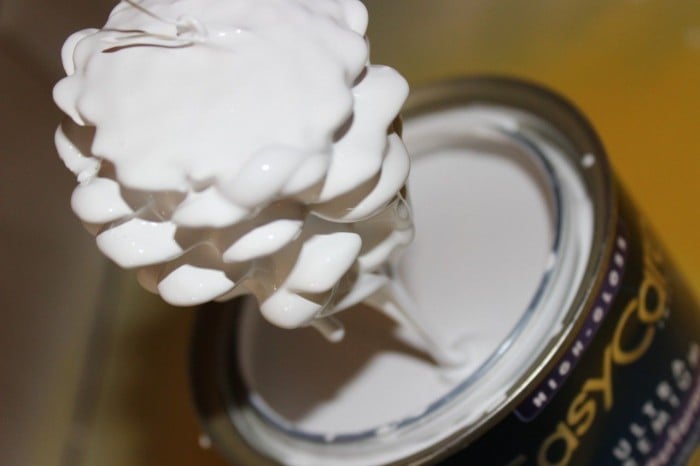
You need to be very patient when you wait for the paint to drip off. Or, like me, wait about ½ minute and then hang it and let it drip away!
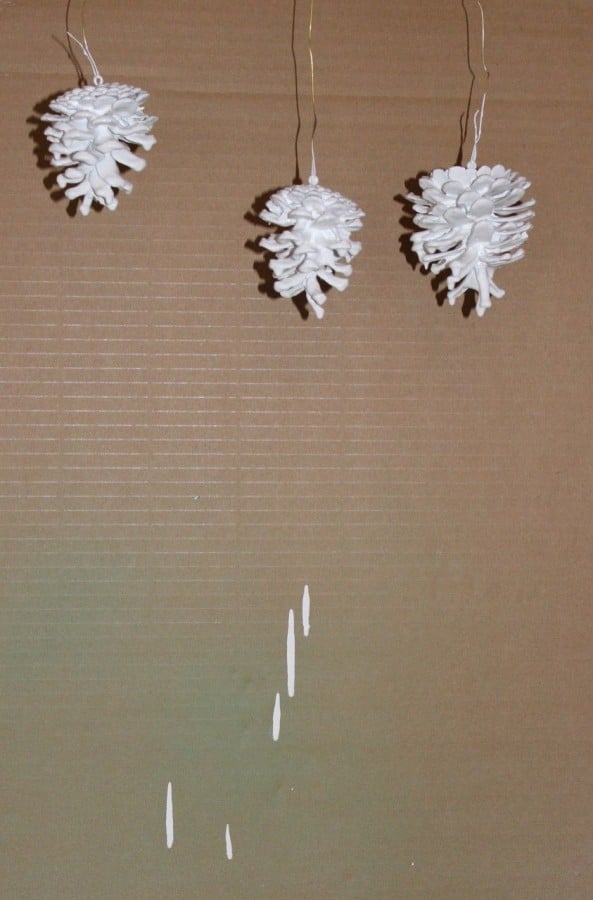
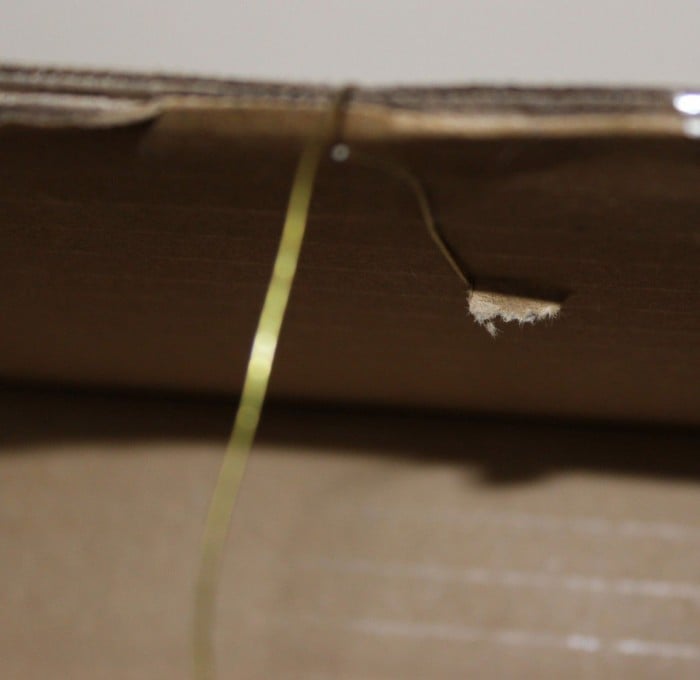
All I did was have them hang off the side of a box. I poked a hole with a screwdriver and then fed the florist wire through. Make sure to give it a little twist so the pinecone doesn't fall off.
Pinecone Decor
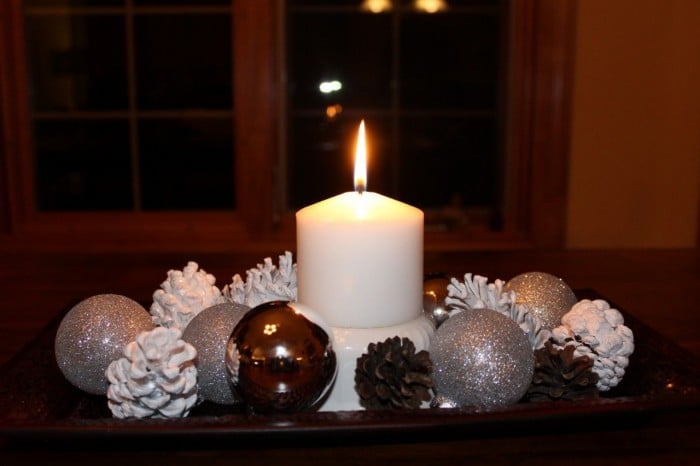
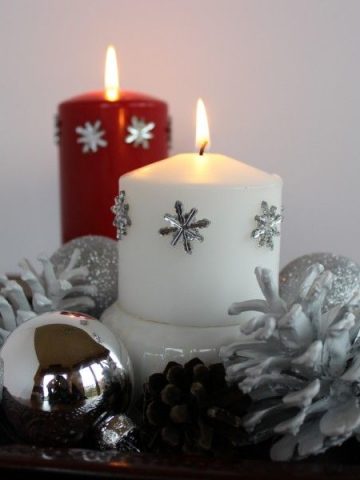
These painted pinecones look so pretty in a bowl or on a tray as a centerpiece. Of course at Christmas, I put them with some sparkly silver ornaments.
There are so many uses for these white pinecones! Keep in mind that you have the eye screw, so can easily put an ornament hook in it. I will put some on my tree and hang some on my garland.
I might try making different colors in the spring and use the painted pinecone flowers to make a pretty wreath. I'll share soon!
FAQs
That can be one of two issues. The pinecones are not dry enough, and the close because of the wet paint. The other issue is that some kinds will just naturally close when dipped in the paint. Make sure you do let as much paint come off as possible. Essentially, they can be painted closed if you don't let the paint come off.
I would do a test of a couple before doing a whole bunch.
I do like the closed-painted ones too!
Yes! I've bought very similar to these. This is my favorite type of shape.
Online pinecones.
Other Christmas Crafts
Initially published Nov. 13, 2014

Melanie
Love the white pine cones. Have you tried to sprinkle some glitter on over the white line one like red and green glitter for Christmas.
Anonymous
Thank you for instructions.
Debbie
Theses are amazing Thankyou so much for sharing them with us , I most definitely will be making these this Christmas
Deborah
Your directions look flawless, thank you!
Sarah
I used this method exactly a few years ago (great minds!) I used oil paint and the pinecones did NOT close when wet...they did take FOREVER to dry completely.
Michele
My dipped pinecones have been sitting for 12 hours and they have closed up tight. Even if they reopen, the paint will be all messed up in the inside. This dipping thing is ridiculous. I'm going to try light coats with spray paint keeping the core as dry as possible and see if that works better.
Anonymous
Seems like a waste of paint.. Why not just use spray paint?
Patti
Great easy tip. Wonder what they would look like in gold or burgundy.
Angela
Did you have a problem with the pinecones closing up after u painted them? I dipped mine when they were open, then they closed and sat in the sun in 90 degree heat all day and have not reopened. Is there something I need to do different?
momcrieff
Some did close but most didn't. Did you bake them before you dipped them? I think that helps.
Lynne Harrison
Liked this very much. Very informative and easy to follow.
Thanks.