A couple of years ago, I decided to grow my vegetables and herbs using raised garden beds. Since these raised metal garden beds would be visible from the street, they needed to look nice and organized. I also needed them to be durable because I was tired of replacing wooden raised beds.
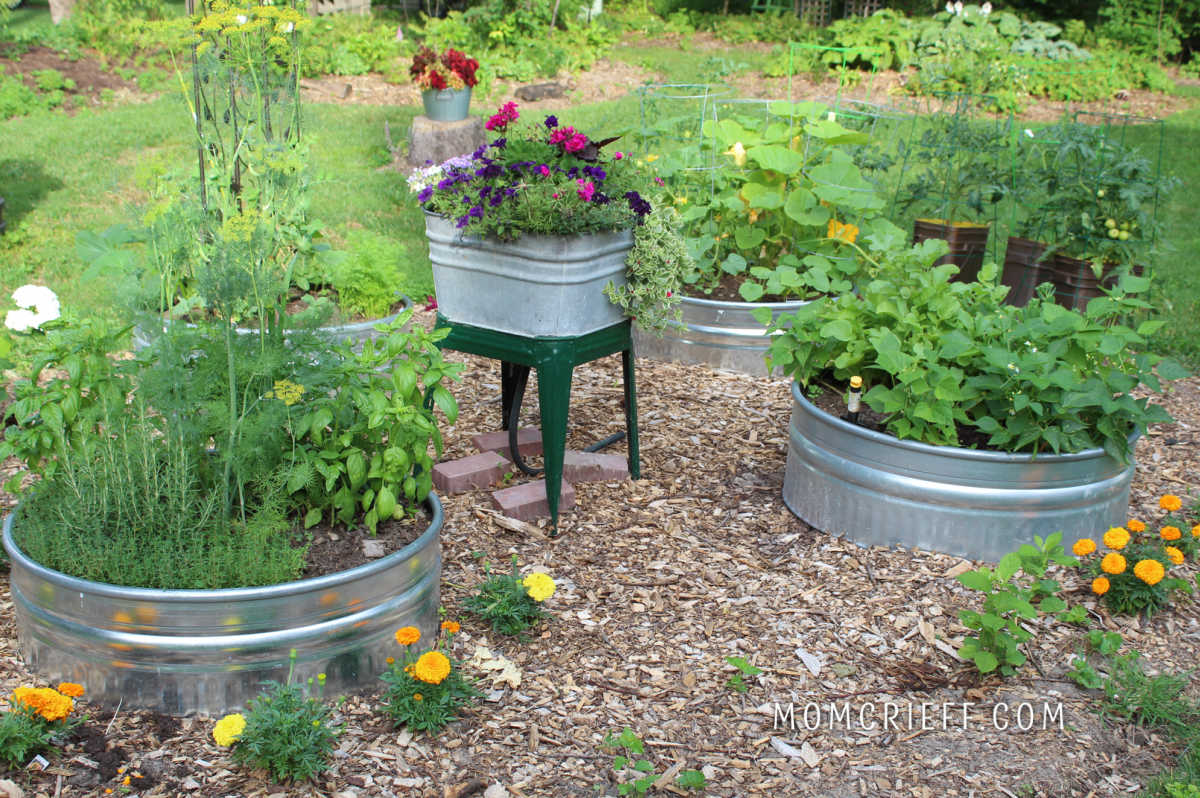
Table of contents
- Options for Raised Metal Garden Beds
- Retail Purchased
- Stock Tanks
- Galvanized Tubs
- Campfire Rings as Metal Raised beds
- Location for your Raised Beds.
- Why I needed Raised Gardens
- Gardening near black walnut trees.
- Ease of gardening with elevated beds.
- Controlling weeds
- They look nice!
- Amount of sun needed.
- Where I put my garden - the "before"
- The Planning and Organizing
- Alternatives and inexpensive raised garden bed ideas.
- Cheap way to fill raised bed
- What to grow in your raised garden beds.
- What to put around raised garden beds
- Raised flower beds ideas
- FAQ's
Options for Raised Metal Garden Beds
Retail Purchased
I looked online and there were quite a few companies selling metal raised garden beds. These are the types of raised metal beds I was looking at. To be fair, they have become less expensive now vs. what they were a few years ago.
It was almost planting time and I had a lot of work to do. Then I noticed all the nuts and bolts that had to be attached to put the metal beds together. Nope - not a fan. Plus, it looked like many needed internal supports so the sides didn't buckle and some of the edges looked sharp. I passed on those.
Stock Tanks
Then I looked at purchasing large stock tanks. They look solid and are large. My issue was I was never going to be able to load them in a car and get them home. I decided not to use the large farm type stock tanks for my yard. I was not looking forward to trying to drill drainage holes in those.
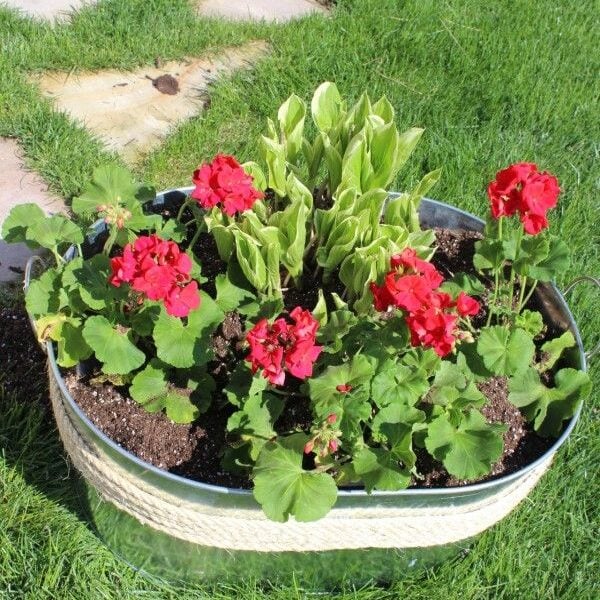
Galvanized Tubs
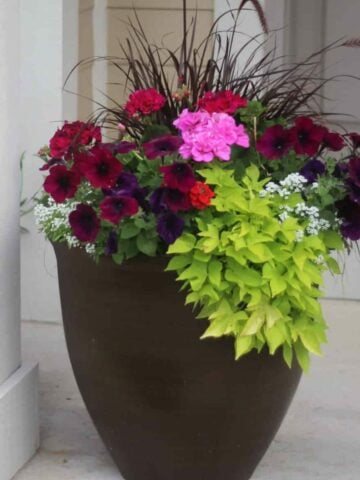
I did, however, love using galvanized tubs for planters! That worked well, as long as there were holes drilled for drainage. The tubs were smaller and I would have needed so many of them. Here is what one of my planted tubs looked like.
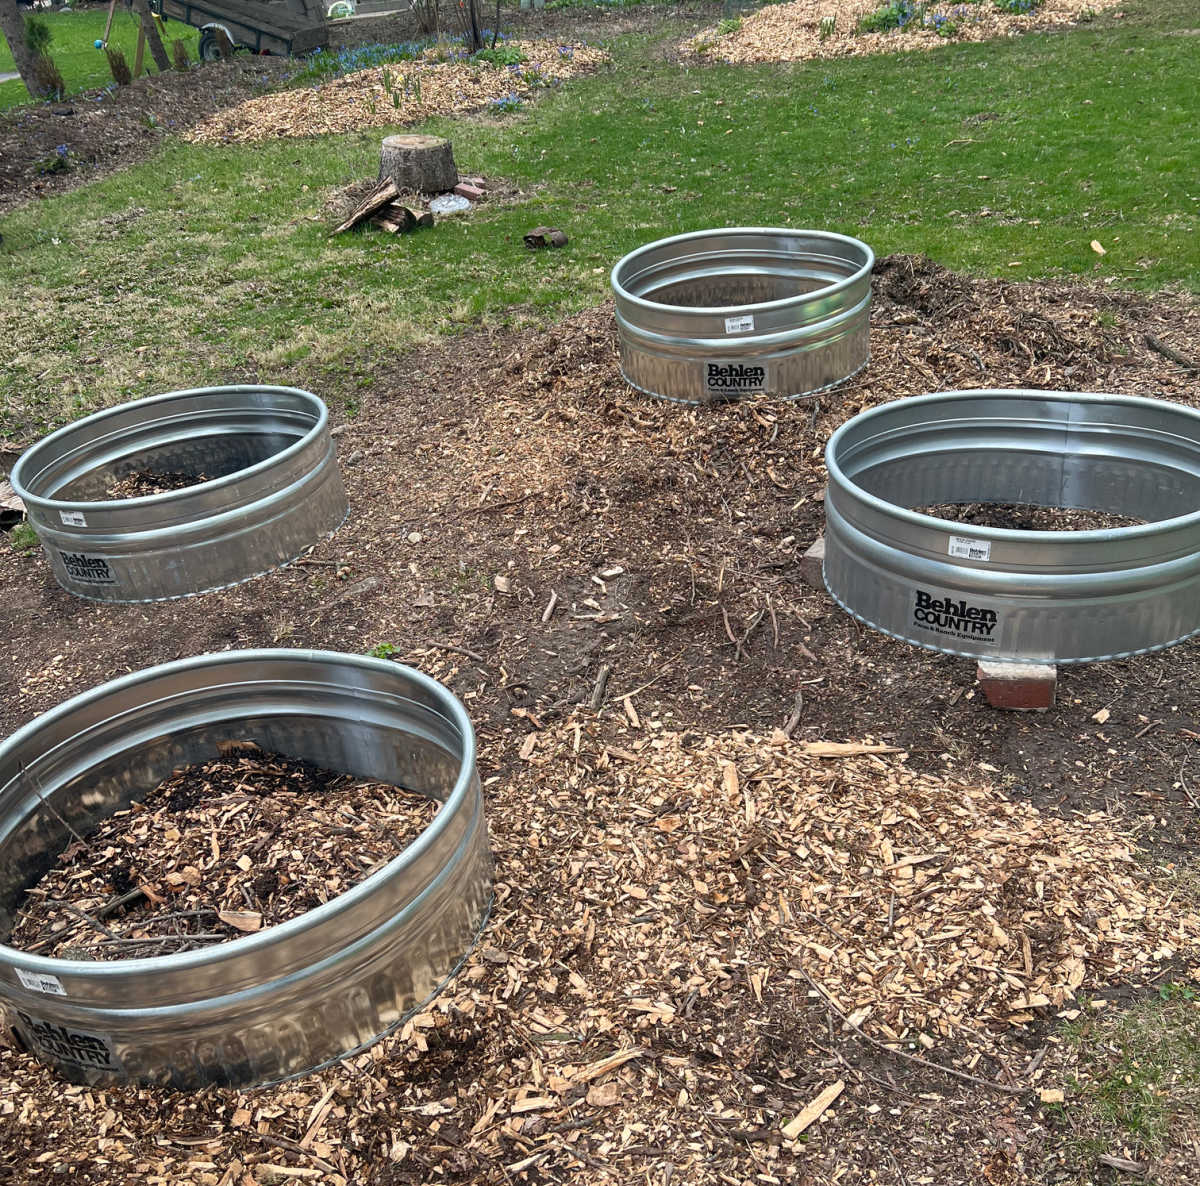
Campfire Rings as Metal Raised beds
Three years later, and I still love them! I bought the thicker metal ones with a rolled top. That makes them both sturdy, and there is less of a chance to injure yourself on a sharp metal edge. They are moveable and don't need assembly, and there is no bottom, so I didn't need to drill deep holes into the metal.
A significant need is the ability to relocate the whole garden bed in a few years. My hope is that I can do a huge landscape redesign in the future. But in the meantime, my yard and garden need to work for me
Location for your Raised Beds.
The three main things plants need to thrive are the appropriate soil, the correct amount of sun, and water (just the right amount - not too much, not too little). I give some great tips on watering in this How to Water your Plants post.
Why I needed Raised Gardens
Gardening near black walnut trees.
I have a huge walnut tree in my backyard. Many of my garden plants would not grow well in my soil because of the chemical called juglone. Black walnut trees excrete this through their roots. Tomatoes are one of the primary plants I wanted to grow and they are the most affected by this chemical. With raised beds, you can control the soil that you are planting in. If you have black walnuts in your yard, here are some things that grow well under black walnut trees.
Ease of gardening with elevated beds.
Raised beds are easier on your back and easier to maintain. Although my beds are only just over a foot high, they made a huge difference in comfort while planting, weeding, and harvesting. Specifically, when reaching down for these tasks, it's not as far. When sitting, you can reach over vs. always down. Because I can control the soil I put in, it is way less weedy. Raised garden beds have just made gardening so much easier, enjoyable, and way less of a chore.
Controlling weeds
I know I mentioned weeds already, but they are a challenge! It is so much easier to control weeds in smaller designated spaces. Plus, when starting with a clean slate, you aren't fighting with established perennial weeds. My weeding chore went from a dreaded job to something I just did as I do during my morning walk around my yard.
They look nice!
I have to admit I spent way more money on raised beds than I would have if I would have just planted in the ground. I like my yard to look nice and orderly and my garden is visible from the street. I wanted it to look pretty!
Amount of sun needed.
My home is 100 years old and I have some giant trees in my yard. That makes it very shady because of the tree canopies! I have visually followed the sun around my yard for a couple of years through the different seasons. This year was the first year that I thought I could have a good vegetable garden. It was because I just had a large tree taken down by my arborists.
I found watching arborists work fascinating. As a little aside, take a look at this post, Tree Pruning - Why to use an Arborist, if you find it interesting too!
After removing a tree, I had a spot with enough sun to establish a garden. When you are determining the hours of sun you have, keep in mind that in the spring, it can seem like you have more. I live in zone 5, and many of my trees lose all their leaves in the winter. My trees fill in come spring, and all of a sudden, where I had a whole day of sun, I had maybe an hour. In my experience, you want more than 6 hours of sunlight to grow a healthy vegetable garden. Closer to 8 hours is better.
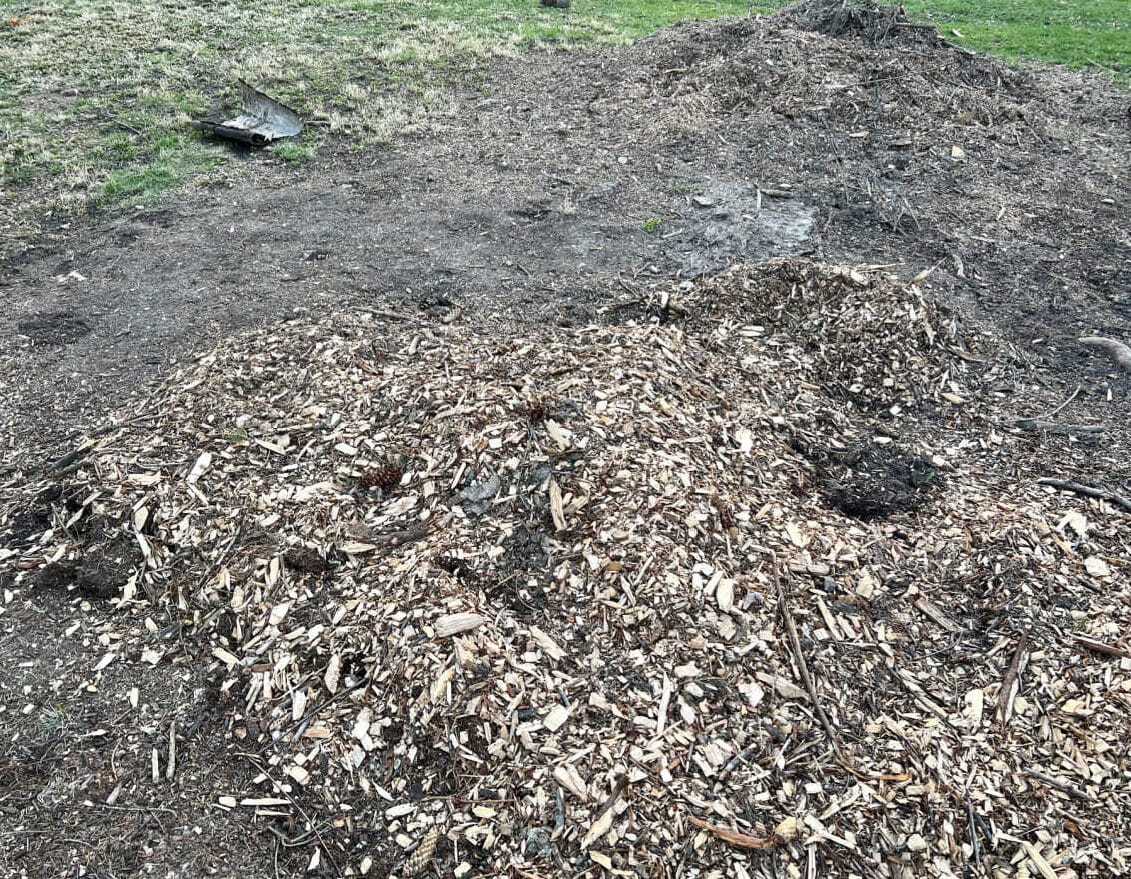
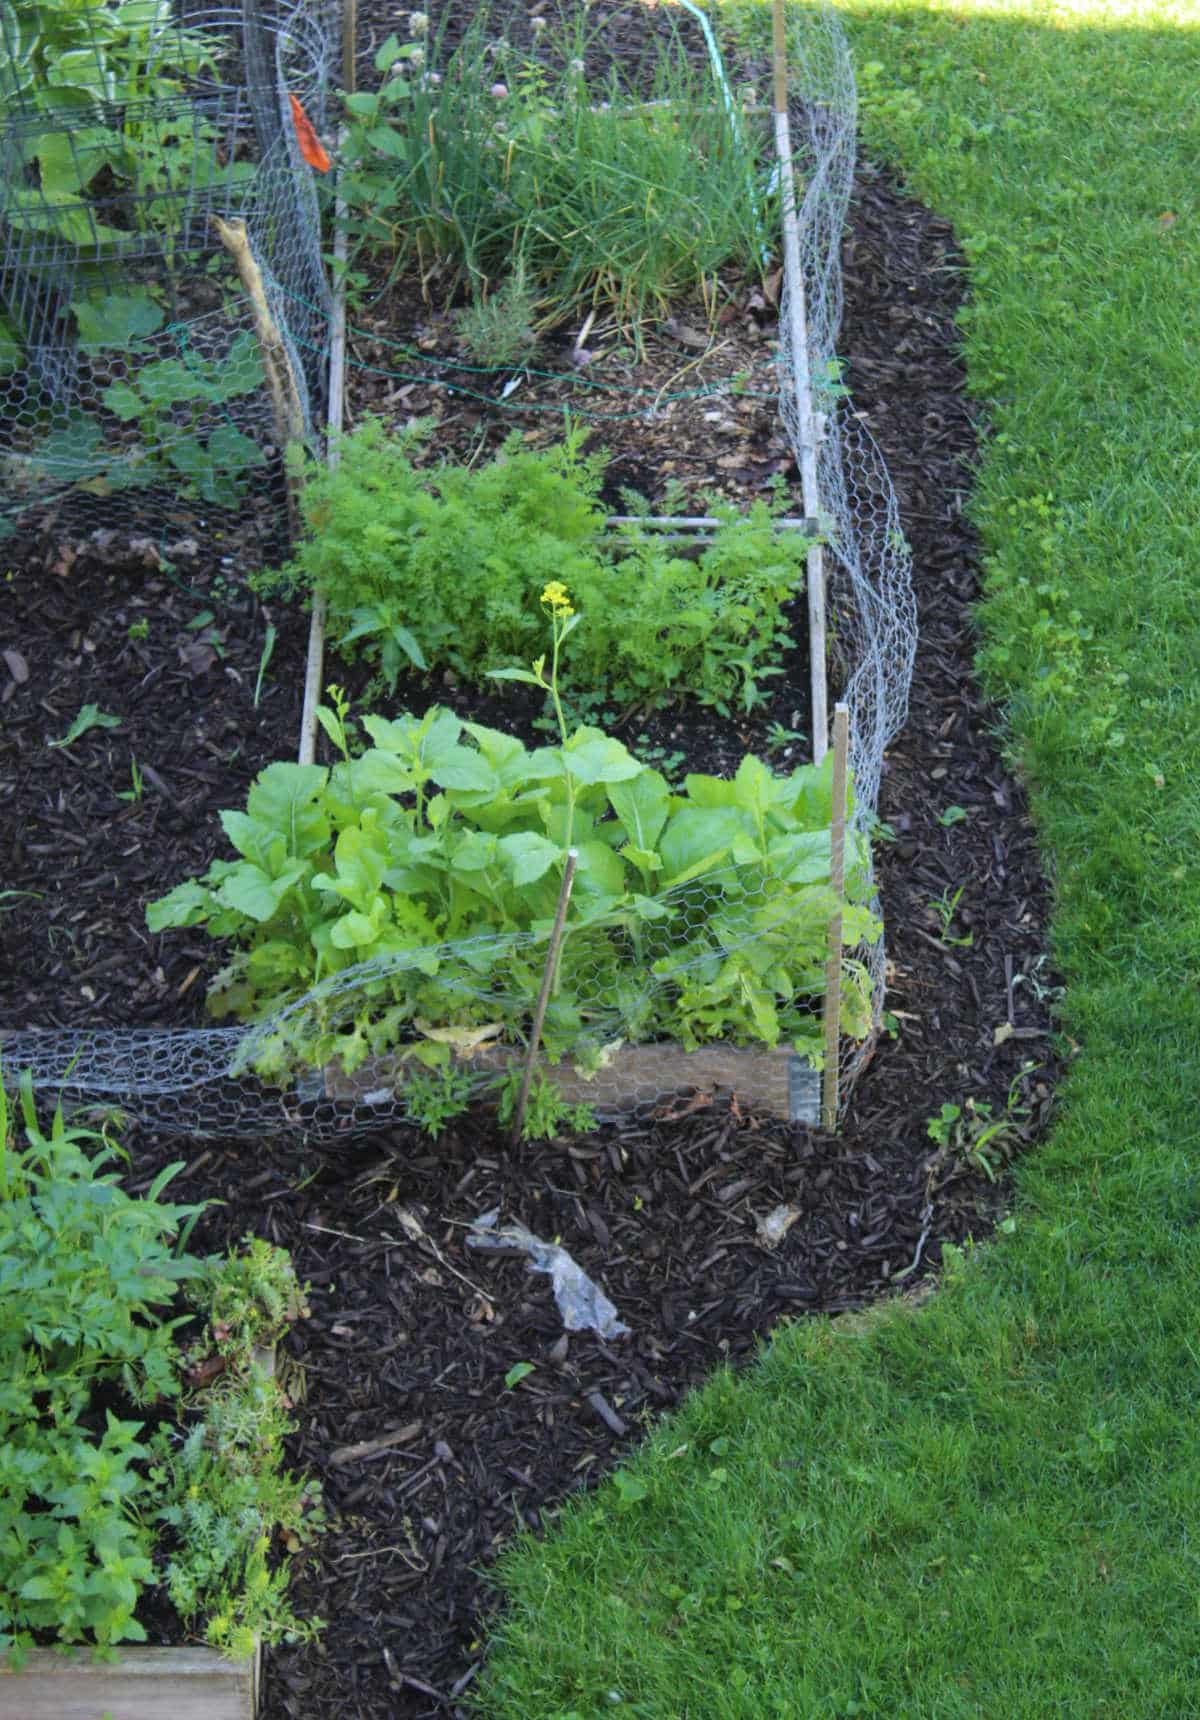
Where I put my garden - the "before"
Here is the spot that I decided would be my garden. I had a tall maple tree there with girdled roots and it was dying. My choices were to make this into a nice lawn or a vegetable garden. I choose the garden.
The Planning and Organizing
Alternatives and inexpensive raised garden bed ideas.
My raised bed gardens were a more significant expense than expected, but I was investing long-term and knew I would be using these for many years. If you are just starting out and testing your gardening interest, you could buy one raised bed. Many stores carry garden bed kits. Or you can even rig up a raised bed using pots. I did that with my tomatoes because they would have used too much room in my raised beds.
Do not use railroad ties!
Years ago, before I knew better, I created a raised flower bed that I would also put some veggies in. I loved the look of railway ties. DO NOT use these. There are so many chemicals, including creosote and arsenic, in them. The ties themselves were tough to get rid of after I no longer wanted them. I couldn't grow anything I would eat in or near them because I was afraid the chemicals would leach into the veggies and the ground.
Concrete blocks
I did consider using concrete blocks and may make a smaller bed or two with those next year. I think they would work well! They would be inexpensive and easy to use. You will have to consider a way of stabilizing the concrete blocks if going higher than a couple of layers (I wouldn't be). Be careful that you are not using old cinder blocks. They look the same but were made from fly ash which contained some nasty chemicals. Cinder blocks were made about 50 years ago.
Wooden raised garden beds.
I had the simplest wooden raised garden beds for a couple of years. They were just wooden boards cut to size and screwed together. Essentially just a wooden frame. But that was in the days when lumber was much cheaper. If going this route, do buy rot-resistant wood like cedar. My preference is also untreated wood. Use deck screws to attach your wood together. If going higher than roughly a foot, research and follow a plan so that your frame stays stable.
Buy a kit
I even saw kits at Costco this year. Amazon certainly has many raised garden kits. If you are a beginning gardener, I suggest reading a book on square foot gardening. It will teach you how to allocate space for certain plants. I don't think it's a perfect system, but that's a personal preference. It certainly is a great way to start!
Buckets as raised beds
I had planned to temporarily grow my tomato plants in 5 gallon buckets. They ended up in them the entire growing season. They kind of worked well? The main issue was the soil dried so quickly they had to be watered 2 times per day. They also looked terrible, so I spray-painted them brown (only the outside) so they'd be a little camouflaged. If you do use buckets, make sure you have added drainage.

Cheap way to fill raised bed
Be prepared to be surprised at how much soil you need! Layering raised garden beds help reduce costs. It's using other natural gardening/growing items to help fill your bed. It saves money, and as things lower in the bed decompose, they become amendments to your soil. Yeah, free compost!
I put cardboard on the bottom. This had a dual purpose: It would decompose and smother any grass or weeds where I put my beds.
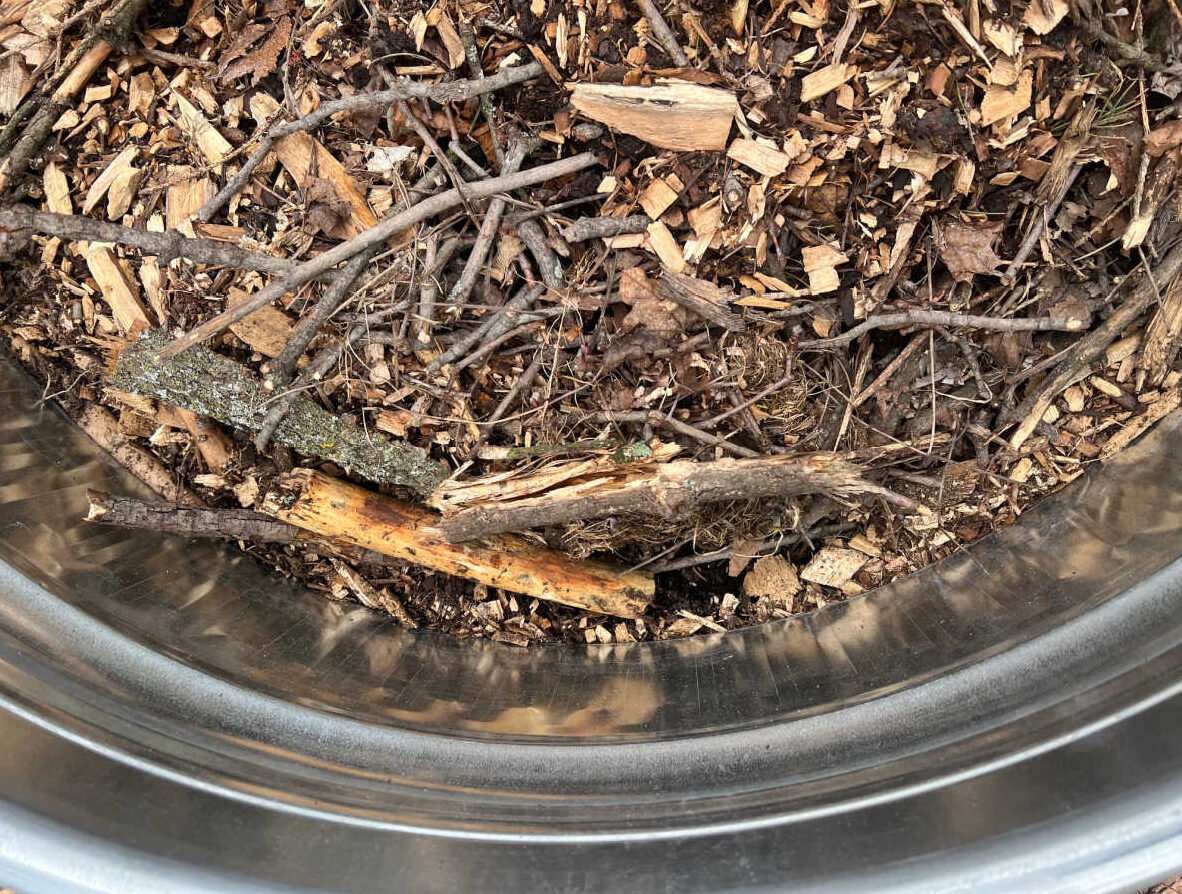
After the cardboard, I put in some ground-up chips from my maple tree. That was to help ensure all my beds were flat at ground level and that the bottom didn't have holes that critters could crawl into. I started the filling process about a month before planting time so I had time to fill the bed with things from my yard.
I had a pile of cut-up branches that I cut into smaller pieces and added a layer of. I also added grass clippings and some of my spring cleanup from my yard. One thing I was cautious of was that I did NOT put anything in from my walnut tree. Walnut trees excrete juglone which prevents many plants from growing (tomatoes, for example, don't do well near walnut trees).
I purchased a variety of bagged soil and mixed them well as the top ½ layer. I used raised bed soil, some in-ground soil, and potting soil. Do not use only ground soil because it is too dense for a raised bed. I used it but mixed it in potting soil to loosen it. I also added some bagged compost into each bed and mixed it well. As I was layering, I occasionally threw in a couple of shovels of chipped wood (untreated and not dyed). I don't have an exact soil mix recipe since I used what I had and what was on sale.
What to grow in your raised garden beds.
What you can grow is unlimited. I have four raised beds, and here is what I did!
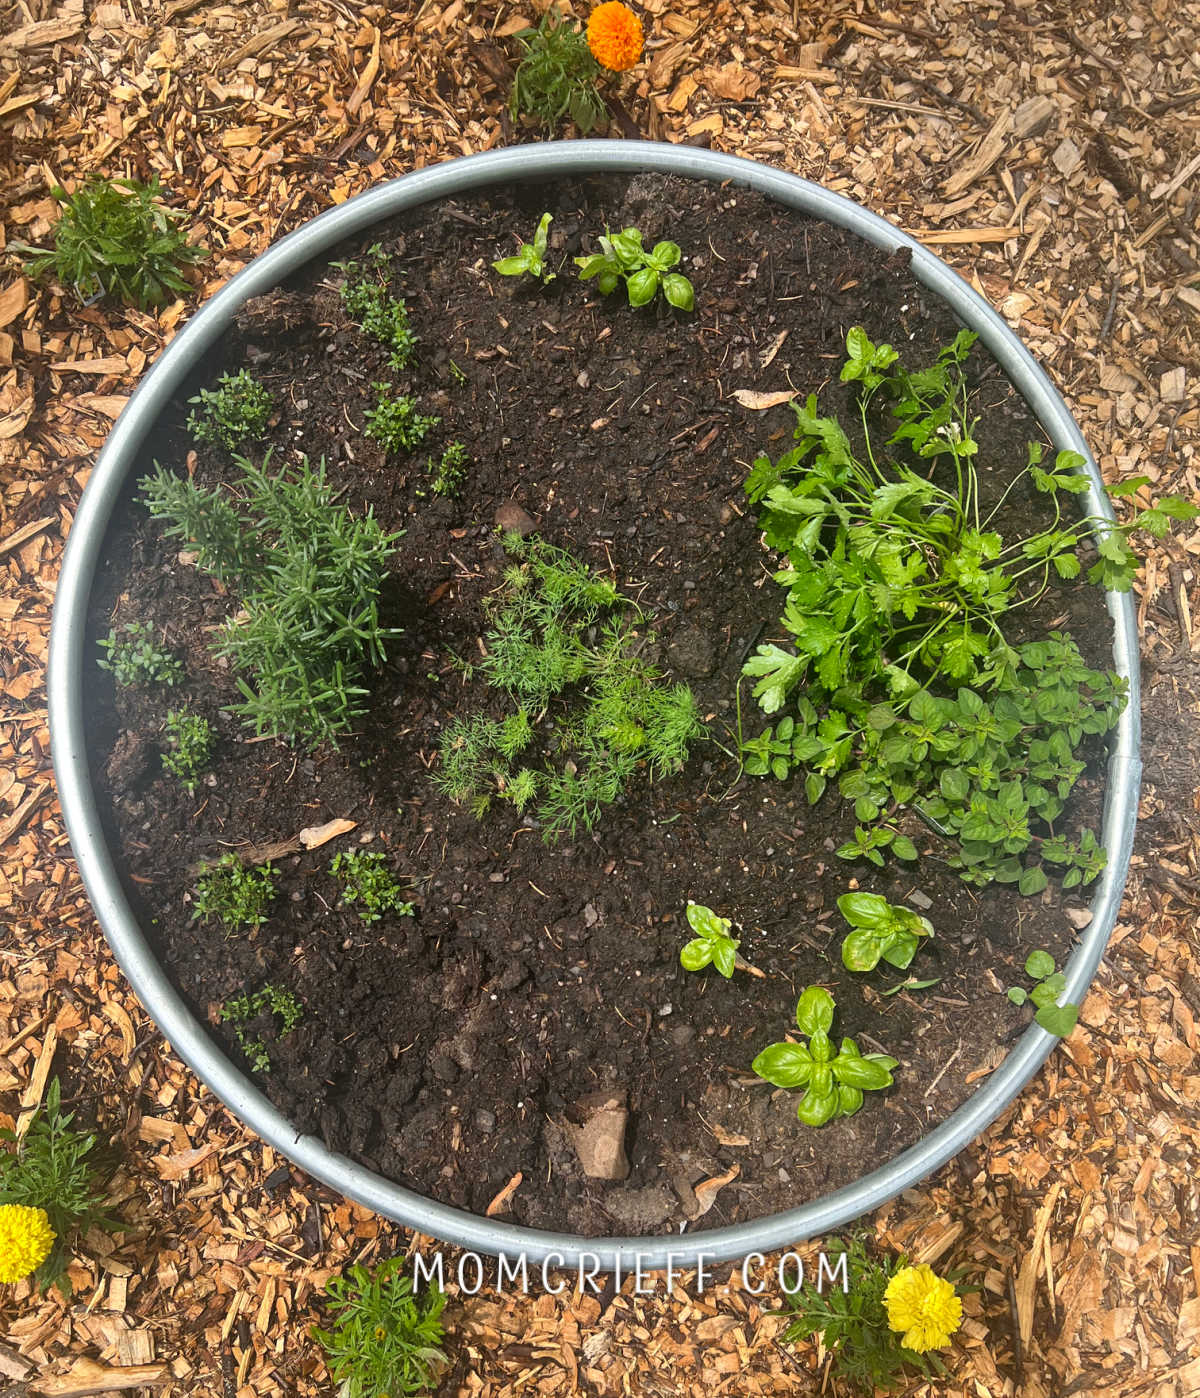
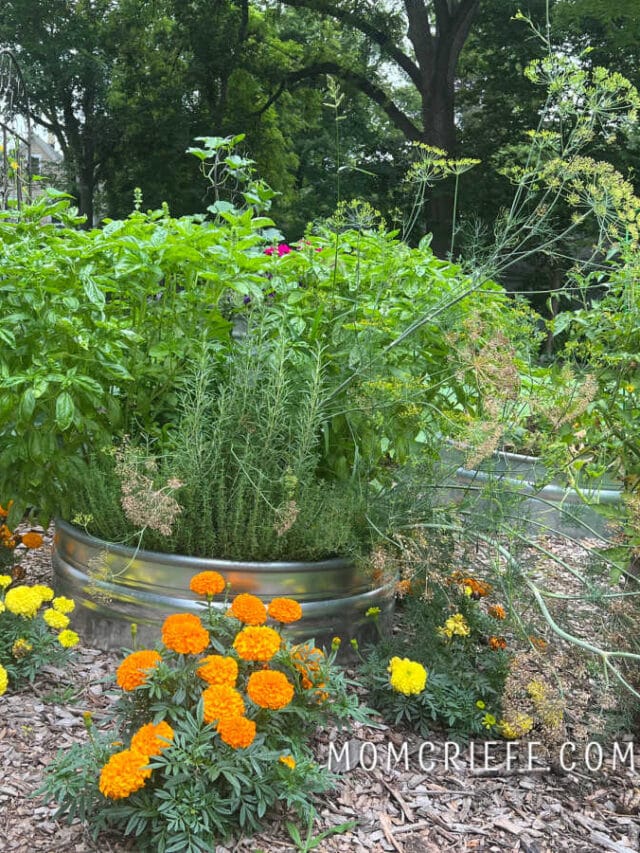
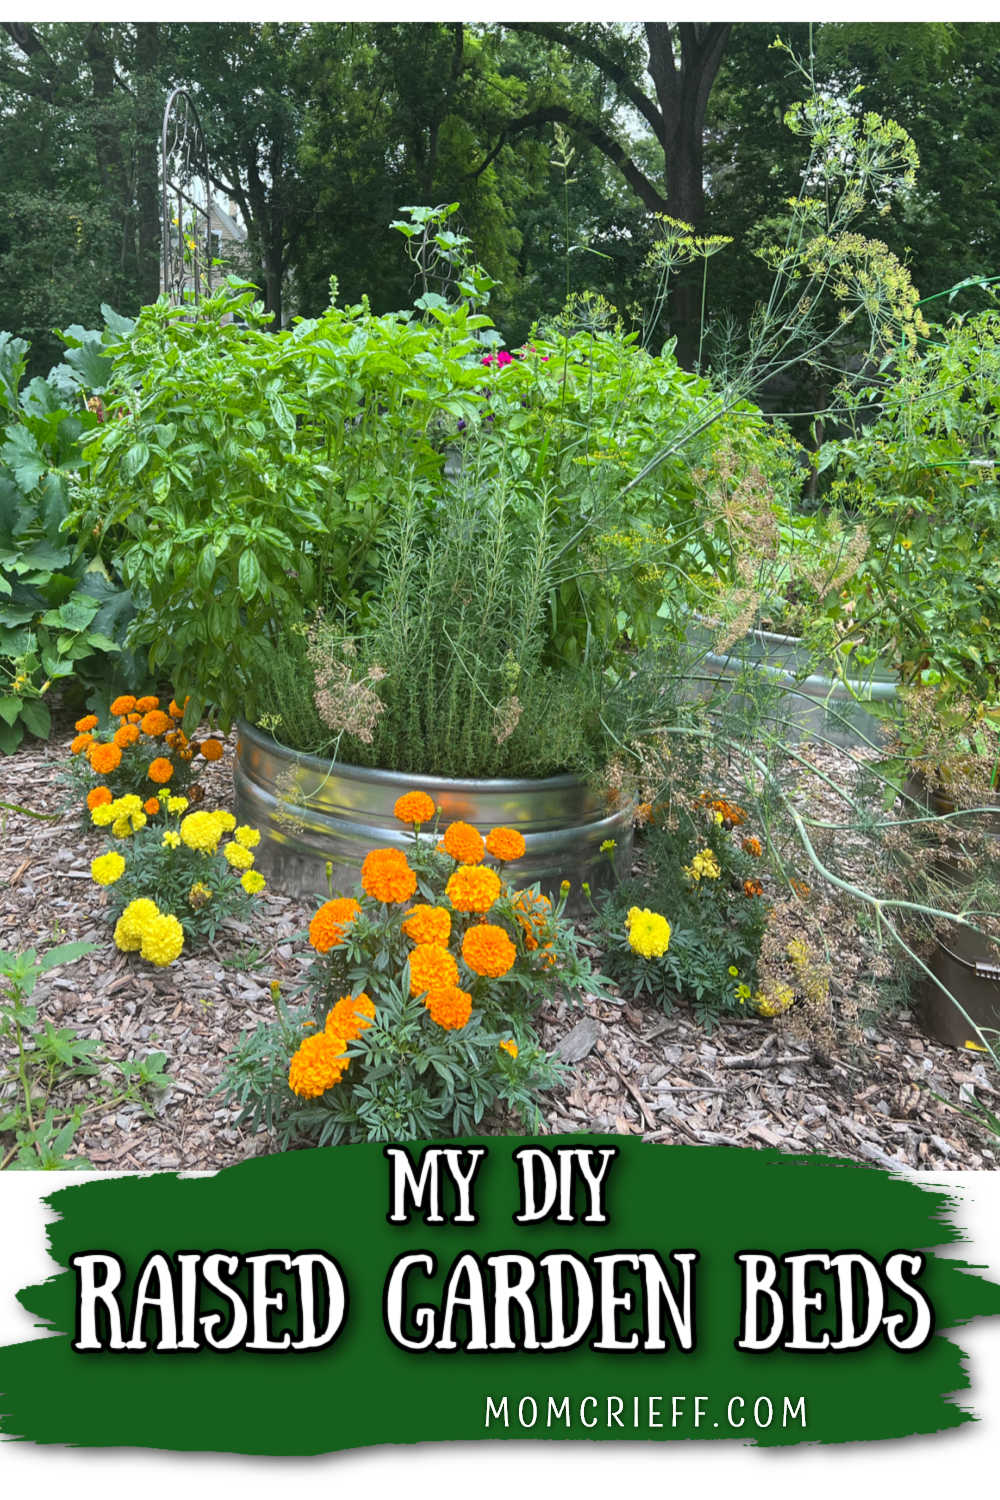
Herb Raised Garden
I love cooking with herbs and have started preserving herbs. There is nothing more satisfying than preparing and eating what you grow.
My herb raised garden bed has dill, basil, rosemary, parsley thyme, and sage. It's full and I love it!
My Bean Bed
I planted bush beans in one bed. It was great for having fresh beans for dinner and even a few to freeze. I found garden fresh beans were delicious enough to eat raw (with a bit of salad dressing as a dip). As the summer went on, I started using about ¼ of this bed as a plant nursery for some flower cuttings, etc. Once the beans stopped producing and I pulled out the plants, I planted a second batch and am waiting for my next crop of beans to mature in early fall. As long as the weather stays warm and there is no frost, I'll be eating fresh beans again in a few weeks (This post was written in early September)!
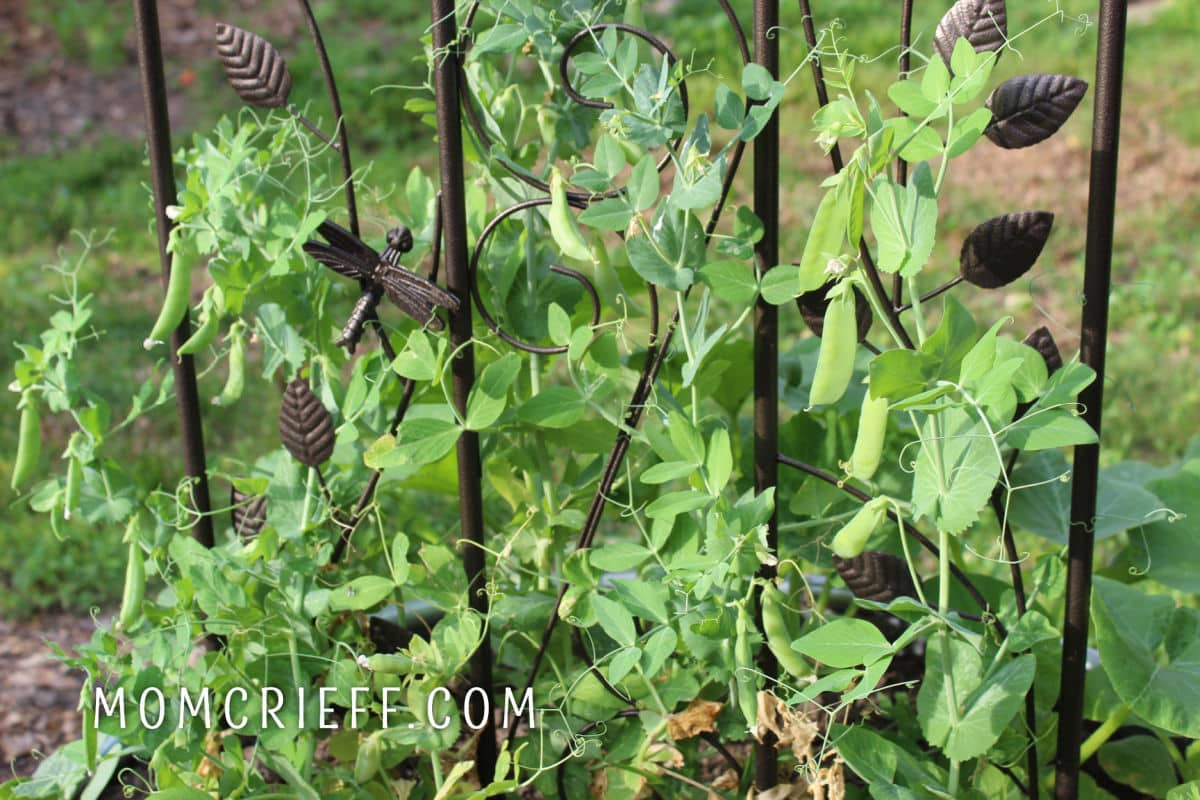
Cucumber Raised Bed
This was a dual-purpose bed. I put a trellis in a couple of my raised beds. I planted peas in the spring since they are a cold crop. On the other side of the same trellis, I planted cucumbers. This was a bit of an experiment, and it worked perfectly. The peas grew great in the cooler weather. I started cucumber seeds inside, and when it was warm enough to plant them, I did. They began to grow up the trellis right about when the peas were done. The cucumbers did great; I could share so many with others. I'm doing this again. Cucumbers growing up the trellis made them easier to access and contained this plant.
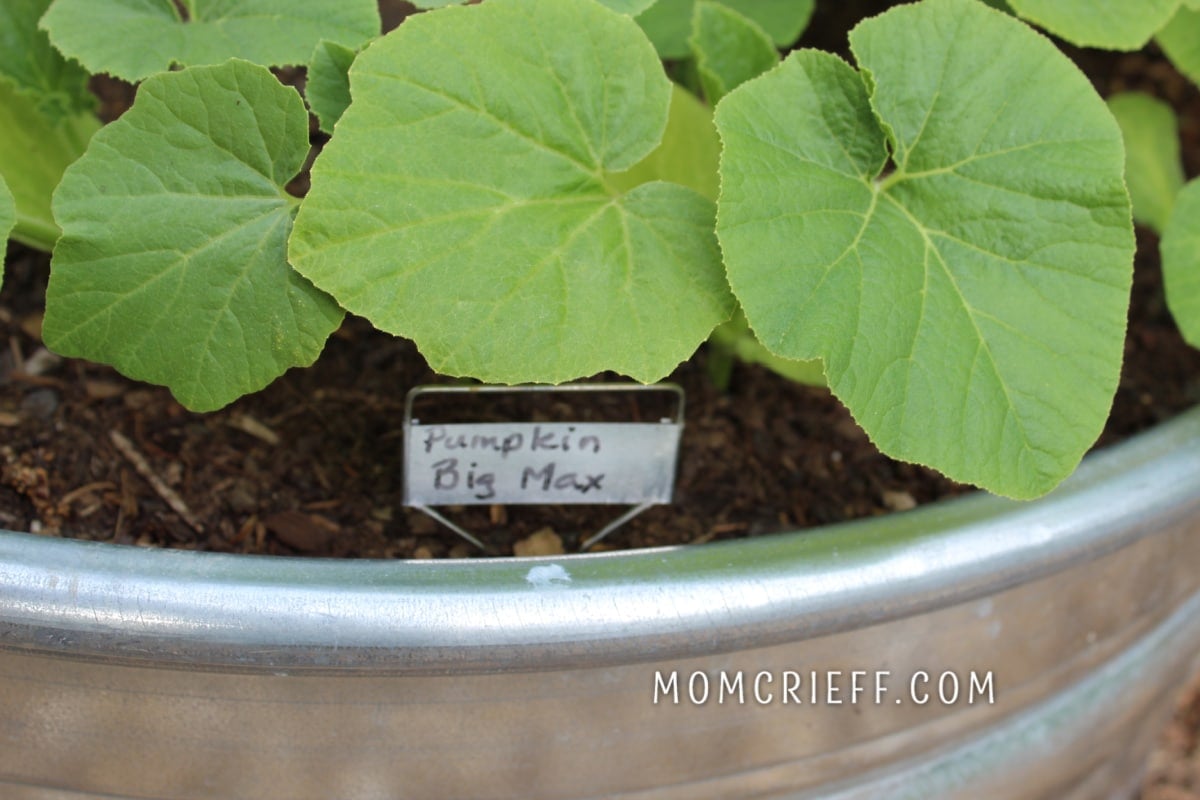
Pumpkins, gourds, and squash
If you have ever grown pumpkins and squash, you know they take up a lot of space. The pumpkin vines seem to grow a couple of feet overnight. It's crazy to watch! I planted the seedlings (I started from seed with heat mats and grow lights) in the raised garden and let the plant drape over the sides and spread on the ground. The ground around my raised beds has a thick layer of maple wood chips from when my tree and the roots were ground up. This gave the plant great soil and lots of space to expand. These plants are crazy and all over the place now. I will try to have a bed specific to these plants a little further from my other veggies next year. Gardening is often learning by doing, and I need to plant or move less of these. I LOVE my homegrown pumpkins because I plant and grow bigger ones.
What to put around raised garden beds
When I had my maple tree cut down, I asked the arborists to grind it and leave the grinding for me. It's kind of like free mulch! I had a thick layer of my ground-up maple tree where I put my raised beds.
One other thing I planted around my beds was marigolds. They are supposed to keep pests away from your garden. I'm not 100% sure they do, but I liked how they added a little visual interest.
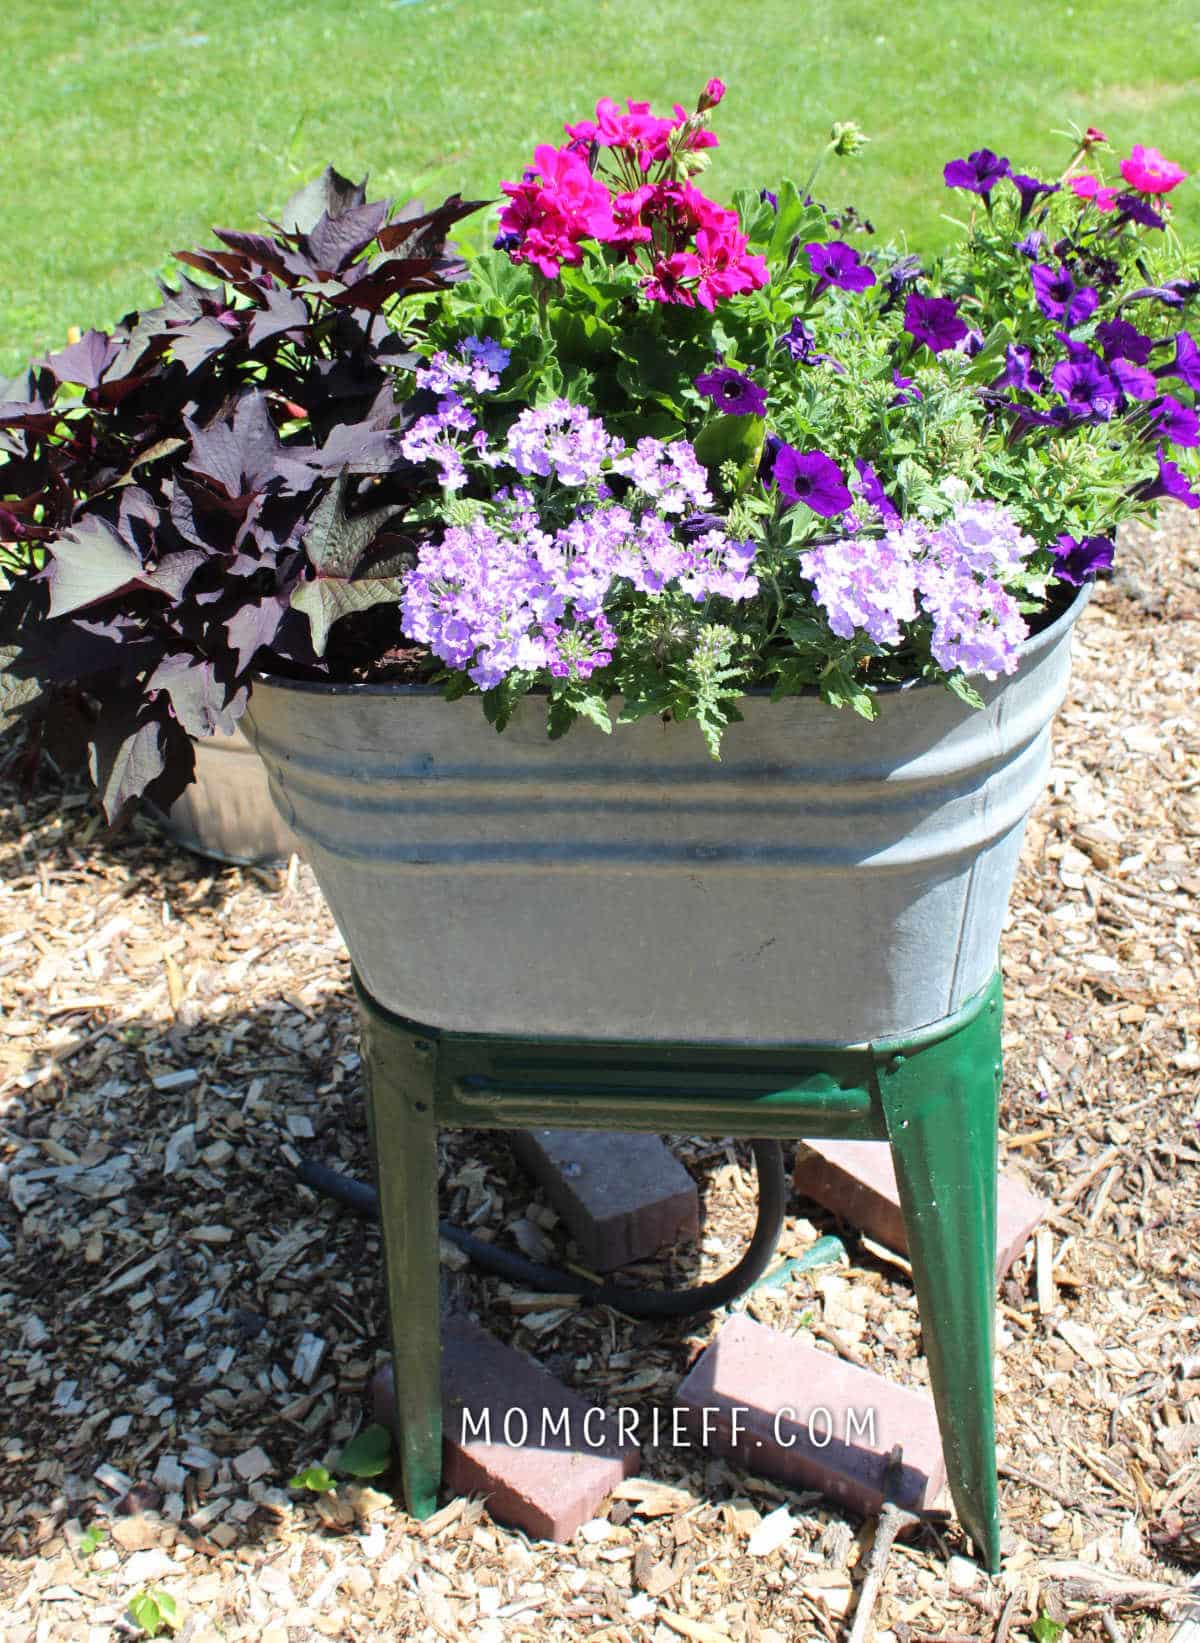
Raised flower beds ideas
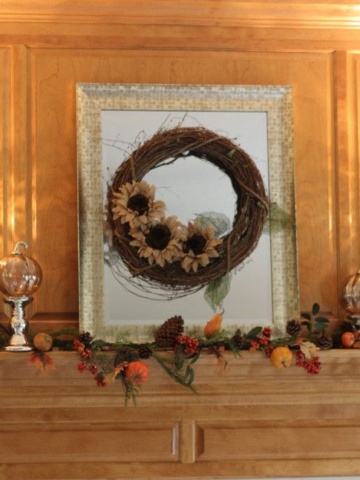
And, of course, I also added a raised bed of flowers. I was so lucky to be able to buy an inexpensive antique wash tub for this! If you have never shopped on Facebook Marketplace, you may want to try it. I get great buys like this there!
One of the first crops that I harvested was radishes! I put them in my bean bed before the weather was warm enough for beans. Here is how I grew them and a quick recipe to use them.
Radish Salad (and how I grew radishes)
I grew tons of basil last year. Here is how I grew it from seed and then dried some and froze some to use later
Basil - growing and preserving over the winter
Basil - How to freeze with olive oil
Love the flower planter? I LOVE creating planters. Here is a post with lots of flower container ideas!
Over 25 flower containers in my neighborhood
I hope this article and some of my other articles are helpful and inspiring to you! Please feel welcome to look around my site for other things that may interest you!
FAQ's
They did OK but not great. I found the soil in the pails dried quickly and I was watering twice a day. I will be buying more campfire rings and planting the next tomato crop in there.
I did look at that. It just felt like a lot of work and then I wasn't sure how neat they would stay. Especially since I would need at least 2 rows for the height.
I used tree grinding. Also branches that had fallen in my yard (careful to not use any walnut branches). I also used some fall leaves that had accumulated in one spot of my yard.
Watch for sales! Soil is so expensive now. I'm noticing
Costco has good prices when they have soil. Hardware stores have sales. Watch prices and stock up!
Print the image below to your Pinterest account.
I hope I've given you some helpful information and inspired you to start your own raised garden beds. Keep an open mind and see what you can recycle or repurpose.
Happy Gardening!


Tessa
Fire rings - what a great idea! Simple, easy to move, durable. I agree that you have to think about ease of movement as you age as a gardener.
Sue at Blu
We're gonna try raised belds in the spring. Pinning this for reference!
Denise
I haven't had much luck this year in the garden. Switching to raised beds might be a good choice for me. Never give up, right?
Susan Moncrieff
Get good soil and make sure you only water when the soil has had a chance to dry.
Marianne
That looks wonderful! Putting this in my idea file for my new vegetable garden I am going to plant next spring. Thanks for the inspiration!
Michelle
We made the mistake years ago and used pine boards for our raised beds, and I was so cross when they started collapsing after two seasons. Thanks for all the great advice. This is going to come in very handy
Laurie
Thanks for all of your great tips!