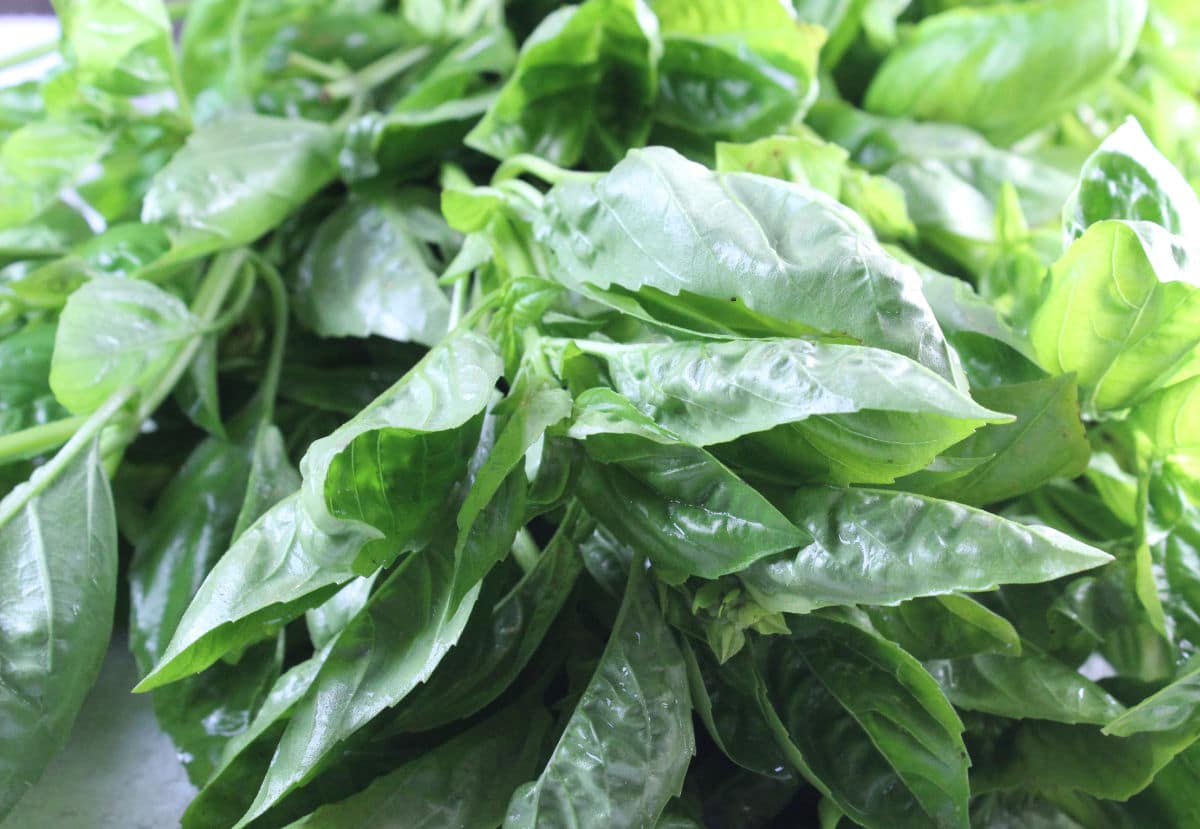
Basil (Ocimum basilicum) is a delicious herb often used in Italian and Asian cuisine. I especially love it in summer recipes that use it as a fresh ingredient! It's a very aromatic and flavorful herb that is a cooking staple. One of the things I love the most about this plant is that it is such an easy herb to grow!
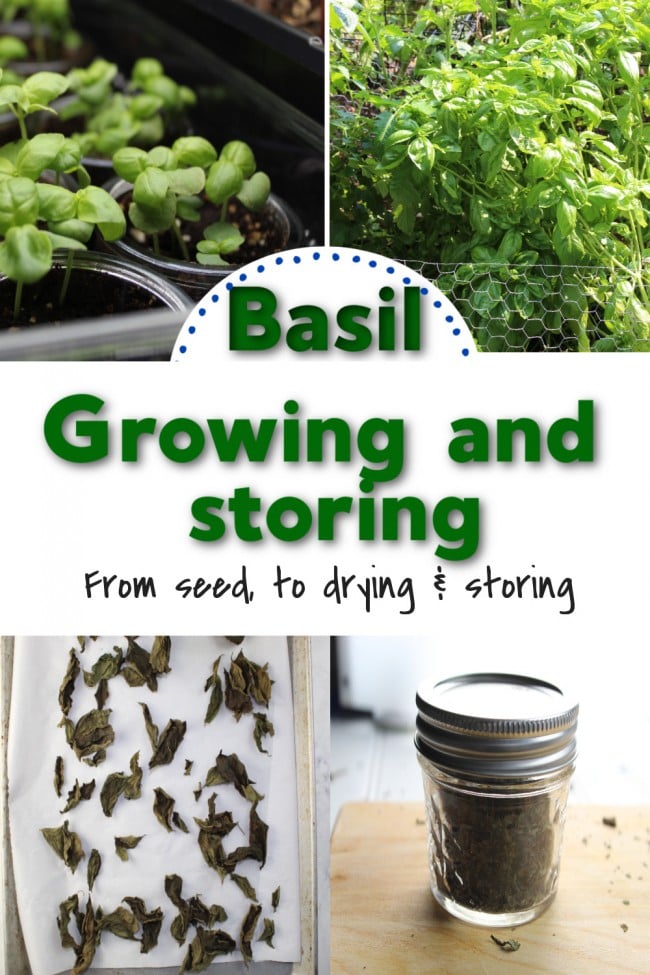
How to grow basil
Basil is a great herb to start indoors from seed. It's easy to grow and transplants well! You can also start basil plants by taking basil cuttings. Here's how to bring your herb garden indoors when the weather gets cold.
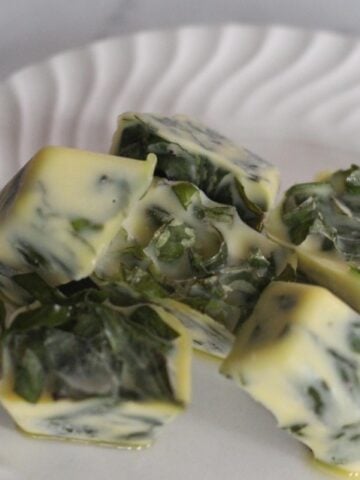
Basil produces a lot of leaves to harvest. You can also freeze basil in ice cube trays. Read my post on how to make frozen basil cubes if this interests you.
What can you do with basil, especially fresh basil? Here are a few recipes where I use this herb in its fresh form. Nothing is better than bruschetta with fresh basil. In the winter, I love throwing a few frozen basil cubes in my best spaghetti sauce and Italian meatball recipe.
Table of contents
Is Basil a Perennial?
No, it is an annual that can be easily grown from seed. Basil easily grows outside once the ground is warm and there is no more chance of frost. As a reference, I am located in Zone 5a. I watch the weather closely in May. Once it's the middle of May and I don't see any further indications of frost in the weather forecast, I'm outside planting! If you don't know what zone you are in, take a look at the USDA Plant Zone Hardiness Map.
Cold weather, especially when the temperature drops below freezing, kills this plant. It will not grow back on its own, which is why it is classified as an annual.
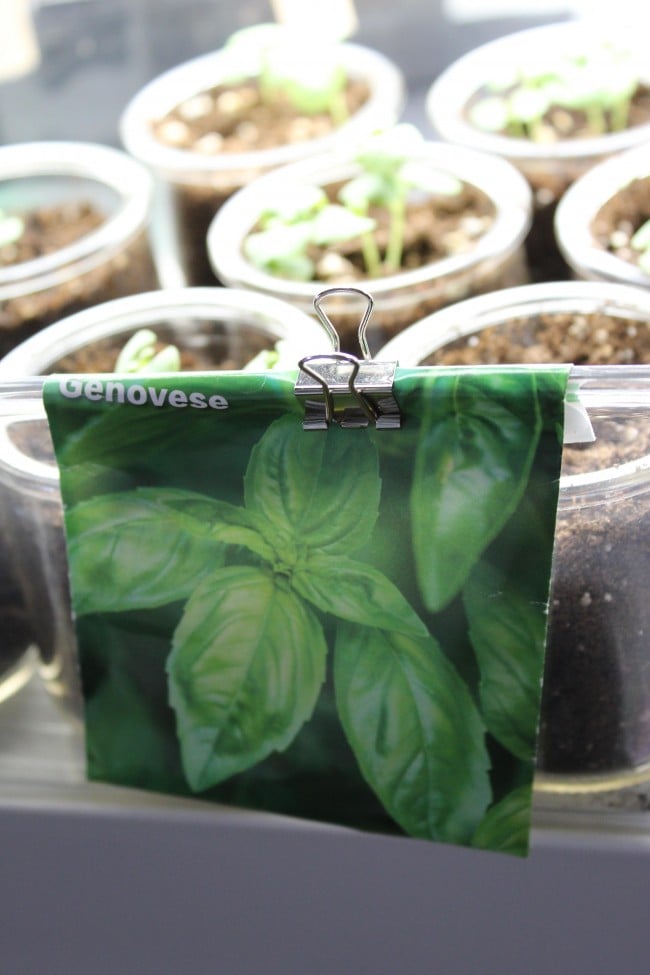
Much of the information you need to grow any type of plant from seed is right on the back of the package. I buy sweet basil called Genovese. I usually buy Burpee seeds but watch for them to be on sale.
I often start my basil early, in my basement with grow lights. I usually start basil about 4 - 6 weeks before I anticipate planting them outside. So for me, I plant my seeds around the end of March.
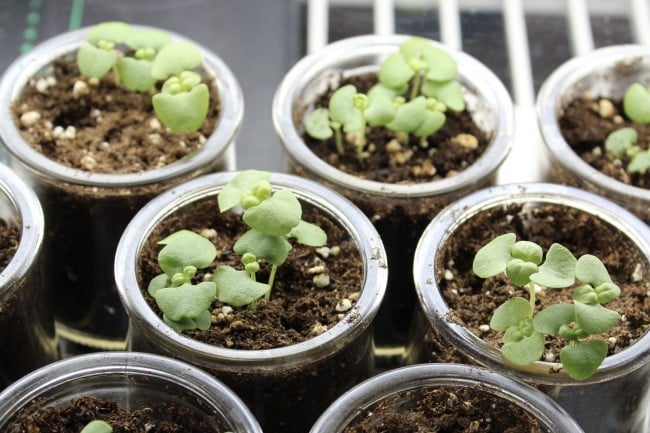
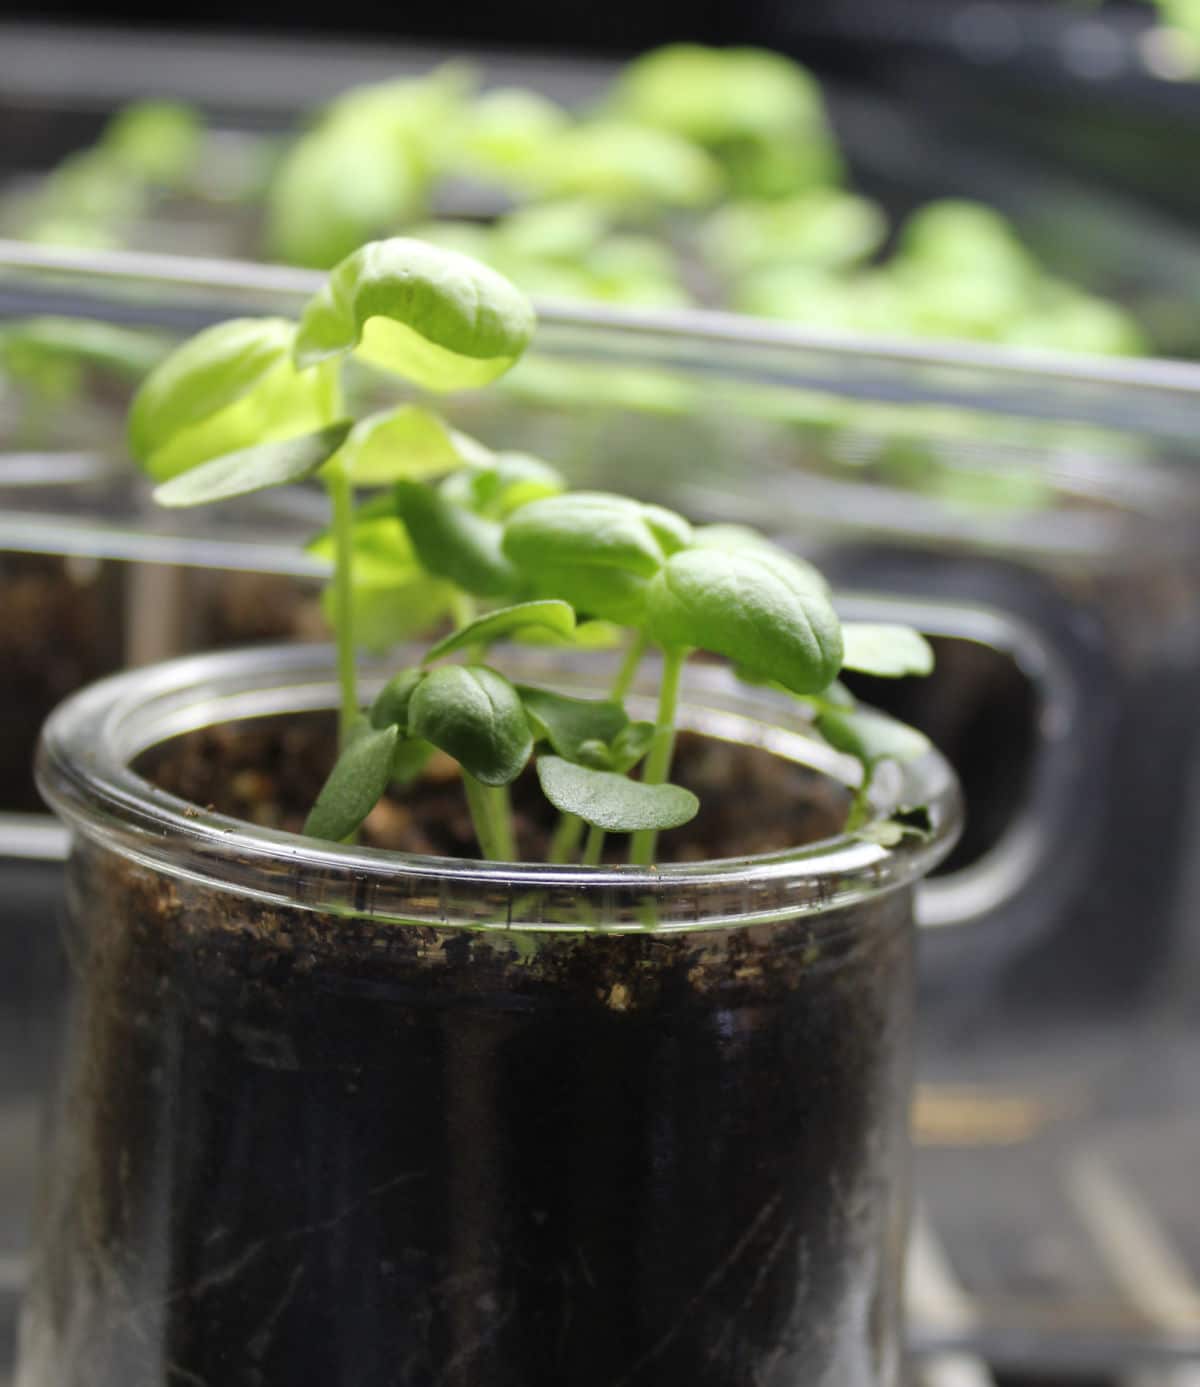
I used little glass yogurt containers last year because I planned on giving some plants away. The containers were so cute and they would be perfect to give away. If you do this, be very careful not to overwater since the water cannot drain. Part of why I enjoyed planting in a glass container, I enjoyed watching the roots grow.
The seed package says to plant about 3 seeds per 12-inch container. I did about 4-5 seeds in my little 2 ½-inch containers because they are temporary containers. As an aside, that's how many of those fresh basil plants you buy at the grocery store have.
When you grow basil from seed, you should keep the seeds covered with a dome (to keep the heat and moisture in). You can buy seed trays with domes anywhere that you buy gardening supplies.
Click through to see the type of trays and domes I like. If you buy them from a local store, they are just a few dollars, and you can buy the number you need. But be warned, they often sell out in the late winter/early spring!
Basil Seedlings
Also, if you are starting seeds in your basement, most seeds need some heat to germinate. These seedling heat mats are made specifically for that purpose.
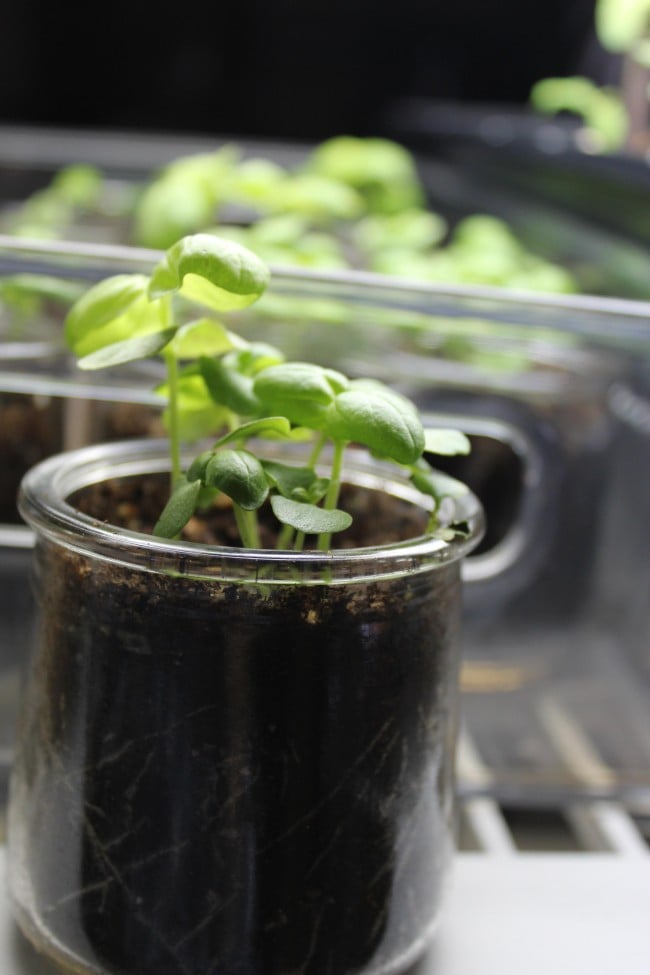
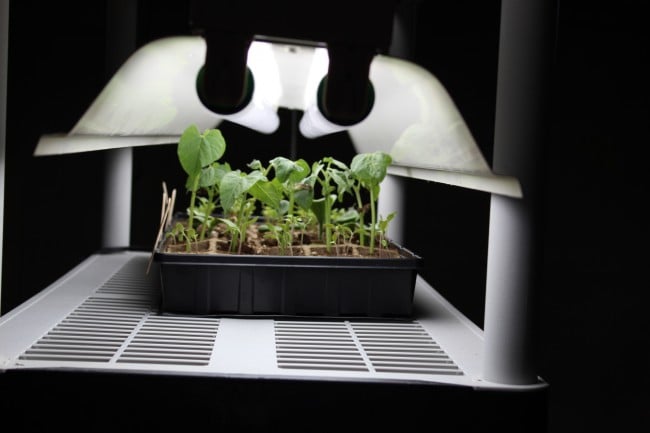
Once the seedlings germinated, I kept my fluorescent lights (or grow lights) just a few inches (2 -3) inches from the top of the plants. I put my lights and my heat mats on a timer and had both on for 12 hours per day. Once my plants were about an inch high, I added an oscillating fan on low, to gently blow on the young plants. The fan helps the plant become stronger (think an artificial breeze).
Here is a picture of some of my seedlings (the big leafy seedlings are beans) on a heat mat under my fluorescent lights.
How and where to plant your basil plants
Basil plants, whether you grew the plants or you purchased them, need to be planted when there is no chance of frost. Make sure the soil is at least 50 degrees or the plants won't grow. If you don't want to buy a thermometer to test the soil temperature, wait until the days are about 70 degrees and the nights don't go below 50 degrees.
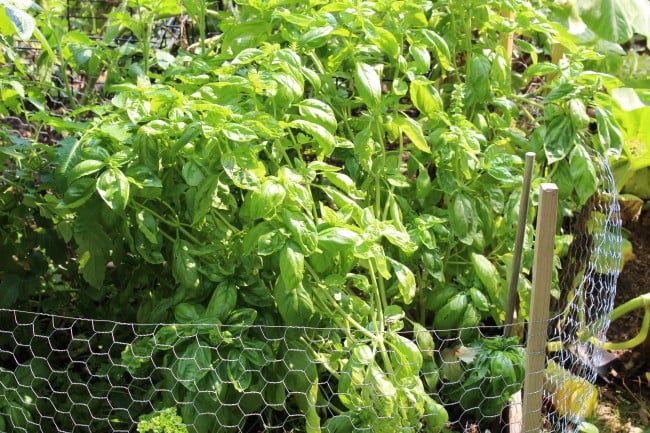
You are supposed to plant the plants 6 inches apart (according to the seed package). I ended up planting them much closer. If they get too crowded, I take my gardening scissors, cut a plant, and use the basil leaves in my planned recipe. As you can see, my basil plants were quite happy even though they were close together. These are about 4 feet high here.
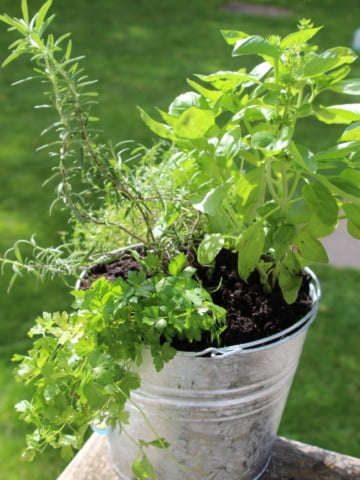
Growing tips for basil.
Make sure you plant your basil in a sunny location. These plants need at least 6 hours of sun. The soil should be moist and well-drained. I have them in a 6-inch raised bed. Since you are going to eat the basil leaves, I recommend not using chemicals on these plants. A little compost in the soil is a great natural fertilizer.
To make sure your plants are nice and bushy, make sure to pinch off the center stem once there are 6 to 8 pairs of leaves. Pinch back to the first set of healthy leaves. Whenever you need basil, pinch back a stem. If it looks like flowers are starting to appear, pinch/cut them back by at least a few leaves. Flowering plants often cause the basil leaves to taste a bit bitter.
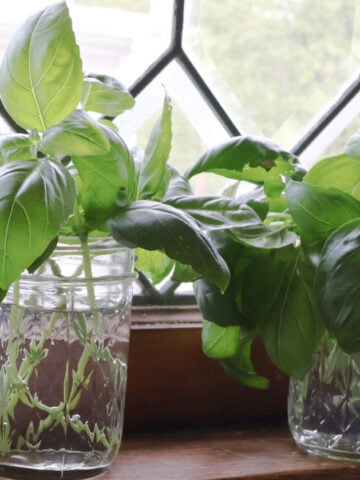
How to store basil on your counter.
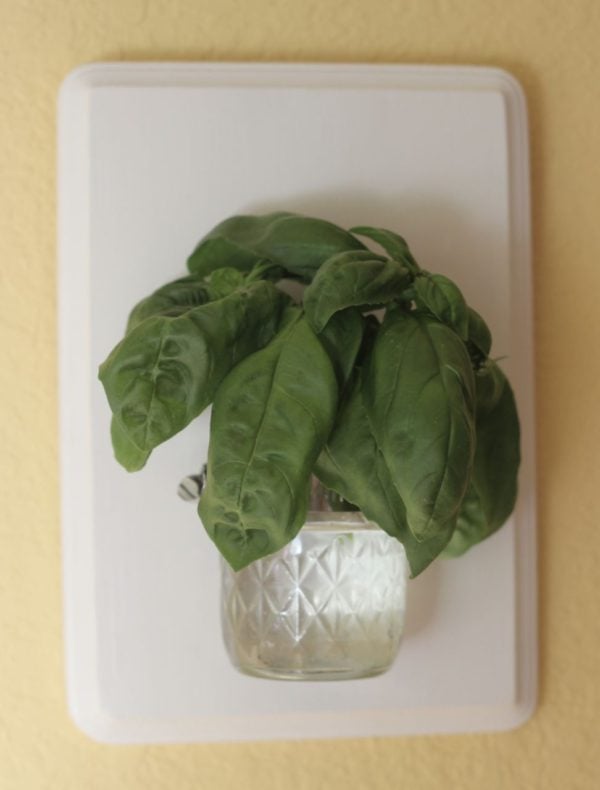
It is easy: just cut off a stem from your plant and keep it in water. A mason jar is perfect! Ensure to remove any leaves that would be under/touching the water. Change the water daily. Below is a wall vase I have used in my kitchen holding various herbs.
How to preserve basil by drying it in the oven.
I have written a detailed post on doing this. Take a look at this How to Dry Basil post if you would like a step-by-step post.
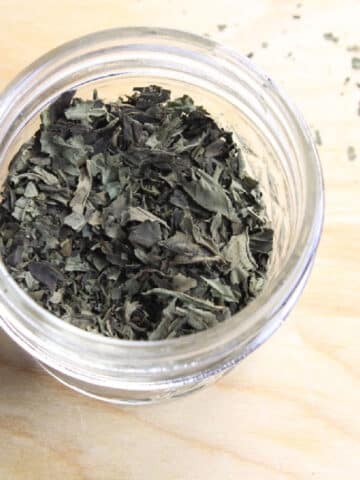
Essentially, you clean the plant, dry it, and then put it in the oven to dry.
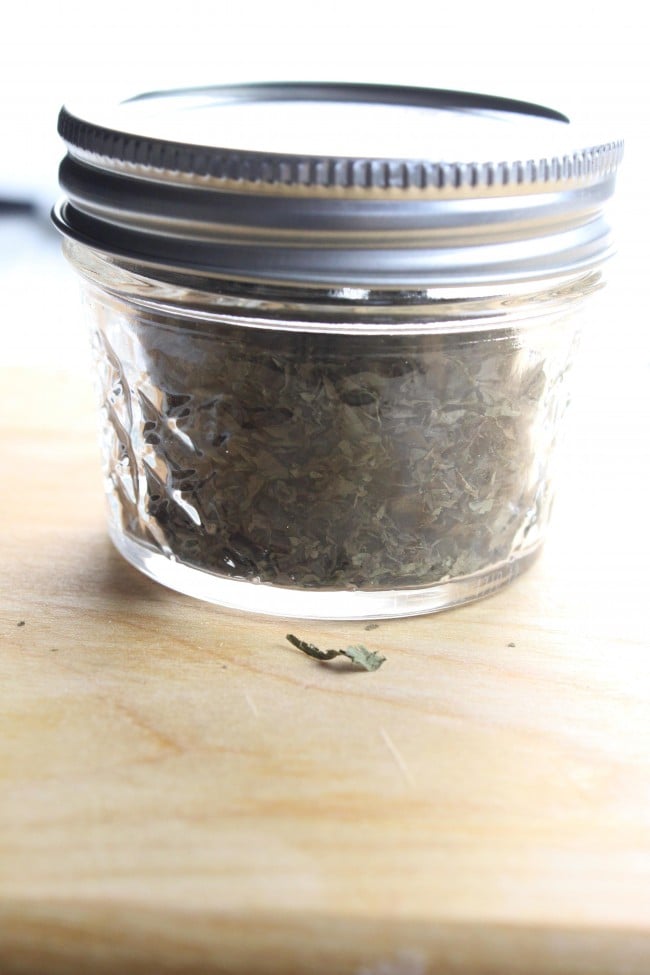
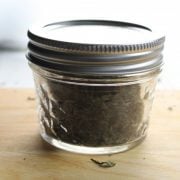
When the leaves are dry, crush them and put them in a container for storage.
How to Freeze Basil
I provide full details on how to do this in my post called How To Freeze Basil. It's easy and you will portion your basil by using an ice cube tray.
FAQ's
I do! But I put it in a jar with some water in it. Give the stems a fresh cut so they can absorb the water better. Basil spoils easily if left in a plastic bag in the fridge.
It is. I start seedlings at different times and then use the basil as needed. After a while, if the plant does not get enough light inside, they don't grow well.
No. It's an annual. But it is easy to grow from seed.
I keep my dried and frozen basil until the following year when I have made my next batch from my homegrown basil
My herbs grew so well in my raised garden beds! Here is how I put together my raised bed garden.
My raised garden beds (herbs and vegetables)
If you are looking for the most efficient way to store basil, I do recommend drying it. The recipe card below tells you how. The How to Dry Basil post I mentioned above is more detailed than this recipe card.
More Info. on Preserving Herbs
Basil - How to dry and store dried basil.
Ingredients
- 20 stems basil fresh
- Glass jars for storage spice jars or small mason/canning jars.
Instructions
- Turn your oven to it's lowest setting. Something like 150 - 200 Fahrenheit
- Place washed and dried individual leaves in a single layer on your baking sheet. I normally wash the whole stems, let them dry for a few hours, then take the leaves off the stems. Do not try to dry wet leaves. You will steam them not dry them.
- When the leaves start getting crunchy, about 1 ½ to 2 hours, turn the oven off but keep the basil leaves in the oven. Once the leaves are really crunchy and cool, place in a plastic bag and remove air from bag before closing. Either use your fingers to crumble the dried basil leaves or use a rolling pin (or a water glass). Once the dried basil is crumbled, place in a glass jar.
- Store in a cool and dry place.
Nutrition (estimate)

momcrieff
Hanging to dry will be fine as long as the humidity in the air is low enough.
Rosemary Palmer
I used to not be a basil fan, but try to grow it more and use it. No green thumb, but usually herbs do well for me.
momcrieff
I love growing basil and find it is one of the easiest herbs to grow - even without a green thumb!
Michelle Leslie
I've never tried drying my own basil and we have so many growing around our patio to keep the mozzies away. Staying in South Africa, we just leave them to die down in Winter and self-seed for the next growing season, so we always have a fresh supply on hand.
Meegan
Thanks so much for sharing! I am excited to grow basil on my tiny back porch using your techniques.
Anita Holland
So many great tips and I have shared them with two of my boards. I am a lazy cook and buy all mine but maybe one day I may have a try.
Sara
Thanks for all these amazing tips Susan! I"ve never grown basil from seed but would love to try!