I love Christmas village houses. I collected them for years. Not the expensive ones, but the ones that matched my set.
Have you seen lately that people like white villages now, not so much the colorful ones we used to have years ago? That's probably because it matches the modern farmhouse style of decorating more.
I had colorful old villager houses, and I wanted white ones but did not want to spend a ton of money. It was DIY time!! I wanted simple white village houses but didn't want to spend all that money buying a new set.
How to DIY white Christmas village houses
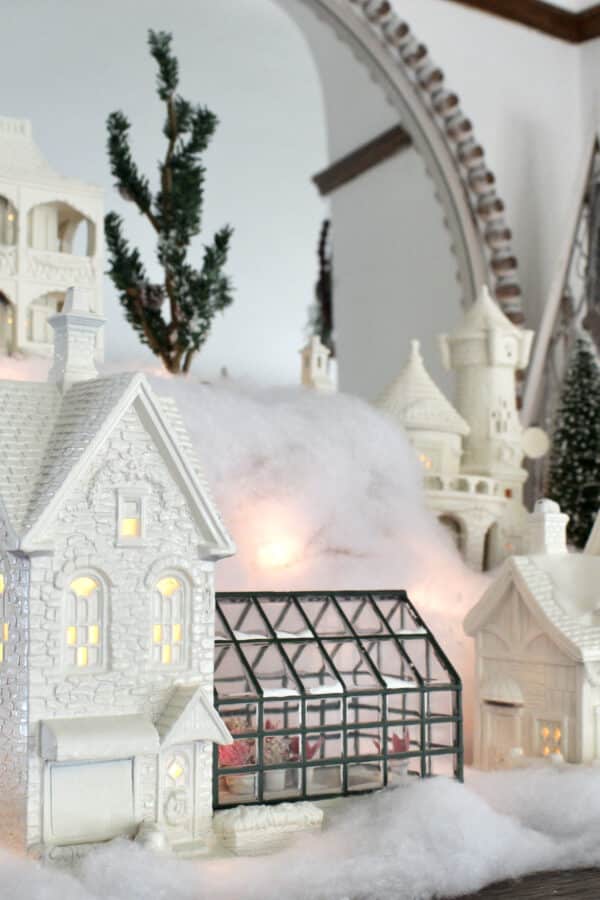
I love the neutral white look of the homes and have learned a few tricks to stage them. A white-painted modern Christmas village helps match your Christmas decorations with your house decor (if you have white and neutral). I also have a post full of more Inexpensive Christmas Decorations! Here are some more Easy Homemade Ornament ideas as well.
Table of contents
Below are the first three homes that I painted. I've done many more since!
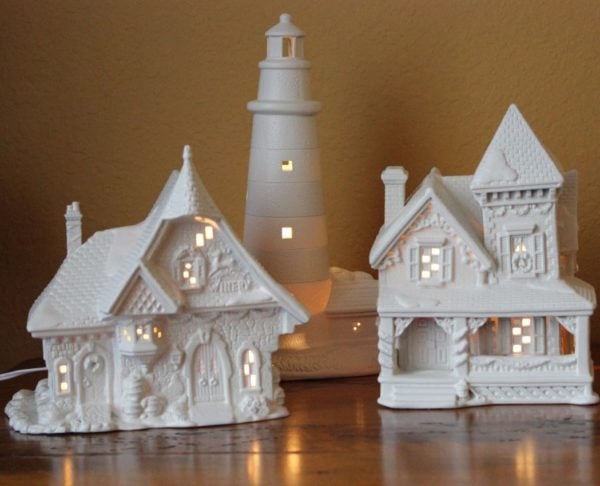
I've used this in so many different displays! They are so perfect in darker corners, especially in the winter.
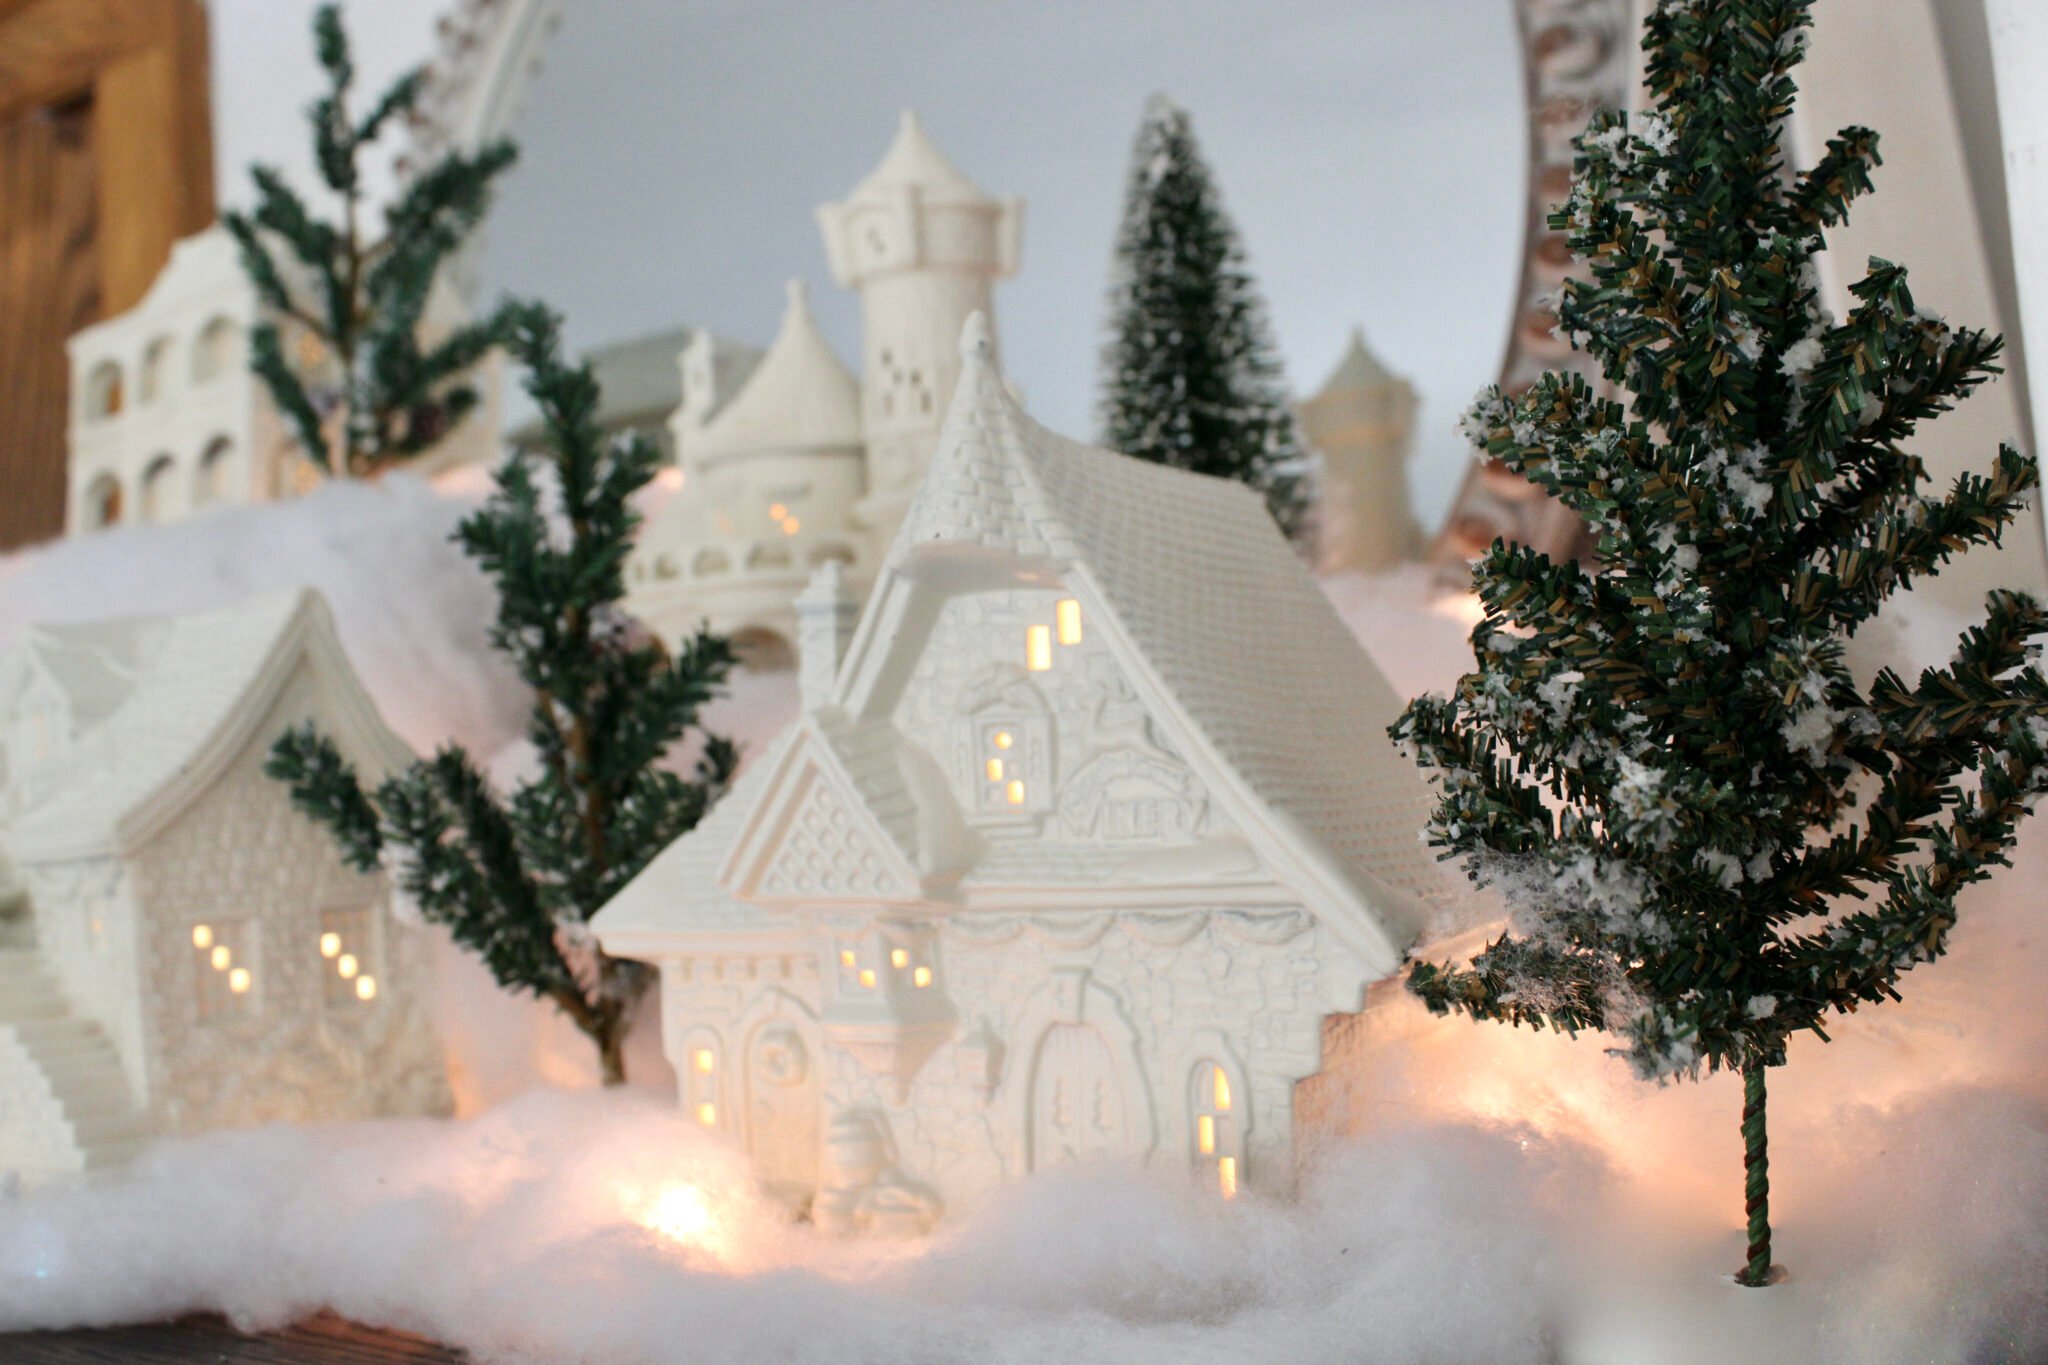
Supplies
Older Christmas village houses you are willing to spray paint. You don't want to spray paint a rare or really expensive village.
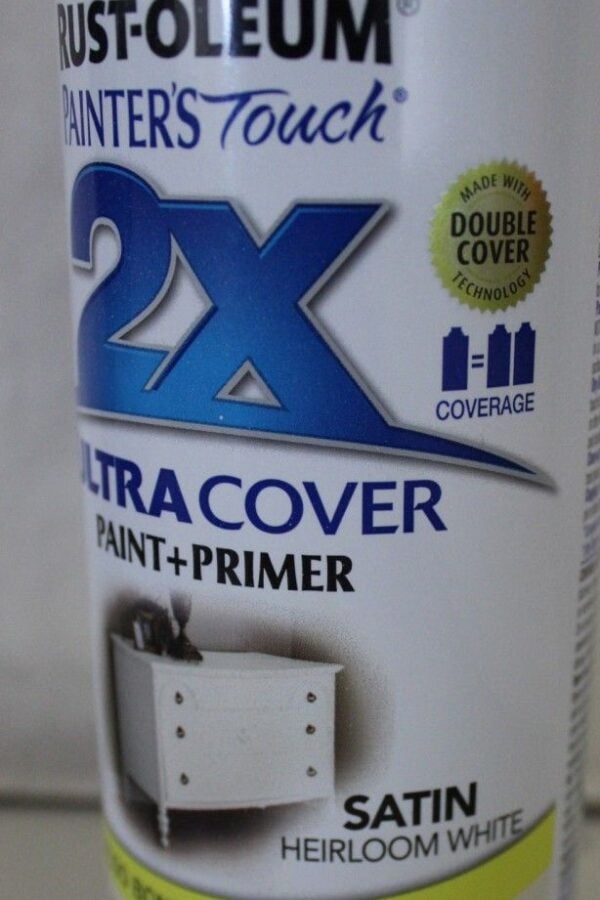
Spray Paint - Rust-oleum satin finish heirloom white spray paint. And yes, it is a cream color on the lid. It goes on a little creamy, but I like that vs. a stark white.
I LOVE this paint because the primer is included. No need for priming! It covered well in 2 coats (the first time, it took three because I didn't get the 'underneath' areas.
Instructions to prepare & paint
Step 1
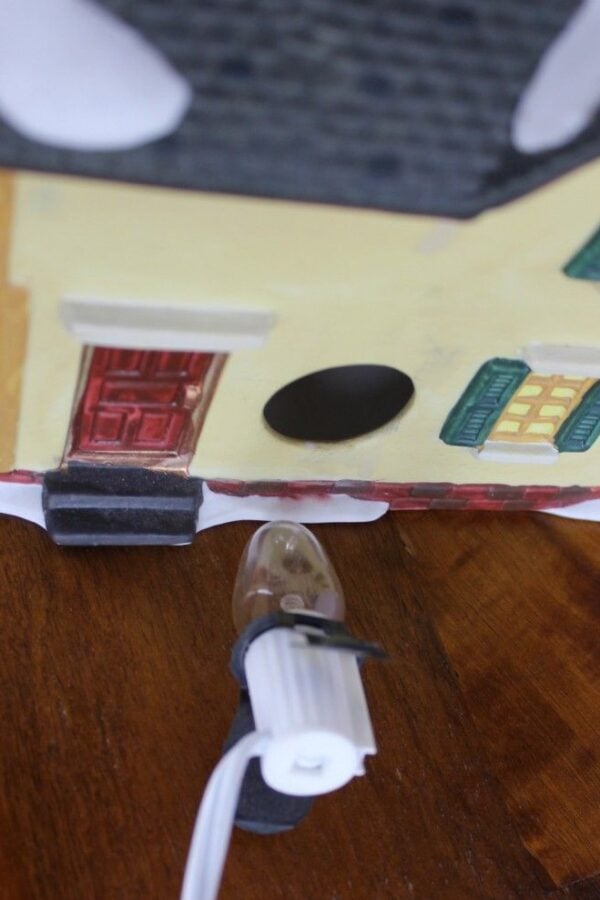
Take out the lights. Just pinch the two side clamps and pull them out. You want the lights out since you will be cleaning the houses well. And also painting them! The electrical cord with the bulb need to be out of the way.
Step 2
Make sure to clean the houses you will be painting. There should be no dust or any dirt of any kind on them. Use soap (like Dawn) and water, grab a toothbrush to get into the crevices. I've also used Windex to clean them and that works too!
Make sure the houses are completely dry when you start painting!
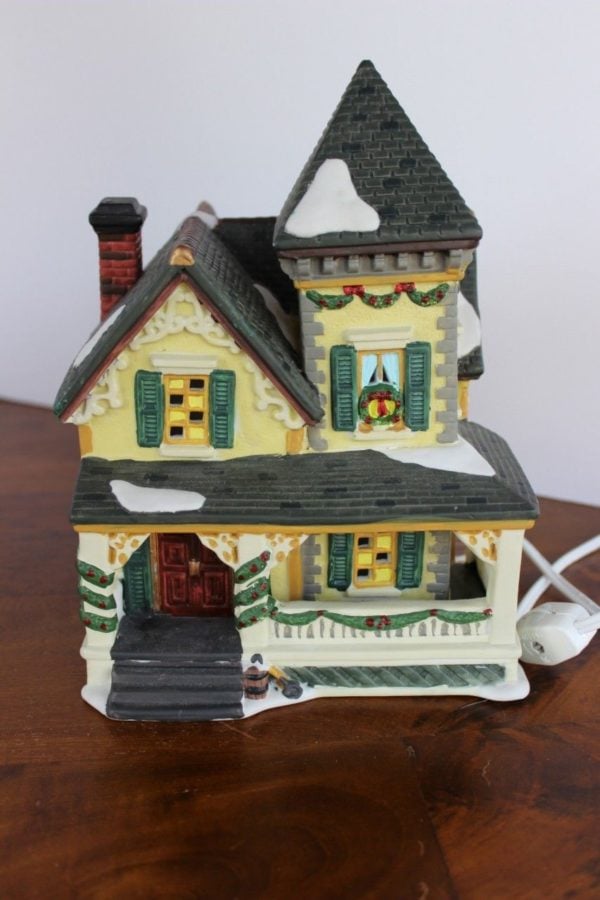
Here is the first house I ever painted. I chose the brightest colored one.
Step 3
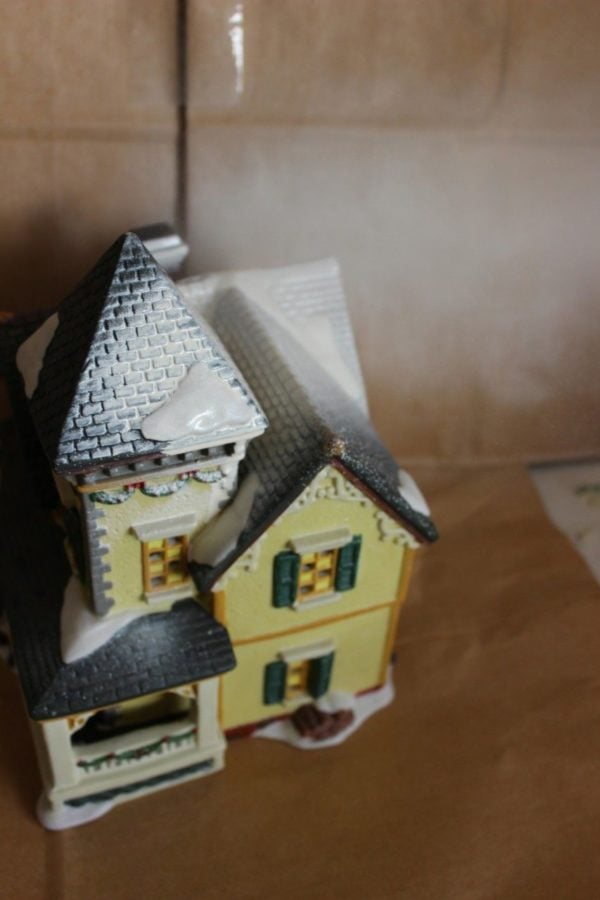
Painting the Christmas village. I have learned (the hard way) that you want to do thin coats—better 2 or 3 thin coats than trying to do a thick coat. Thick coats tend to run and then you have drip marks dried into your white Christmas house.
Spray Painting Hints
Thin coats of spray paint don't run and have a nice, smooth finish. Also, start spraying before you hit your project with the spray paint. That way, you have an excellent, smooth, consistent spray when spraying your project. Sometimes, when you start spraying, you may get a 'glob' or it sputters so you can stop before it hits your project.
It usually takes me two coats to paint these. Initially, I had to do a third mainly because I didn't get the 'underneath parts", for example, under the roof overhang, etc. If you get those areas initially, it will save you having to do another coat of paint.
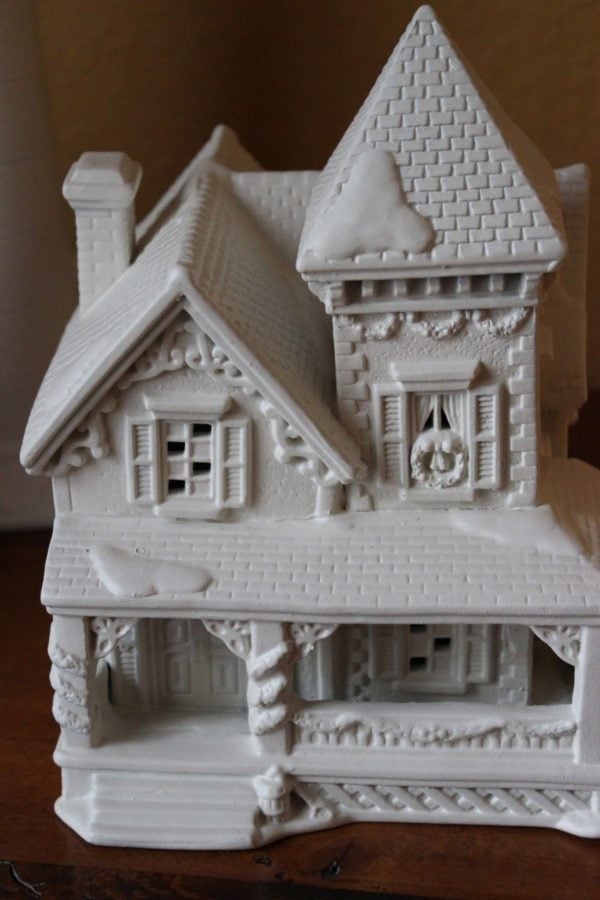
Oh, I love them, even after a few years! It's a fun and easy craft! They look so fresh, so bright and clean now. They look new! Especially in the daylight.

Just a note about the houses I painted. They are the Santa's Workshop ones from Joann's. At the time, they were only $10.00. I don't think they sell them anymore in the stores. I scour thrift shops to find these. Finding them close to Christmas is hard, but I'm usually lucky in the fall.
I love my new white Christmas village houses and have had them for a few years now. It was a super easy transformation for less than $5.00!
I've used them in so many areas!
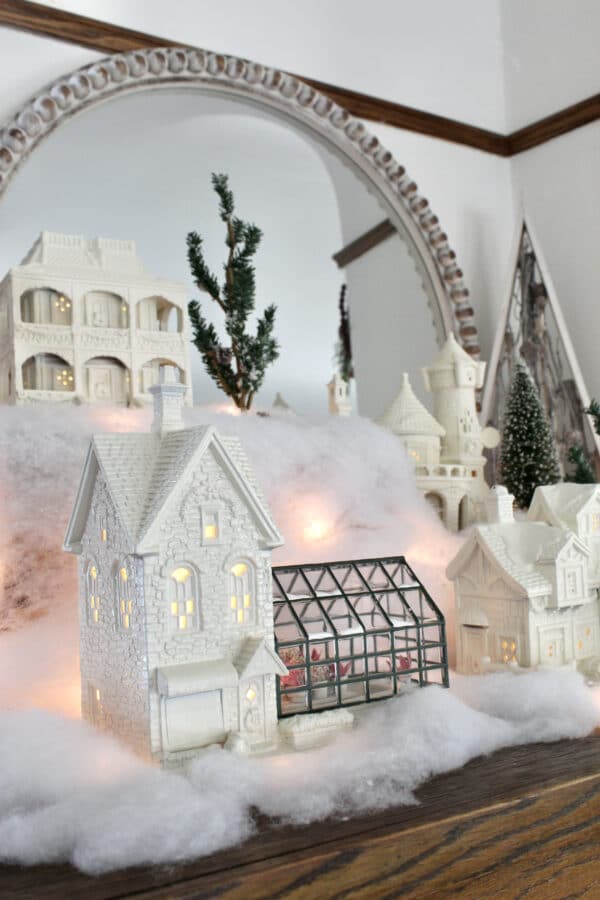
The above is a dark corner in my family room. It is on top of a beautiful built-in. But it's a dark area because of its position and all the dark wood.
I LOVE how the village brings just enough light. And it's the perfect location to have the lights on during the day!
How to set up a Christmas Village
Find your ideal location to set them up. I've put them on a mantel, in deep window frames, on top of dressers, and even on tables pushed against a wall. If you have a family room in the basement, these are a perfect holiday season display with gentle glowing lights. I've even chosen a room and displayed groupings on various tables in that room.
Place your homes at different heights. Use small boxes or stack some books.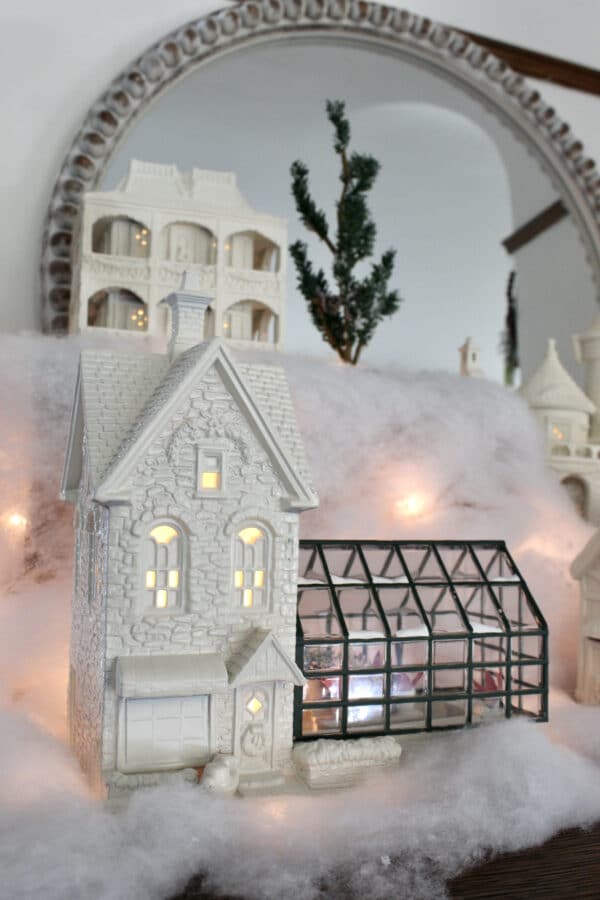
Scatter a string of white lights (with a white cord). It just adds extra sparkle.
Layer some Christmas snow on top of the lights. A craft store or a store like Walmart, Target, or even Dollar Tree will usually have this. There are different types of 'snow'. Use what you like or can find.
Pull and fluff that 'snow' to hide the cords.
Plug all the homes into one power bar. It makes it so easy to turn the whole village on and off. Just be mindful of how many you are plugging in. You don't want to have too many.
Add appropriately placed Christmas trees. I've used bottle brush trees and also trees I've found at the dollar store or garage sales.

If you only want these to turn on in the evening, put a powerstrip onto a timer. Because the powerstrip is three-pronged, you probably need to get an outdoor timer.
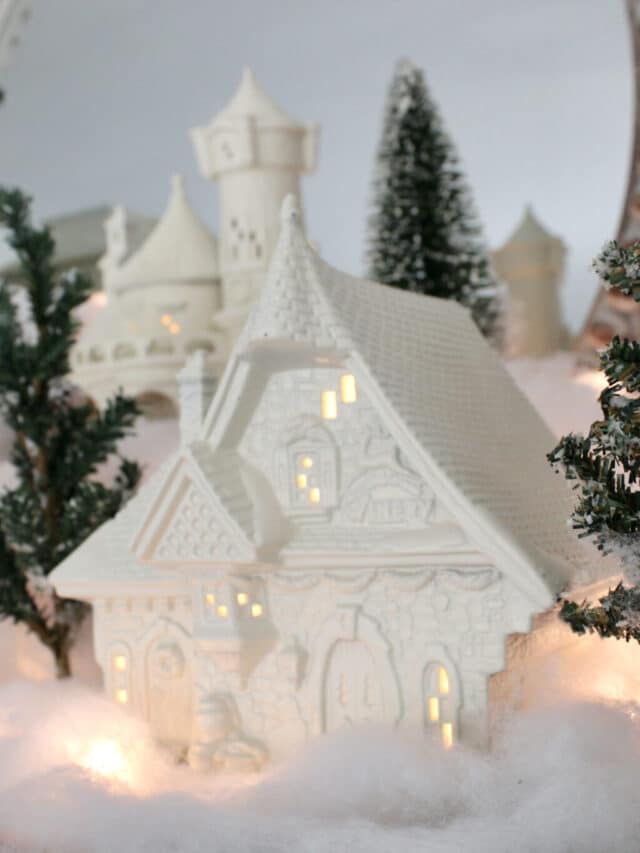
I hope I've shown you a new way to update some items so they can be used and cherished again!
Other Christmas decor projects
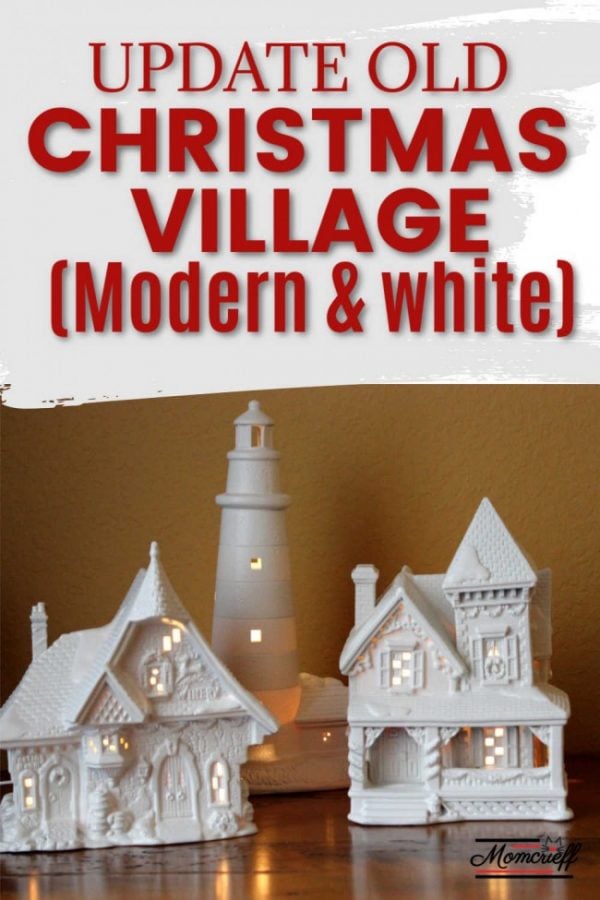
I love these pretty neutral little Christmas village houses is that they don't scream Christmas. You can put them up early and leave them up late.
Enjoy!



Joyce Bolin
I love the houses painted white. I have several from Joann’s that I bought years ago. I’ve thought about painting them, but now I’m definitely going to do it now. Thank you.
Susan Moncrieff
I've had my painted set for about 5 year now and I still love them!!
Michelle
I love this. Is one of the pieces towards the back a castle? It looks like it has a rounded dome on top and archways?
Susan Moncrieff
I finally dug out my white village. I looked and do not have any visible markings (because of paint smudges on the bottom). But, most were very inexpensive ones purchased from Joanne's Crafts years ago. None are from a premium collectable brand. Sorry I can't help more!
Patti Murphy
They turned out stinkin awesome.
Rosana
This looks fantastic and it's a perfect way to get a modern look without having to purchase new village houses! Love it!
Catherine
Love these! I am going to do this with mine as well. I didn't think of painting my lighthouse so thanks for that idea!!
Susan Stevenson
So much better in white! Love the one with the greenhouse!! Merry Christmas!!
Brenda Becker
Looks beautiful! I recently painted my Christmas Village which was very vibrant and bright colors and no longer matched my holiday decor. I used Rustoleum White Linen Chalk Spray Paint. One light coat softened the bright colors into muted pale colors. Now my village houses make me think of a costal home on a frosty, wintery morning! After using white glitter on all of the rooftops and mounts of snow it is really beautiful and ready for many more years of enjoyment.
Kristina Perez
I'm glad you mentioned that these were the cheapies that you were painting. I was aghast at the idea of painting Grandma's village. 😉 Some of those are so expensive.
Paula Cook
Love them I'm changing my Christmas decor next year was looking for ways to salvage my old villages ,which both of them were purchased at thrift stores... Just packed up all my Christmas, But now I'd like to get started painting for next year .
Thanks
Mary-The Boondocks Blog
What a smart makeover. I want to go and buy some cheap ones at the dollar store and paint them. You have convinced me. Pinning.
Mike
Nice job! Think I'm going to try it!
Renna Hanlon
I recently found this post on Pinterest, and fell in love with the idea. I have some old village houses I bought on clearance at Dollar General several years ago, which aren't all that pretty (dollar store quality).
I love how yours look, and wanted to duplicate them exactly. When I looked at Walmart, they didn't have that exact paint. The cans looked the same, but didn't have 'painter's touch' on the label. I've not yet checked with my local hardware store, but will do so.
The thing that concerns me, though, is that the Rustoleum Satin Heirloom White that Walmart did have looked more tan than white on the lids which display the content's color. I wouldn't call white at all. Did your can's lid look that color?
Thanks!
momcrieff
I'm sorry I didn't see your message until today. Rustoleum did update their packaging recently. The Satin Heirloom White is an off-white. But, it looks great for these houses. You don't really want a total white which will have a bit of a blue tinge in it. My opinion : ).
Mary Vitullo
I've been wanting to paint my village houses too and now can see exactly how they will turn out. Thanks for sharing this lovely project.
Mary @ Orphans With Makeup
momcrieff
It is so easy and they look awesome! I painted 3 last year and 5 more last week! My only suggestion is not to use a super, bright white. They tend to look a little blue. Have fun painting!
Patti
What a great way to repurpose things you already have. They turned out great.
amy @ commona-my house
LOVE how you changed it up! I love when gals use what they have and figure out a way to make something marvelous!!! Great Job and really inspiring! I featured you at Give Me the Goods Monday Link Party and you were the most viewed link this week!
http://commona-myhouse.blogspot.com/2013/12/give-me-goods-37-sunday-features.html#.UqX3r8RDtxQ
Keep linking up with us! Love to see your ideas!
XXXOOO.
Kayla @ Home Coming
SUCH a great idea. It really makes them look more modern! I'd love if you'd link up to The DIYers. http://homecomingmn.blogspot.com/2013/12/the-diyers-40.html
Carrie From Carrie This Home
These turned out great! I would love it if you'd link this up to my blog hop. We love crafty transformations like this!
momcrieff
So glad they turned out! I was sure they would. Also, thanks for the invite to your blog hop. I did jump over and linked these spray painted Christmas houses.
Hope
Hi,
Went to Goodwills half off sale today for Black Friday and picked up 2 houses to paint and 1 lighthouse. I will be starting soon, so excited. I wonder though did you have any problems with it going on too thick on the window openings?
momcrieff
No, didn't have any problems with the windows. My main advice is to do thin coats and all should work out well. Hope you love them!
Michelle
What a great idea!
momcrieff
Thank you! I've been trying to repurpose and have discovered the joy of spray painting these last few months. This satisfies both :).
Marie
I love the white! This would look great with the houses I have.