The main thing I dislike about winter is the darkness. By the time it hits December, it is dark by 4 p.m. That's so depressing.
I now have lights all around my house. Not bright and not expensive lights. They are all on timers. When I come home after work, I don't walk into a dark house. And, I don't walk into a dark room when I wake up in the mornings.
Especially my kitchen, dark and early in the mornings.
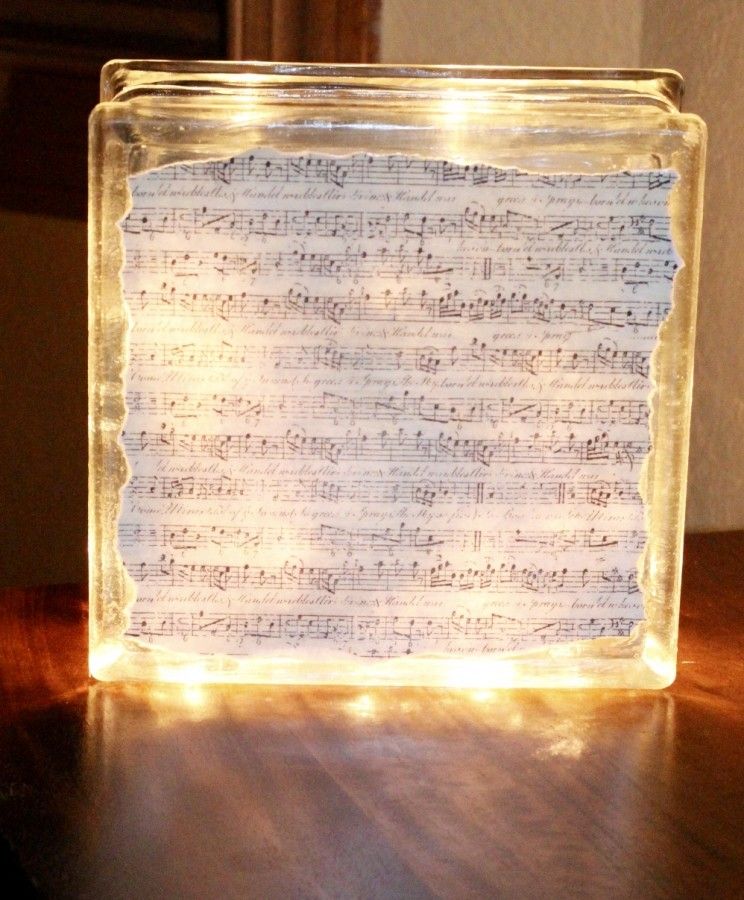
These simple glass craft blocks with Christmas lights in them look good. However, I found something that looks even better and personalizes the illuminated glass blocks. I glued on printed music to make the light softer and make the block look better. This is a great Christmas-type light also!
Table of contents
This was my first Mod Podge project years ago. {GASP} I know, right? I feel like I missed the whole Mod Podge era, and I'm late to the party.
Why I love these glass blocks with Christmas lights
- They can be personalized. I put the words of Silent Night on mine.
- During a dreary winter, glowing lights are cheerful
- These are great hostess, teacher gifts, etc.
- It can be used as Christmas decor or as year-round lighting.
- Easy to make and not very expensive
Supply list
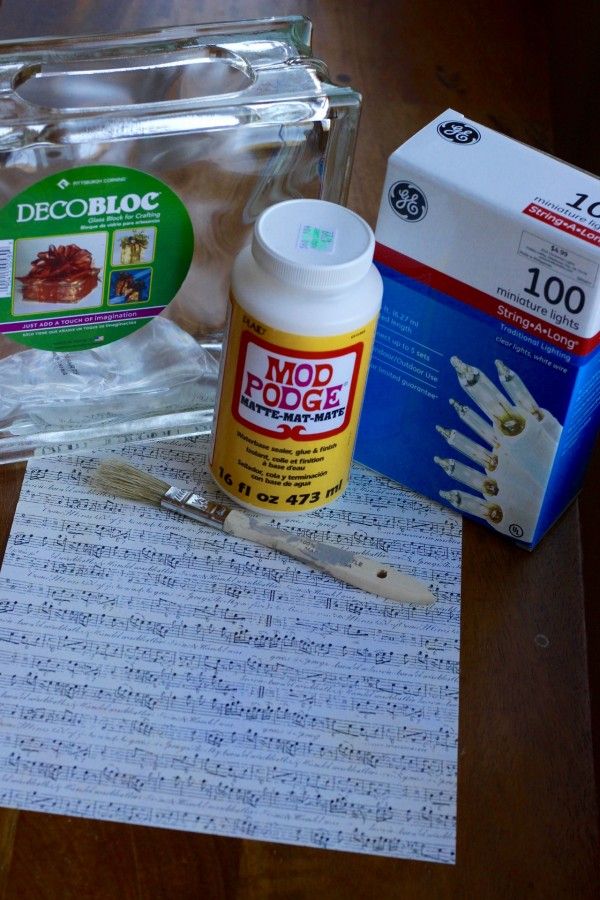
1. Glass block - The craft ones with the predrilled opening. (I used 8 x 8). The holes are hard to put in, so buy the blocks with existing holes (craft stores).
2. Mini Christmas lights. WHITE stringed, white lights
3. Sheet of aged music (I bought it in the scrapbook section of a craft store).
4. Mod Podge
5. Paintbrush
Instructions
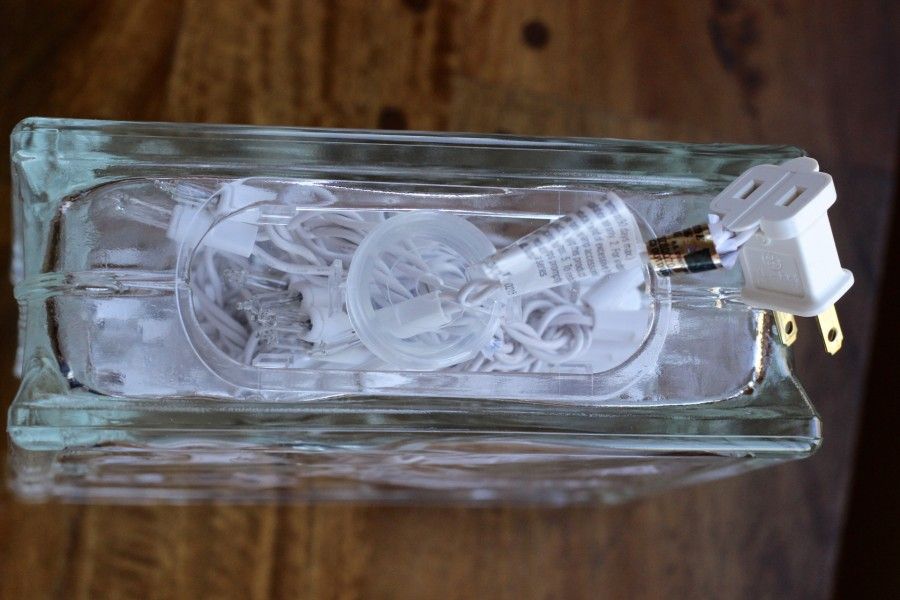
Step 1
Stuff the white stringed white lights into the block. For this project, I used a string of 100. I wanted the illumination to be very bright. In many cases, when I have made these illuminated light blocks, I've used light strings that have 35 or 50 lights. Just a FYI, when you do use the 100 lights, the block does become warm.
Step 2
Carefully tear the sheet of music, so you have nice rough edges and it fits onto the block with an edge of the glass block showing. Or, if you like straight lines, cut the sheet to fit the block.
Step 3
Take the Mod Podge and apply a pretty thick coat onto the front of the glass blocks.
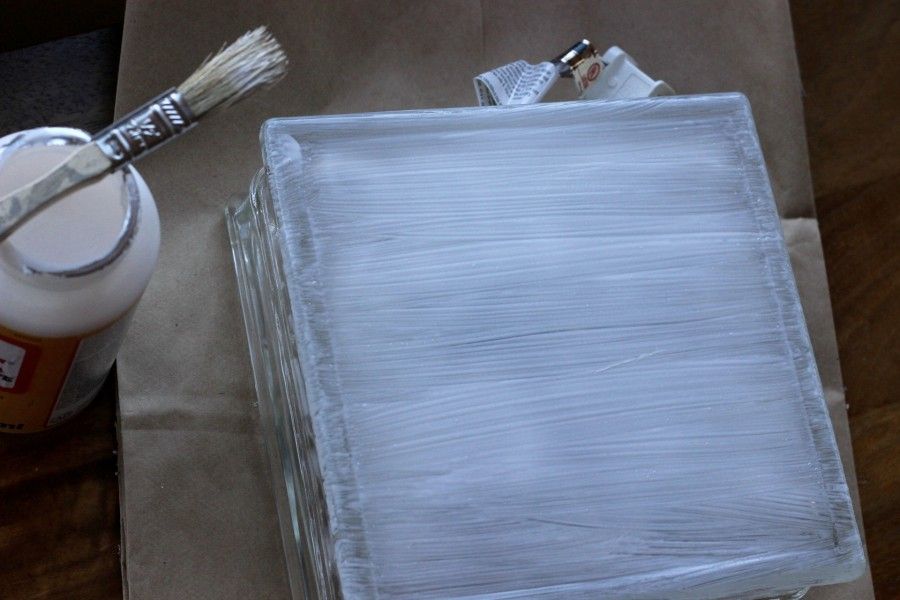
Place the paper on the Mod Podged glass block.
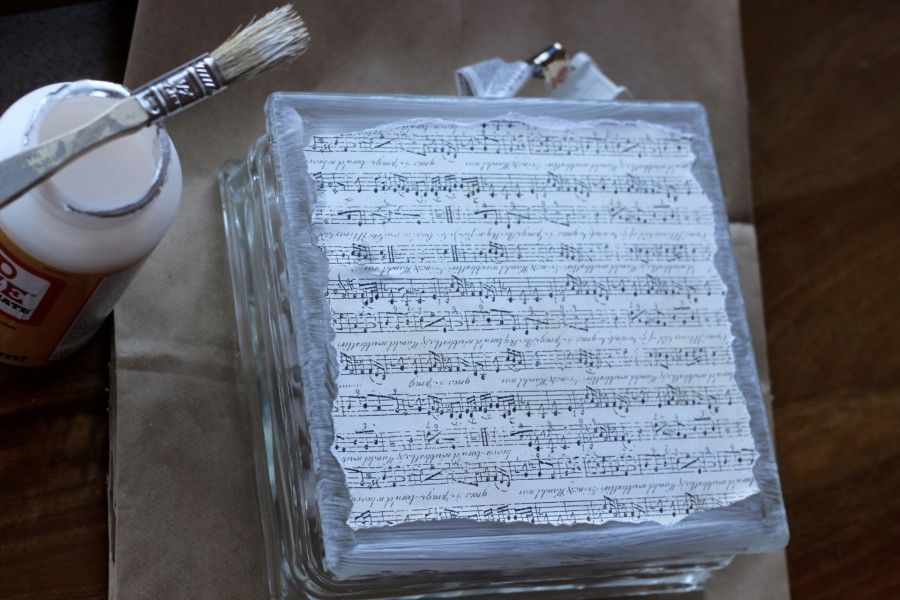
Make sure to press the paper down well so that you have no bubbles. You want to make sure there is good contact everywhere with the paper and the glass.
Step 4
Apply a thickish coat (the same thickness as what you put on earlier) onto the paper. Make sure you have applied it well on the edges. I finished it off by making nice horizontal strokes so that if I could see any once they dried, they would look uniform.
It took two coats for me to get the coverage I wanted. Make sure the first coat is dry to the touch before applying the second. It took mine about 15 minutes, but it will totally depend on how much product you used and technical stuff like the humidity and temperature.
After the second coat is dry, plug in your lights!
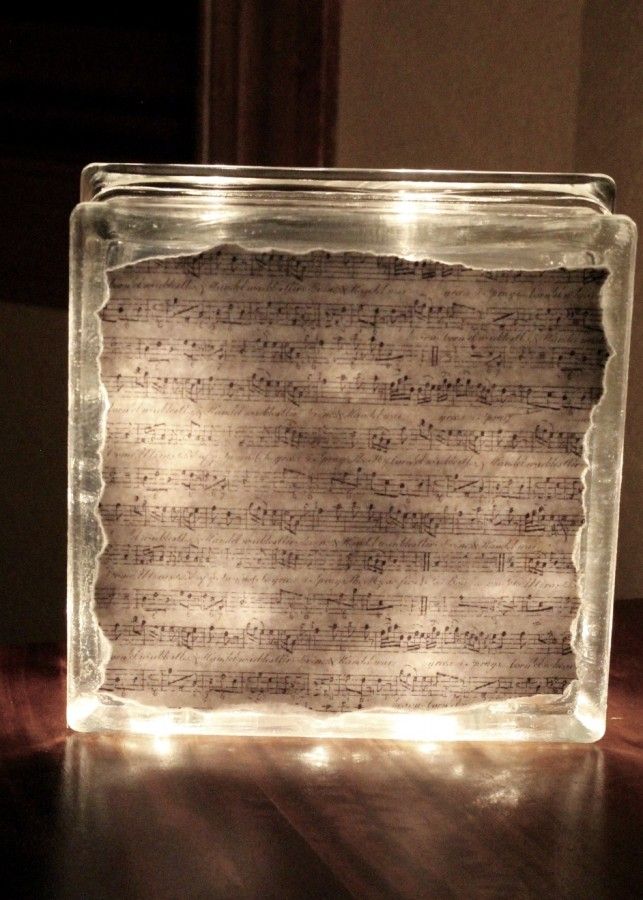
Then, as it got darker...
Step 5
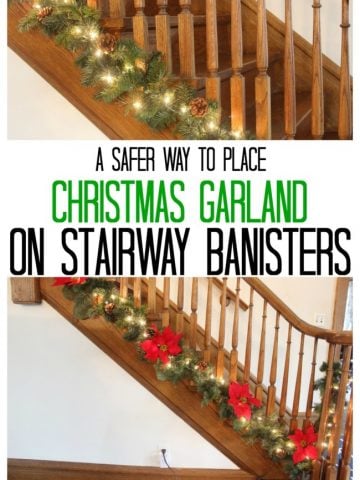
Put these lights and others on a timer. They are not that expensive anymore, and there are many choices around Christmas. I always buy lots when they are on clearance after Christmas.
Make one of these for yourself and for a friend. Also great as a neighbor gift, hostess gift, or teacher's gift!

Sally Koll
How do you get the string of lights to stay up so they don’t all just lay on the bottom of the block. I made for a friend and her lights all landed on the bottom so we put a small branch to hold them up. Thanks!
Susan Moncrieff
The wire of the set I used was pretty stiff. But, even if the lights are at the bottom, it's still well light up and pretty!
Marla
Did you put the paper notes facing the glass or away?
momcrieff
I had the paper notes facing away from the glass. Just like you would normally be looking at the paper - it was the 'back' that was applied to the block.
Carmie Fox
When I put the paper on my block it drys very wrinkled. What do I do, or am I doing this the wrong way?
Deb
I use LED lights so the blocks don’t get hot
momcrieff
LED lights are a great idea!
Anonymous
And thank you for info re: Menards, they're not that cheap at Wal-Mart.
Anonymous
Nice. Would love to see a printed photo on one.
pestep81
Very clever, I love it. I didn't know you could buy glass block with a pre-cut hole. This opens up all kinds of possibilities Thanks for sharing.