Hey Friends! Let me show you a recent sewing project! I enjoy making really simple sewing projects that can be high-impact! In fact, I look for fabric that will make the sewing project easier (by having straight lines or easy-to-follow pattern repeats).
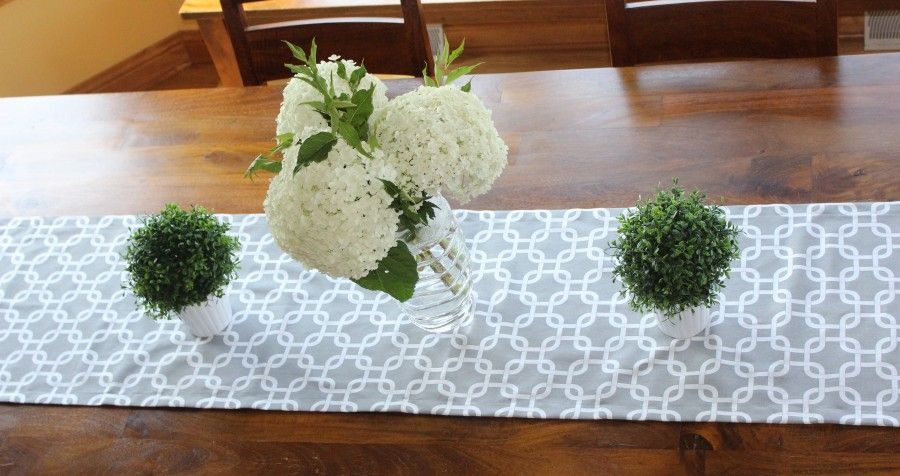
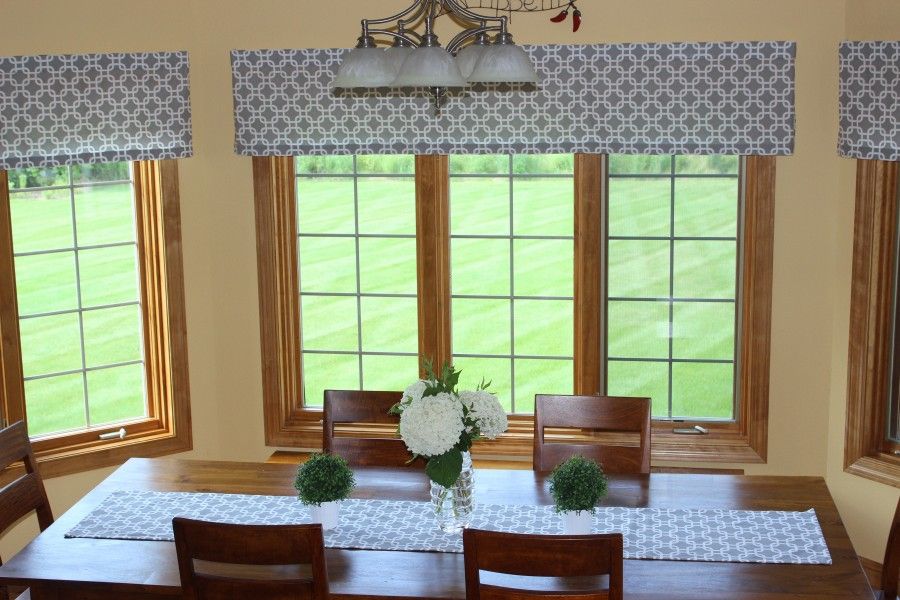
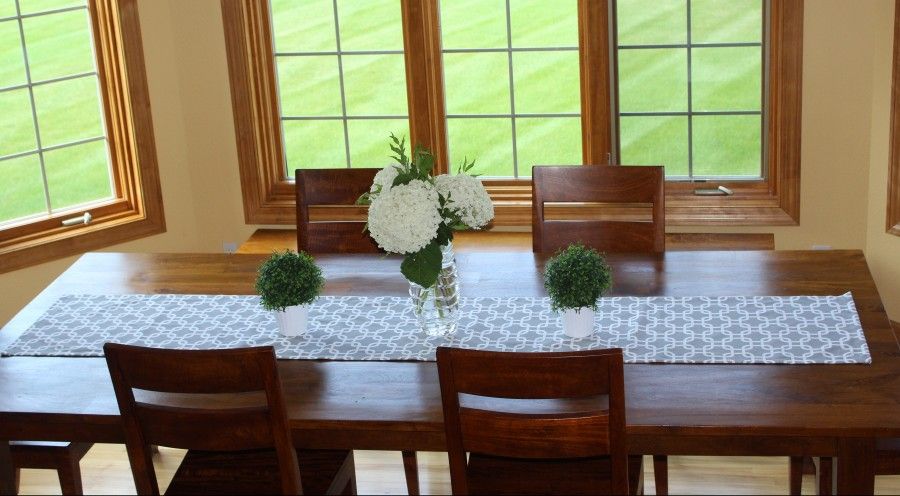
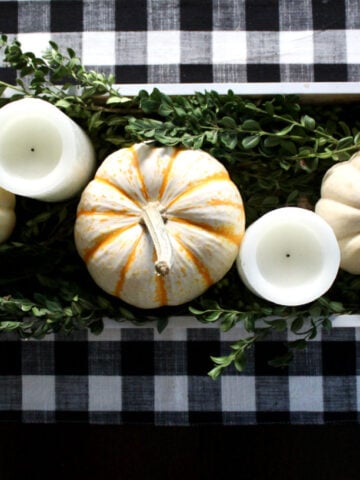
I had some leftover material from when I made my kitchen valances. I decided to make a very simple table runner. I love having them on my tables because they are basically decor and grounds the centerpiece.
If you are looking for some helpful no sew ideas, I still fix jean buttons this way. And here is a no-sew hack for kitchen valances I did for Christmas.
I thought I would show you the kitchen table runner. Just in case it inspires you to make a simple seasonal one for your kitchen or dining room table. I had a long narrow piece of material left over and it was the perfect size!
I like sizing the table runners to sit on the table and not drape over. They look prettier that way and showcase rather than hide the table.
Supplies
Fabric - I cut the fabric 4 inches wider and longer than what I want the finished runner to be. This is a single layer piece so perfect for a beginner.
Matching thread - My fabric is cotton to I used cotton thread.
Instructions
Step 1
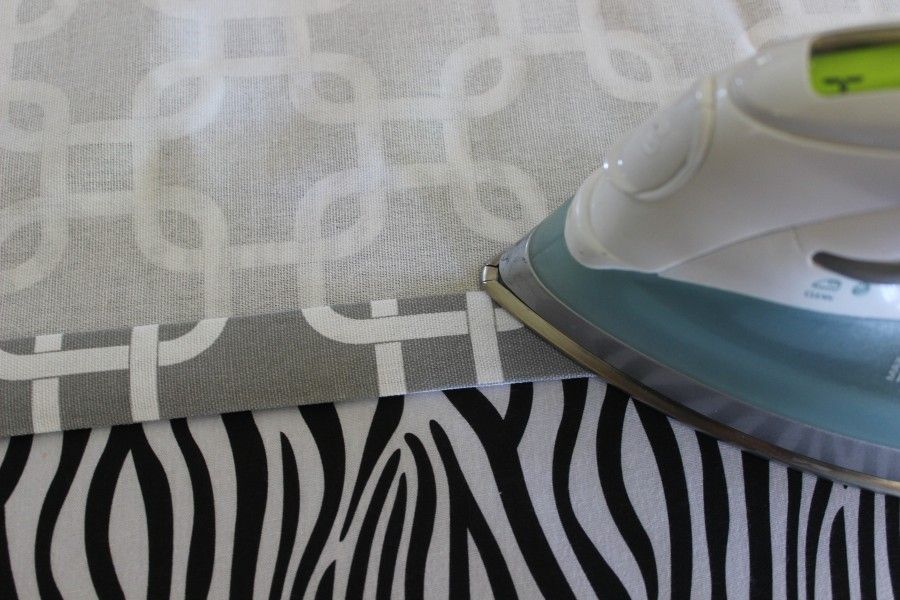
Ironing hems makes sewing so much easier!! I cut the material to be a total of 4 inches wider and longer than what I want the finished runner to be.
Step 2
I ironed a 2 inch hem. Then, I unfolded the hem and folded and ironed a one inch hem. That way, the unfinished edge is contained. Look in the picture below where the ironed crease is? That's the 2 inch crease. I folded and ironed ½ of the hem and then when I folded the original ironed crease, it was all nice and neat.
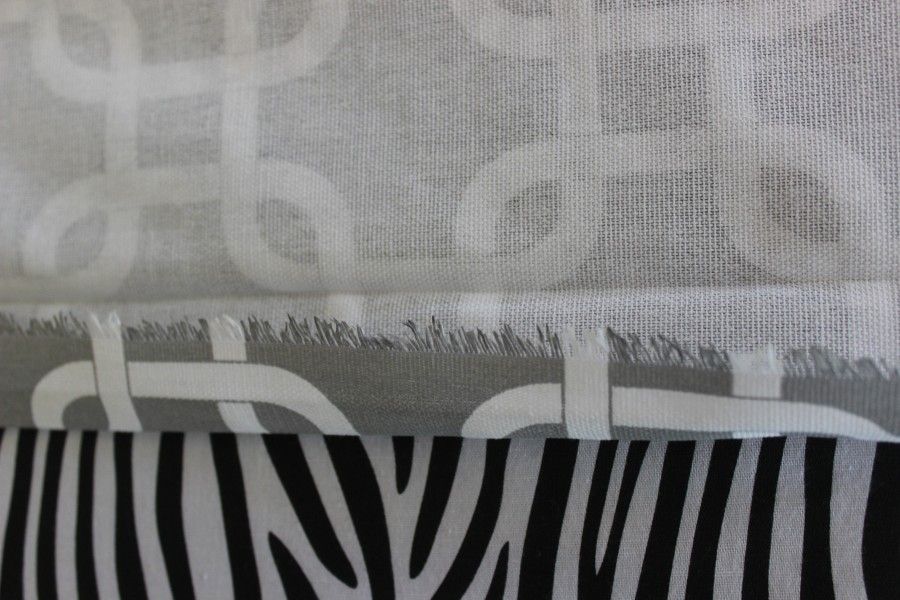
The two one inch folds equals the original 2 inch fold. I just found it easier to initially measure and iron the 2 inch fold, then open and iron ½ of that.
See how all the rough end is encased? Now, if I was planning on keeping the runner forever, I think the proper thing to have done would have been to finish the edge (zig zag around the unfinished edge). But, I tend to get tired of things after a few years so it wasn't worth the work to me.
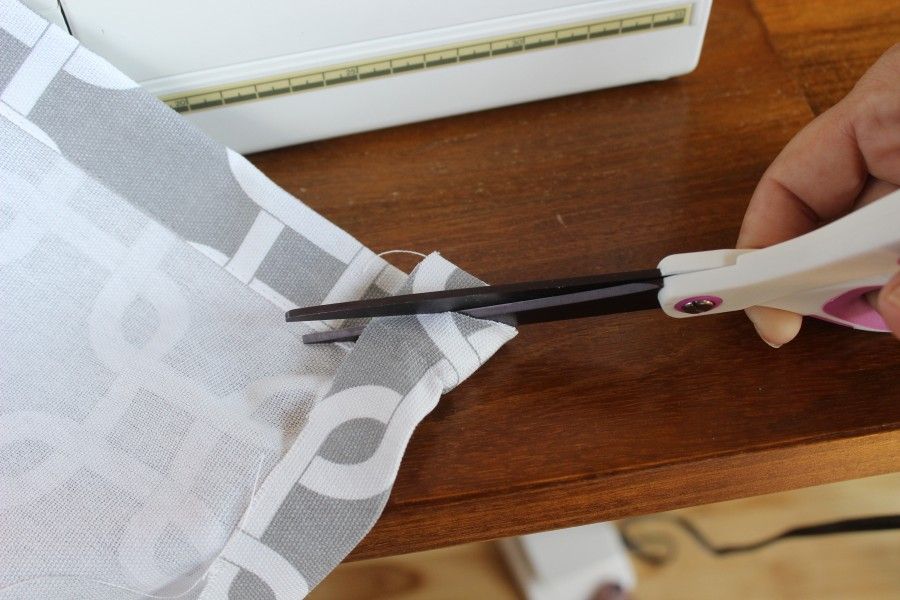
Tips for corners
I do cut some of the corner off when I'm folding at the corner. It just takes the bulk away and it makes it easier to sew the corners.

Now, all of that wasn't so hard, was it?
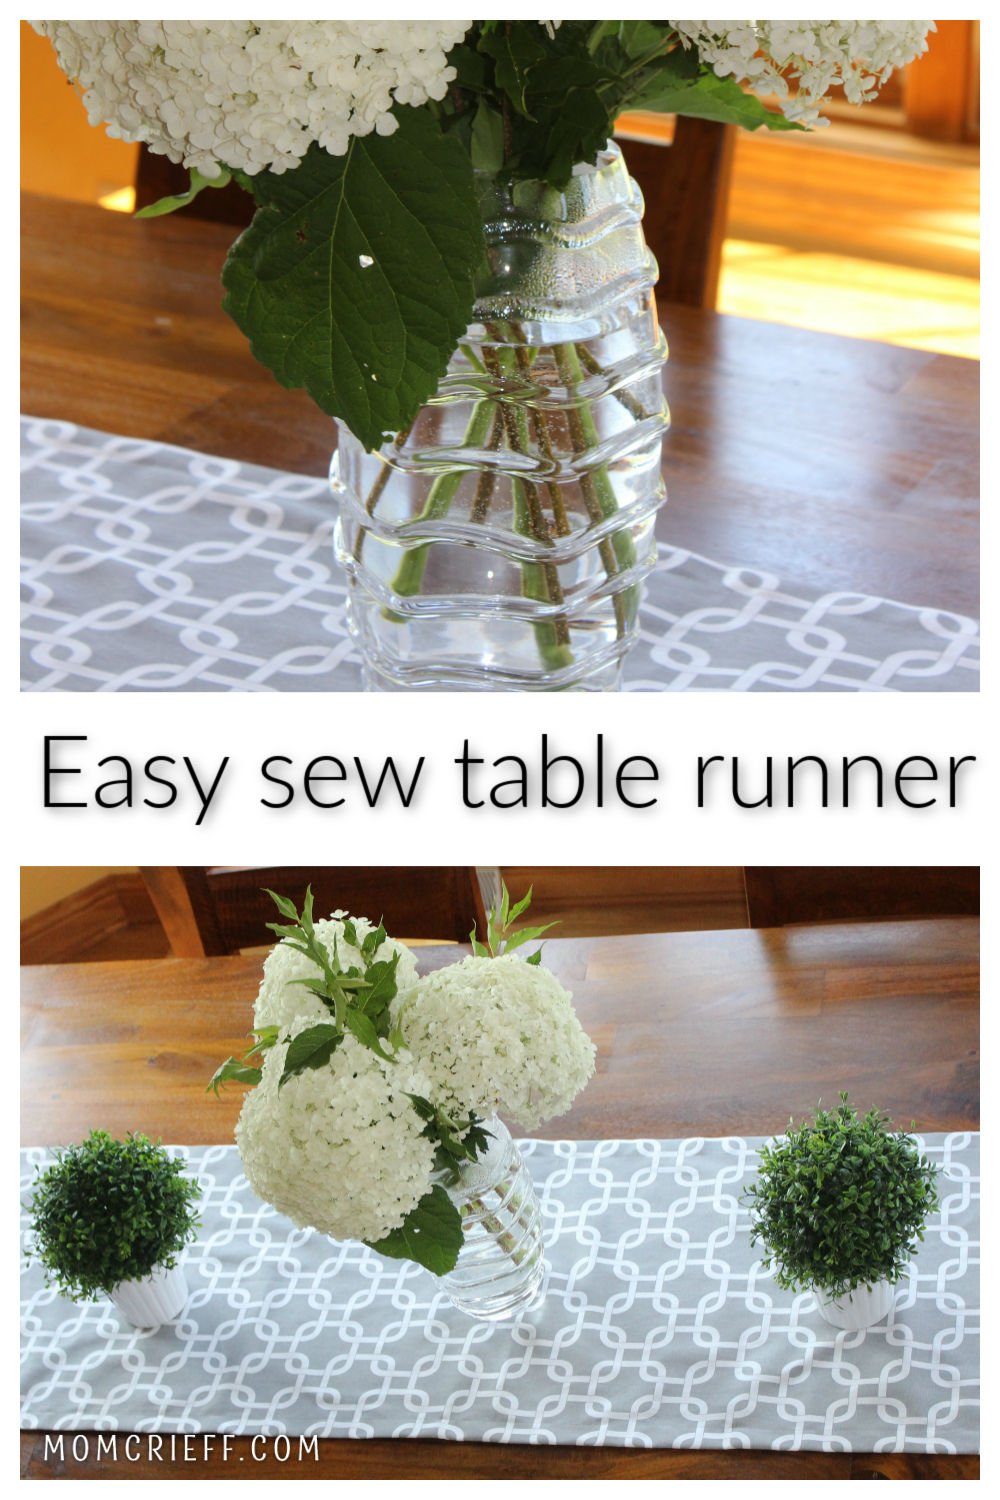
I totally love my table runner!!
For an easy to sew project, this is great. A little fyi, if you buy material with straight lines in it, it helps you measure and sew everything evenly.
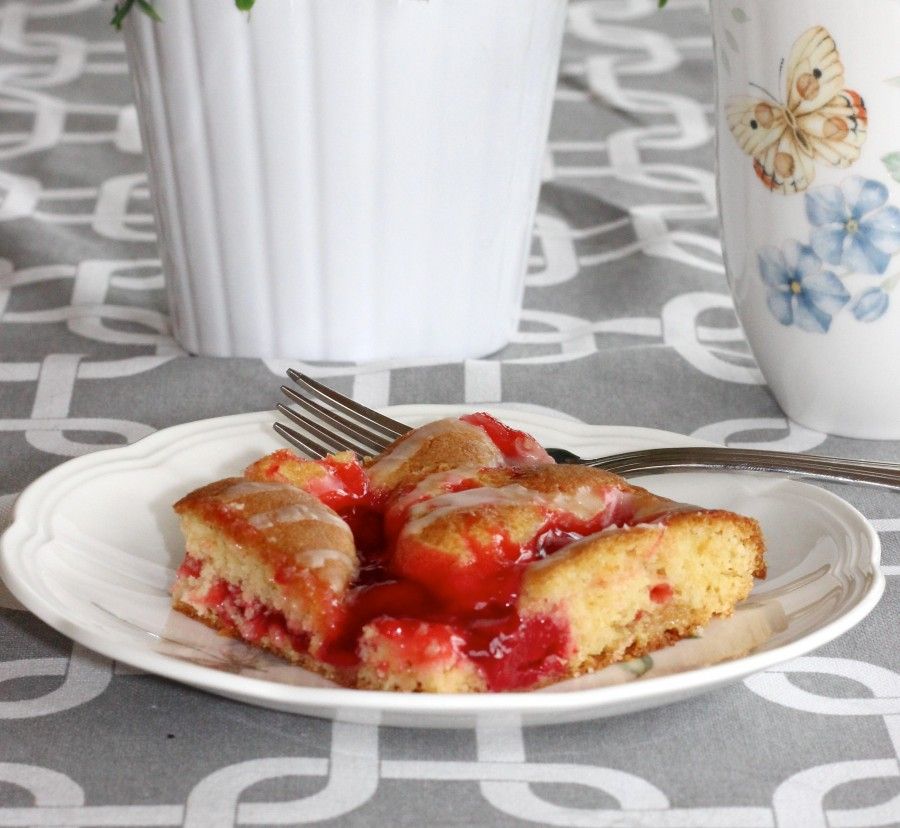
I've had it on my table for about a month now. You probably have seen it in the background of some of my pictures like my cherry coffee cake.
This project is perfect when you don't want to spend a fortune or you see the perfect material in the store!!
What easy sewing project have you done? Isn't it amazing how much it adds to your decor?
Originally published Sept. 11, 2015.


Susan
Would love instructions for the valances in these photos.... thank you!
momcrieff
Thank you for the suggestion! I will be making some kitchen valances soon. I'll share a tutorial!