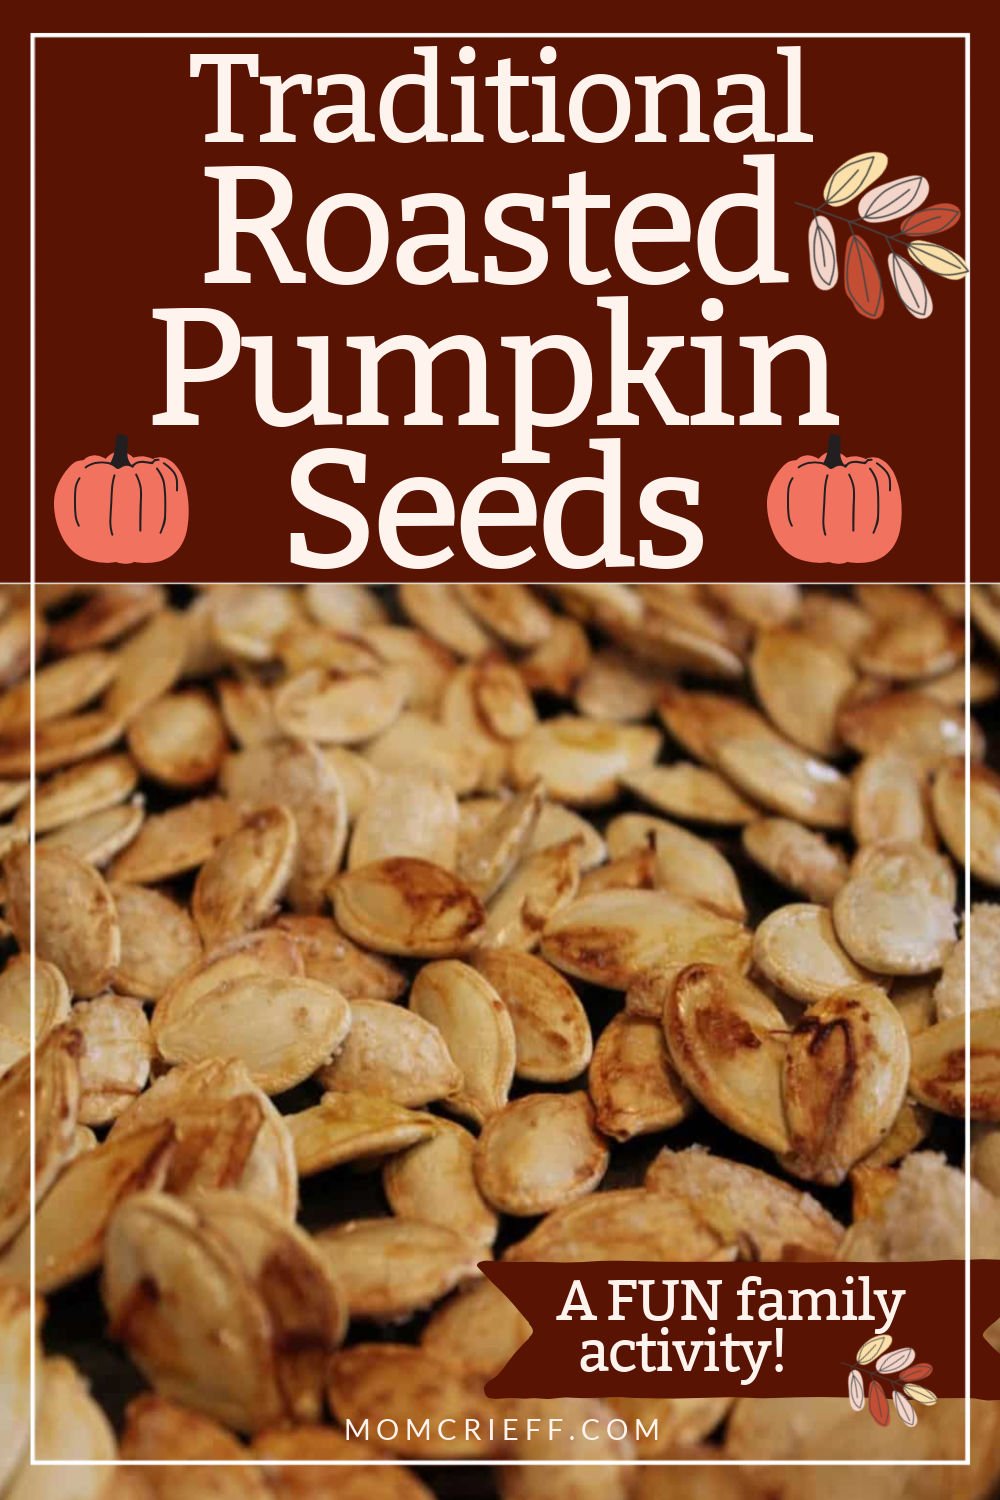
Roasted pumpkin seeds that are a crunchy, salty snack and oh-so flavorful. These roasted pumpkin seeds are delicious and a great tradition to add to your family's Halloween celebrations.
When planning to carve your pumpkins, did you know you can make solar pumpkins?
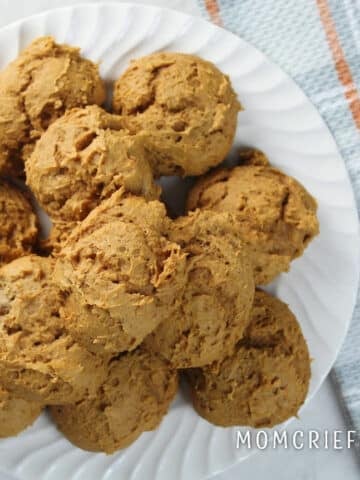
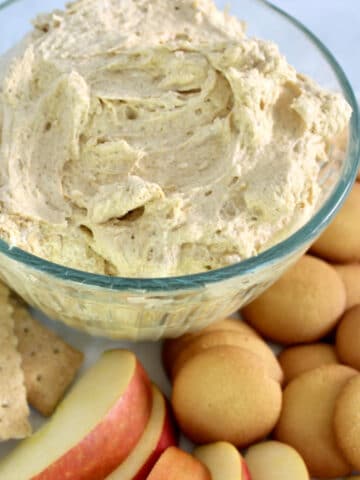
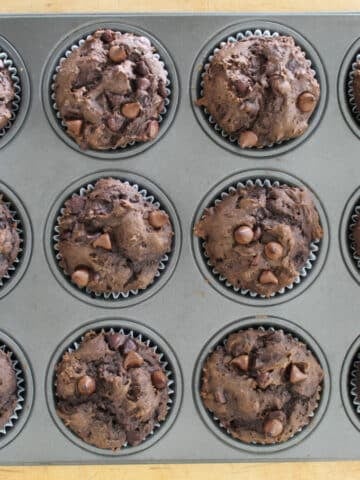
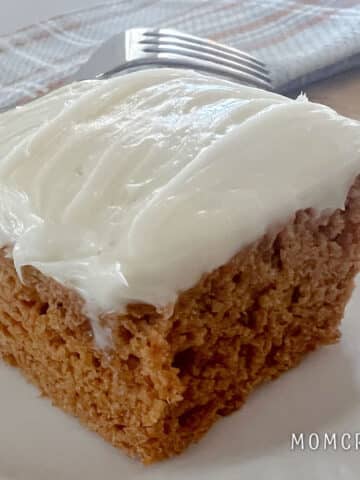
For that delightful pumpkin spice flavor, I have some easy recipes for you! These Two Ingredient Pumpkin Muffins were one of the first food posts I ever published! And due to so many requests, I modified it into an easy pumpkin bread! Find all of my favorite Easy Pumpkin Recipes here.
Table of contents
Why I love making this
- I enjoy salty and crunchy treats. This one is homemade!
- This is a simple treat, and it's free! Many people throw the seeds out, but why not turn them into a delicious snack?
- Memories. Making these seasoned seeds brings back memories of past years. It is always fun carving the pumpkins and making this snack.
Carving the pumpkin
Just a quick overview of how to carve a pumpkin. Hold the stem, and use a sharp knife or the little carving tools you buy at stores just before Halloween. Personally, those cheap carving tools work great for me! Ensure you cut at an angle so the pumpkin lid can rest on the pumpkin and doesn't fall through. Scrape the pumpkin flesh with a strong spoon to remove all the contents. Sort and separate the seeds. The stringy stuff should be removed, but leave some pumpkin 'goo' on the seeds.
My little secret ... I started using my drill and an attachment to carve my pumpkins. And I added a solar light so that the light would go on automatically each night. Look at how I did that - How to make a solar carved pumpkin.
Prepare the pumpkin seeds
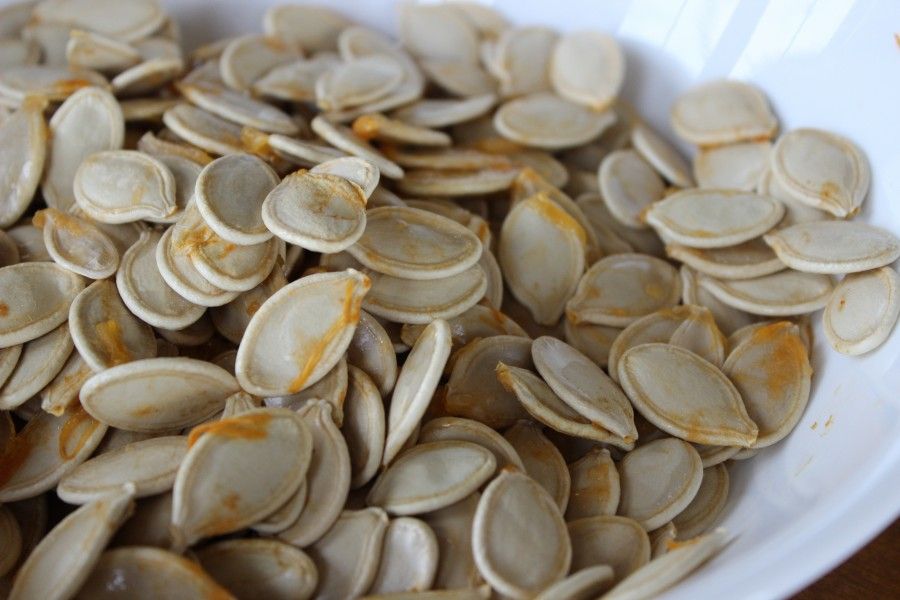
Scrape out those seeds from inside the pumpkins that you will be carving. Sort the seeds from the pumpkin guts in a bowl.
But, wait for it, this is so important! Do NOT rinse the pumpkin seeds. Let me repeat: do NOT rinse the pumpkin goop off your pumpkin seeds. You must leave some of the pumpkin pulp and the stringy bits on the seeds. It makes making roasted pumpkin seeds so much easier.
Use a paper towel to dab the seeds so they are a little dryer. Just leave some pumpkin goop on the seeds, and it gives the salt something to stick to and gives the seeds flavor.
Ingredients
For this recipe, I used ½ lb pumpkin seeds.
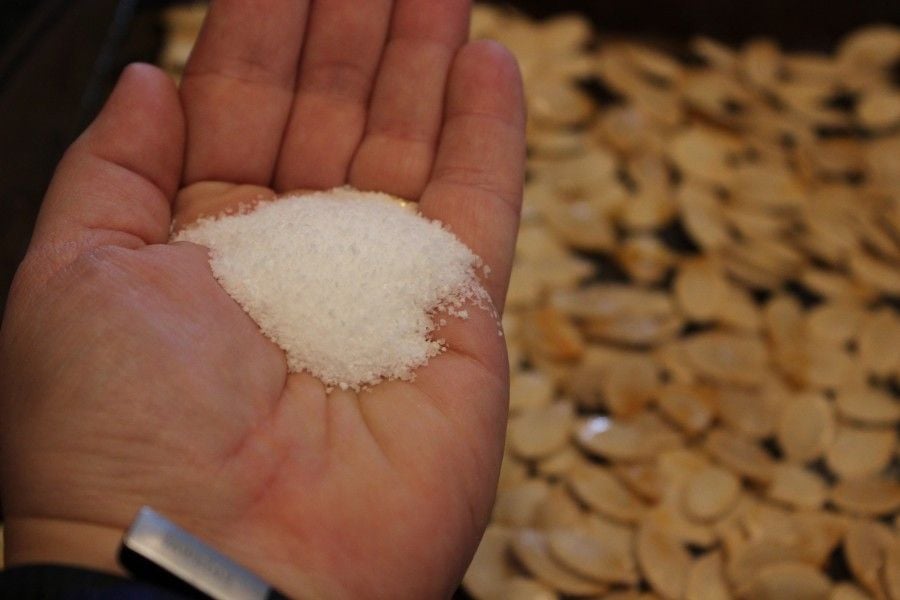
1 tablespoon coarse salt
Non-stick spray
Variations
If you want to change the flavor, prepare as directed in the recipe. Then add ONE of the following (to taste):
- curry powder
- garlic powder
- chili powder
- smoked paprika
Are there any flavors your family loves that I haven't included?
Instructions
Preheat oven to 350 Fahrenheit.
Step 1
Line the baking sheet with parchment paper. Spray LOTS of baking spray on a jelly roll pan (cookie sheet with sides)
Step 2
Spread out your pumpkin seeds in a single layer. Give the seeds a good spray with the baking spray. Gently toss them around the sheet to ensure both sides are well covered.

Step 3
Add your course salt. I had some Kosher salt, which worked great. Use lots. I used about a heaping tablespoon worth. You need to use more than you think you should use.
Bake the seeds for about 10 minutes, then shake the pan to move the seeds around. If they stick to the pan or parchment paper, give them a gentle stir.
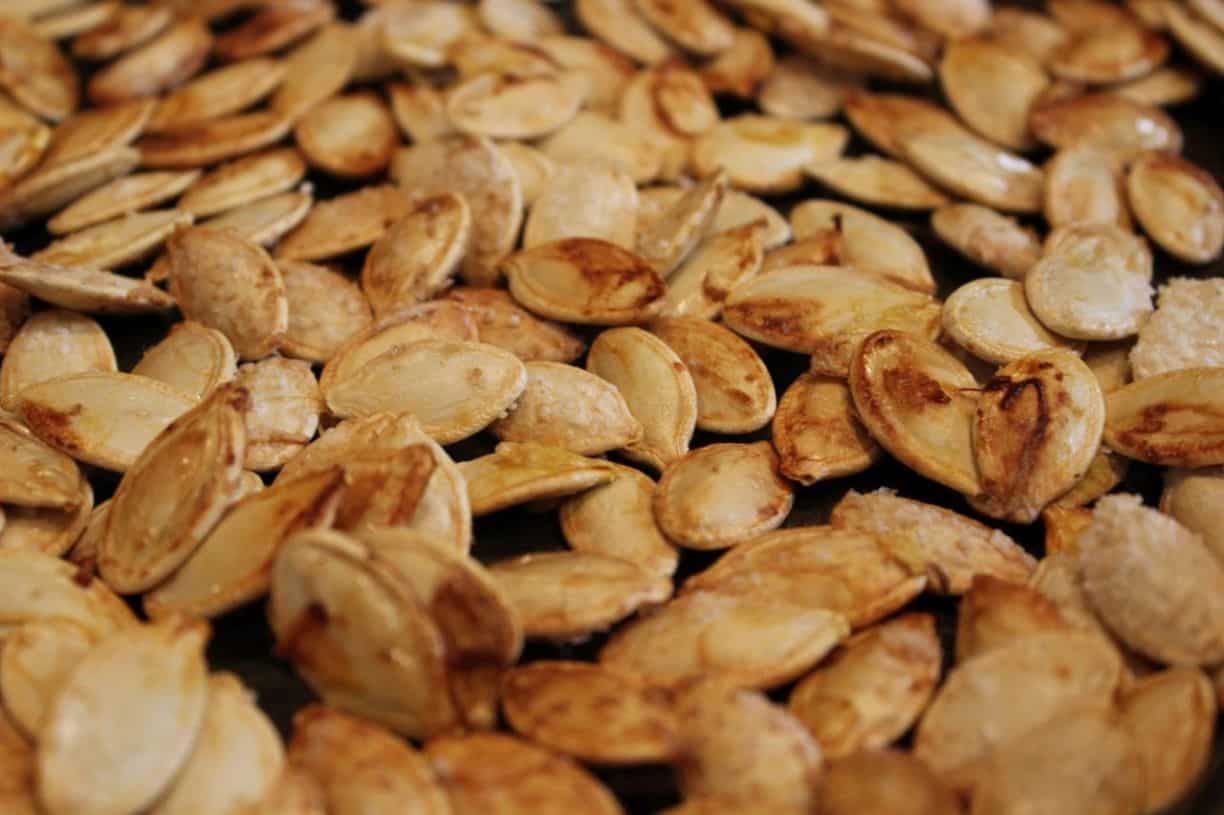
Bake for another 5 or 10 minutes until most of the seeds are light brown. Watch closely the last few minutes.
They are nice and crunchy, salty, and, I'm sure, full of lots of fiber. So
Enjoy your homemade roasted pumpkin seeds.

Storage
Store seeds in an airtight container for about a week.
FAQs
I do dry them by dabbing them with a paper towel and letting them sit out for an hour or two (stirring occasionally). They roast faster this way.
The seeds would not be crunchy or flavorful. I don't think they'd be an enjoyable snack!
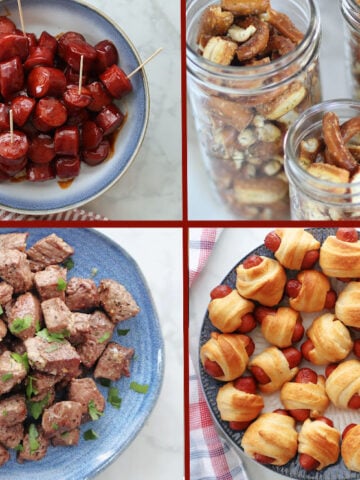
Other delicious pumpkin treats!
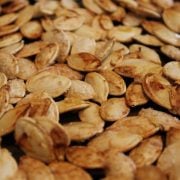
Easy Roasted Pumpkin Seeds (traditional)
Ingredients
- ½ lb pumpkin seeds fresh pumpkin seeds
- 1 tablespoon course salt
- Cooking or baking spray
Instructions
- Preheat oven to 350 degrees
- Line baking sheet with parchment paper
- Spray pumpkin seeds heavily with cooking spray
- Sprinkle with coarse salt.
- Bake 10 minutes, stir and bake approximately 10 minutes
- Watch for a nice golden brown color and then pull out the seeds.
Notes
Nutrition (estimate)

Marla Woods
This is the best pumpkin seed recipe... It's fool-proof and sooooo good!