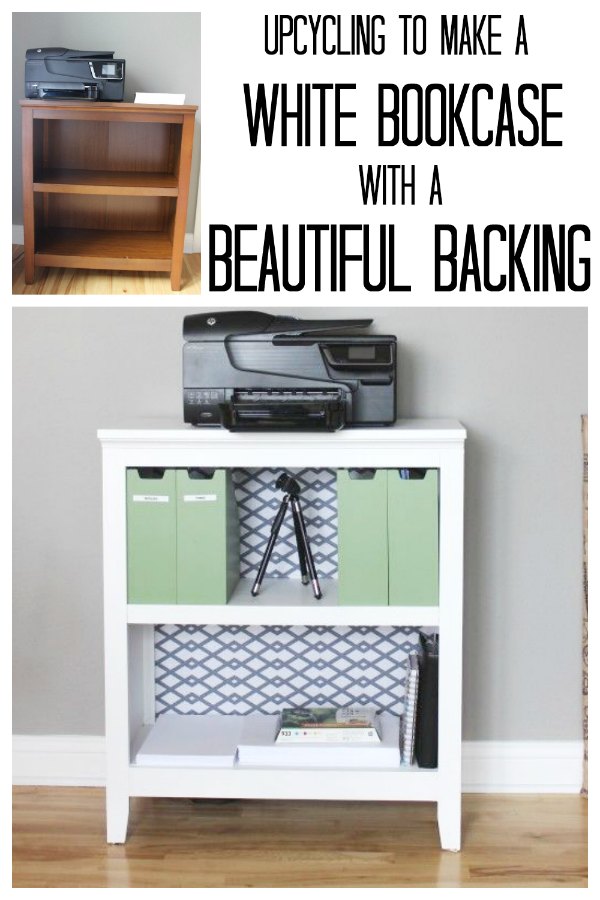
Have a bookcase that you want white?
I changed the color and look of my dining room, to turn it into my home office. I didn't have much of a budget to finish the room so tried to repurpose what I had. Nothing like repurposing to get cheap updated looks!
Last year, we convert our dining room into a home office for me. At first, it didn't make sense to me but after a few days it was one of those, "Why didn't we do this before?" ideas!
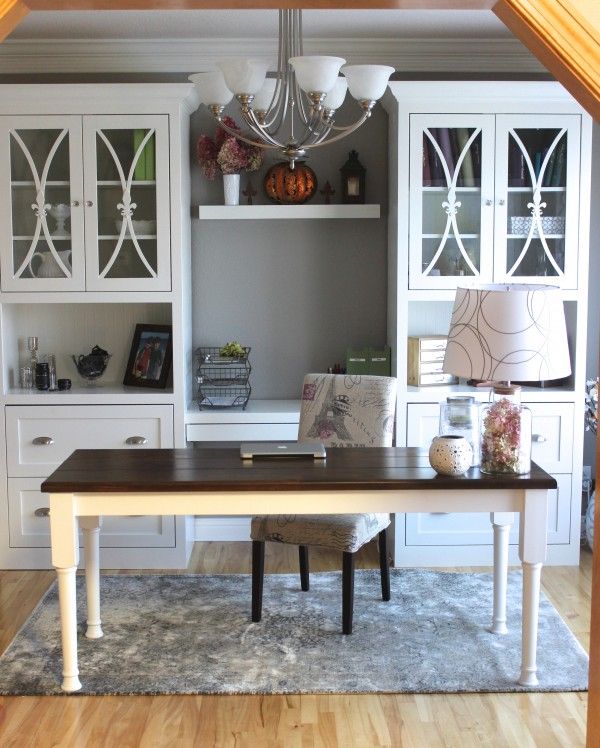 Above is what it looks like. Actually, this picture is from the fall (note the pumpkin on the shelf). And, I love it. Click here if you want to see more before and after pictures. It's my home office, my blog office and our family command center.
I needed a place to put my printer and my original plan didn't work out. I had thought I could tuck it into a drawer but the printer was about 2 inches too wide. So, I'm thinking my next printer will be smaller and will probably fit!
I had the bookshelf below, not being used in another room.

The color scheme of my room was grey and white. Not this Target bookshelf brown! It really bothered me that it didn't match.
How I updated my bookcase
In the fall I took my basic brown bookcase outside to paint.
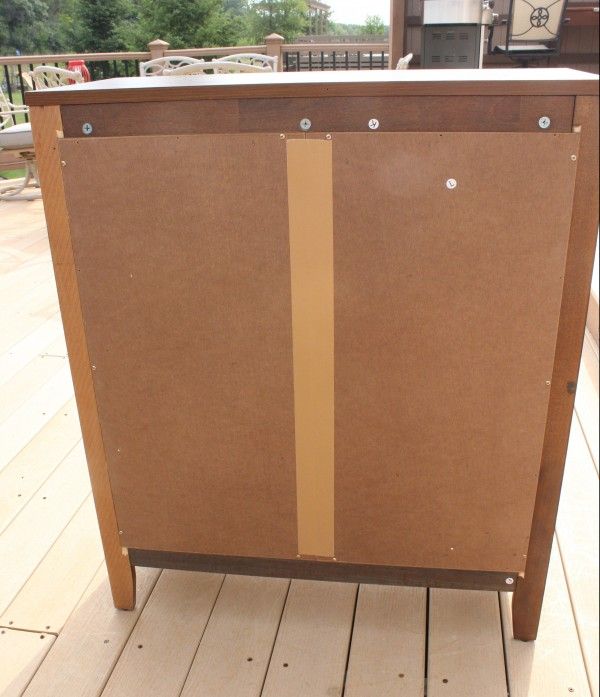
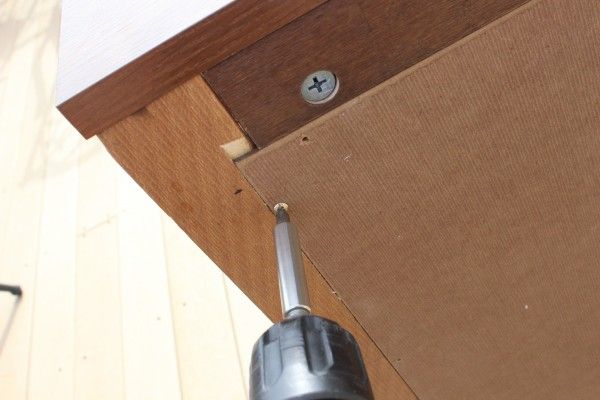
The back was super cheap looking. I unscrewed it.

Looking for super easy delicious recipes? Sign up and I'll send them!
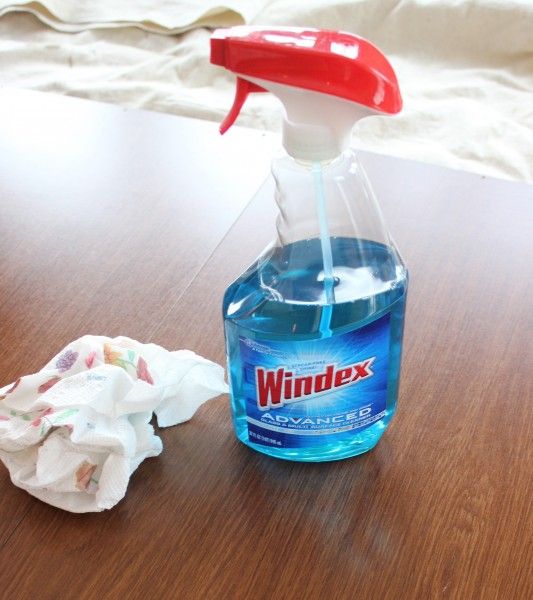
Then I wiped the whole shelf down with Windex and let it dry well. I find Windex is an awesome cleaner and degreaser (and I have lots of it handy).
My first coat was a primer. I had white Kilz in the basement so I used that.
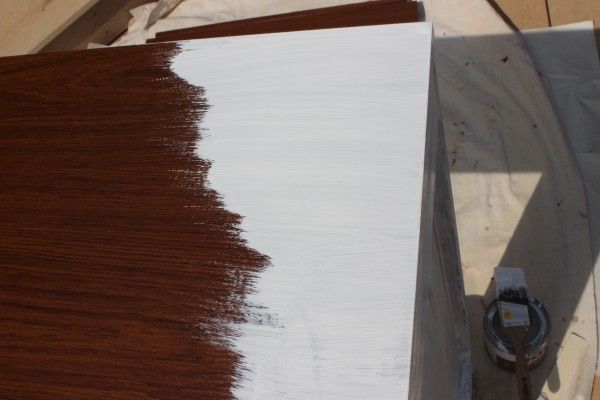
After it dried, I did a coat of white paint.
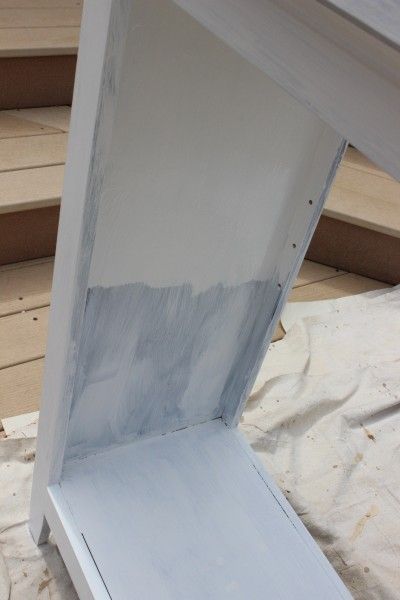
Pretty obvious which part has the first coat of paint on it, isn't it?
I did two thin coats of paint. A tip - make sure it's not too hot or too humid when you paint. I'm also a fan of thinner coats of paint. That way you get less streak marks and less chance of drip marks.
I had put the finished bookshelf back in my office and didn't put the back on, letting the grey paint from the wall show through. I liked the look, but, it bugged me because it just seemed unfinished. Fortunately, I didn't throw out the backing. Used my favorite cleaner again to make sure it would be nice and clean.
How to update the back of the bookshelf
Instead of painting, I used a yard of pretty grey and white fabric.
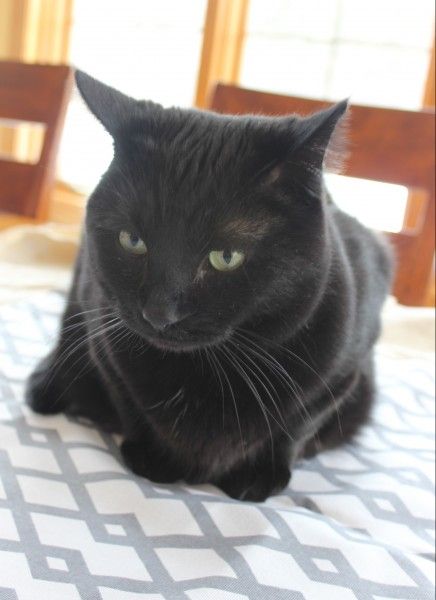
My kitty inspected it and approved!
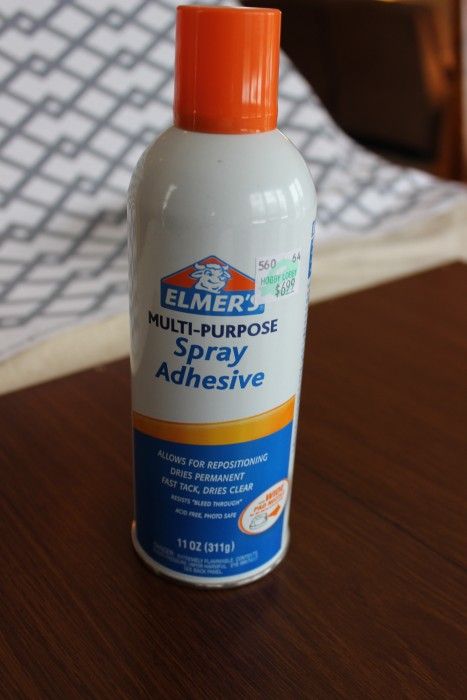
Iron it well. Then use this adhesive. Lightly spray it on and firmly apply the fabric, smoothing out any wrinkles and buckling.
Then I screwed the back on.
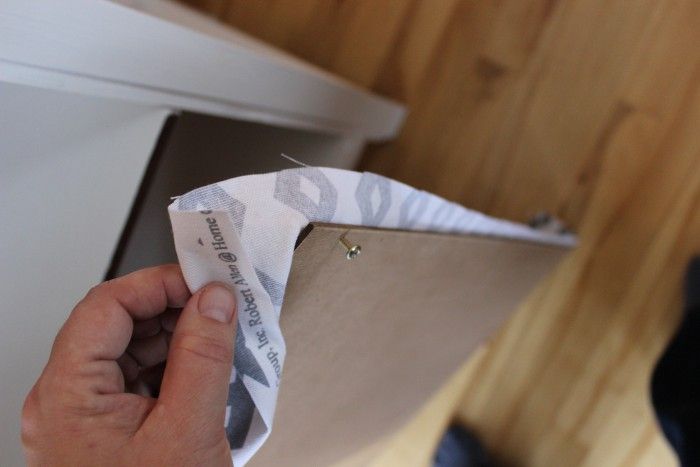
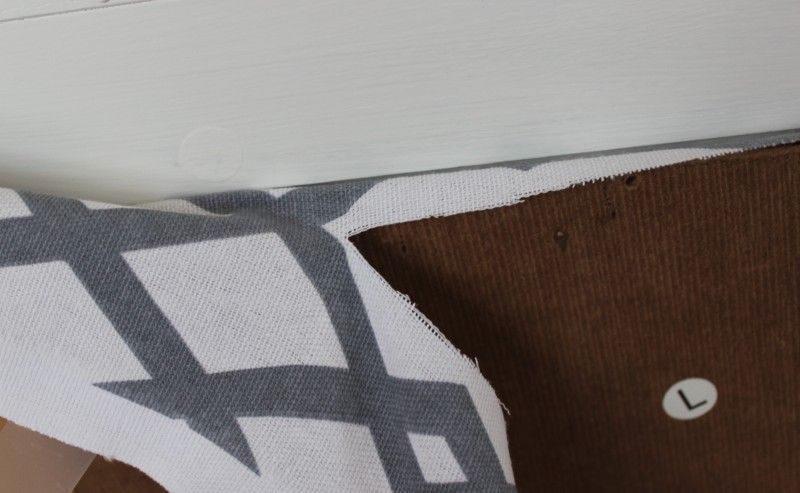
Trimmed the extra fabric.
 Put my printer, some printing supplies and some wooden magazine boxes that I use to keep some of my paperwork in.

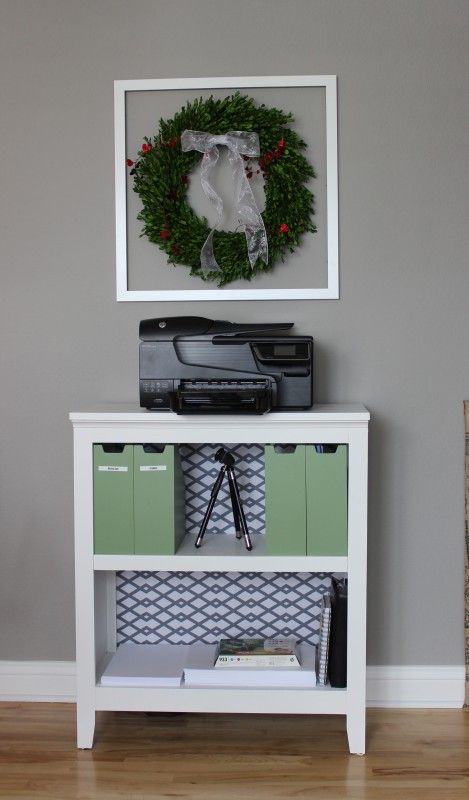
Now it perfectly matches my blogging office. And, I was only out of pocket about $4.00 - the cost of the fabric. Everything else was already in my home. I loved that I could repurpose things I already had!
Have you repurposed anything with a couple of coats of paint? And, do you totally love it?

momcrieff
Thanks Lori, for your kind comment. Because of that room, I now have an addiction to gray!
Lori S.
Fantastic! It completes your beautiful room.