Basil is a must-have for any kitchen, especially in the summer! Those store-bought bunches can add up quickly, especially if you use it frequently. Let me share how to grow a lush basil plant for free, using just sprigs from an existing plant. You don't even need fancy pots or equipment to get started!
Propagating basil from cuttings is surprisingly easy – so easy, in fact, that I accidentally grew a new plant from a leftover clipping a few years back. Ready to unlock this thrifty and effortless way to keep your kitchen stocked with fresh basil? If you are trying to grow basil from seed, this How to Grow A Basil Plant post will help you!
Reasons to Grow Cuttings
Free and Fast Fresh Basil: Skip the store-bought bunches! Propagating basil from cuttings lets you grow your own supply of fresh herbs. Cuttings mature much faster than seeds, so you'll enjoy homegrown basil in a fraction of the time.
Endlessly Replenishable Herb Garden: One basil plant becomes many! With cuttings, you can easily create multiple new plants from a single source. This lets you expand your indoor herb garden or share the bounty with friends and family.
Simple & Beginner-Friendly: Don't be intimidated by gardening! Propagating basil from cuttings is one of the easiest ways to get started. The process requires minimal effort and materials, making it perfect for beginners or those with limited space.
Stronger, Bushier Plants: Believe it or not, basil plants grown from cuttings often turn out bushier and sturdier than those grown from seed. This is because the cuttings come from a healthy mature plant and inherit its growth potential.
No Fancy Equipment Needed: The beauty of propagating basil lies in its simplicity. You don't need expensive pots or specialized tools. A glass of water, a pair of sharp scissors, and a healthy basil plant are all you need to get started.
Supplies / What you need
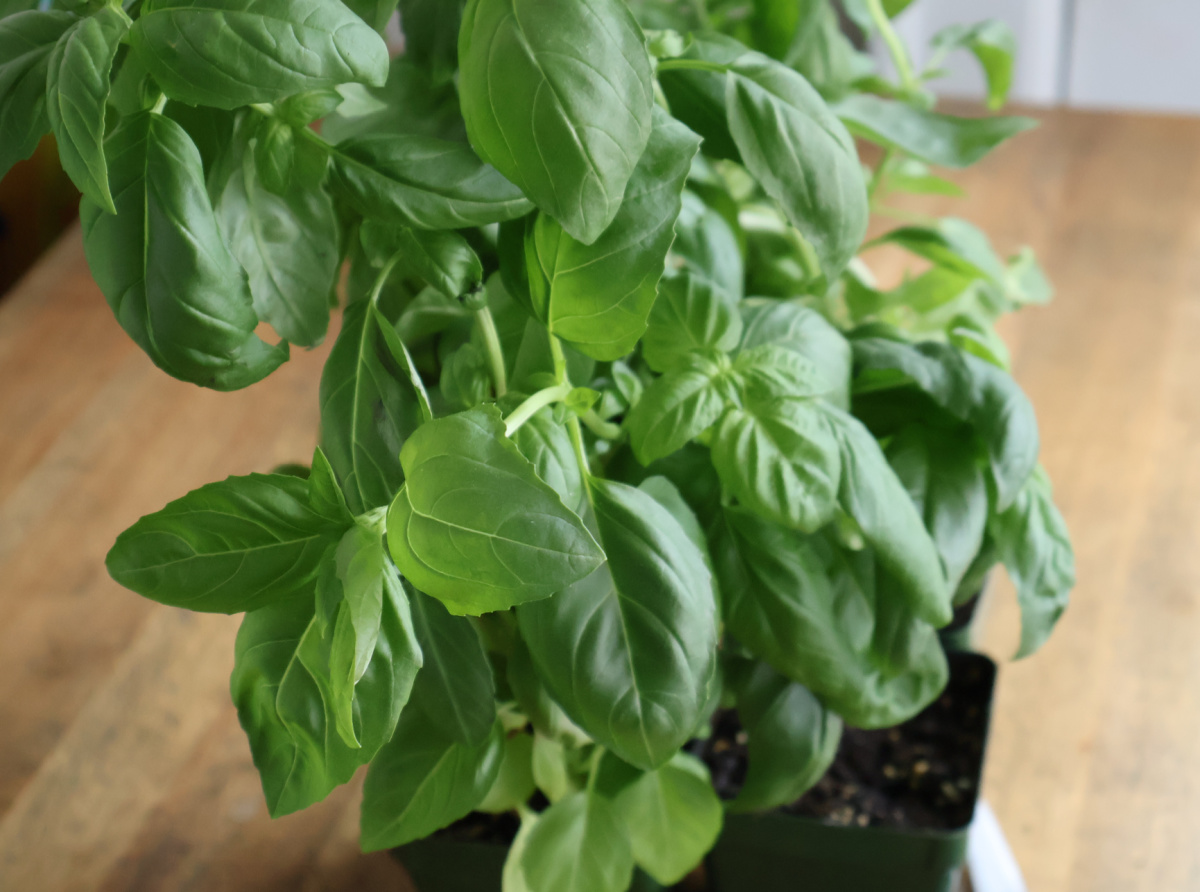
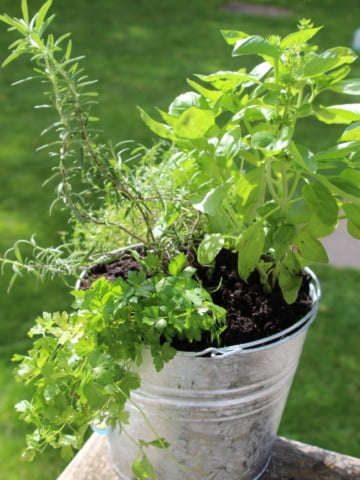
Healthy Basil Plant (the source): This is where you'll get your cutting! Choose a mature, healthy basil plant with vibrant green leaves and no signs of pests or disease. A healthy parent ensures your propagated basil has a strong foundation for growth.
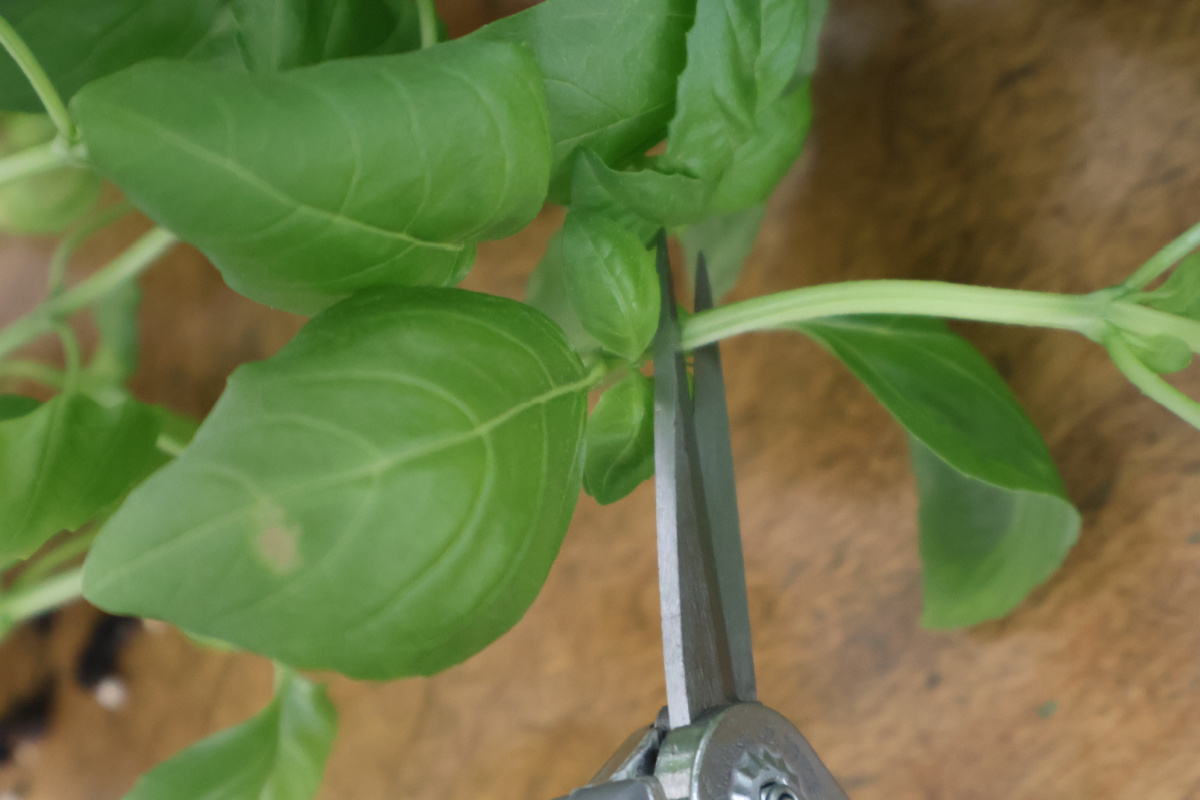
Sharp Scissors or Pruning Shears: A clean, sharp cutting tool helps make a precise cut on the stem, minimizing damage to the plant tissue. This promotes healthy root development on your new basil cutting.
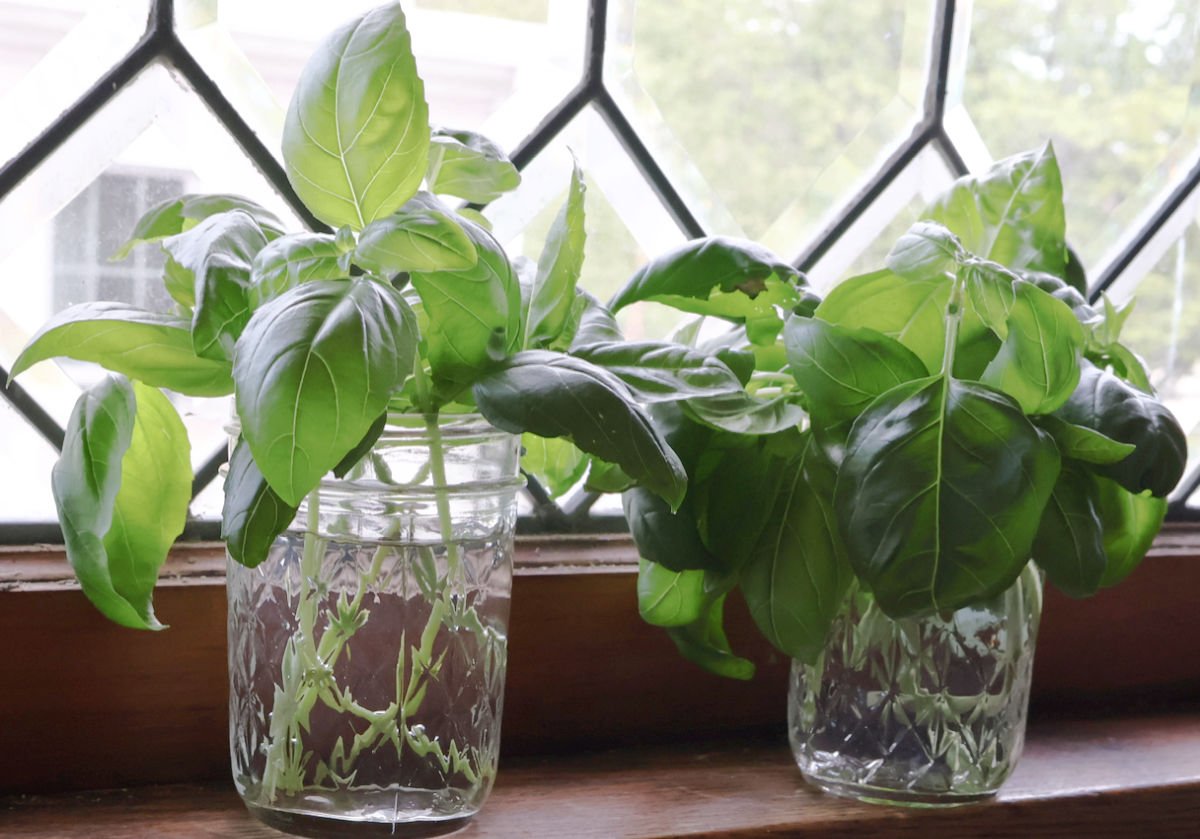
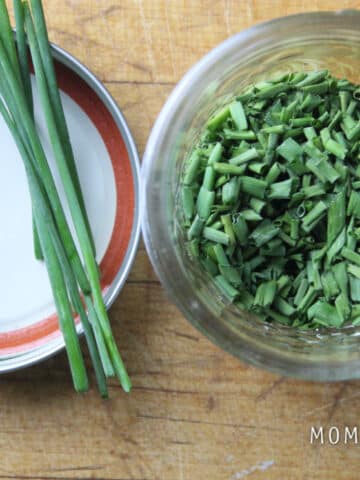
Container (Glass): You can root your basil cutting in a clear glass jar. The container should be large enough to hold the stem comfortably. My cuttings always feel short (about 4 inches long), but if they are too long, they fall out of the jar, and the ends are no longer in the water. Transparency in a glass jar allows you to monitor root growth.
Water: Clean, room-temperature water is essential. Fresh water provides a clean environment for root development and prevents bacterial growth that could harm your cutting.
Water Tip - I use filtered water (from my fridge) and let it warm to room temperature on the counter. If you can't filter your water, let it sit on your counter overnight so the chlorine evaporates. I do NOT buy special water since my plants will eventually go outside and get watered with my hose!
Instructions
Propagating basil from cuttings is a fun and cost-effective way to cultivate a thriving herb garden at home. Here are the steps.
Step 1
Identify a healthy, mature basil plant as your donor. Look for vibrant green leaves and sturdy stems – these ensure your propagated basil has a strong foundation for growth.
Step 2
Using sharp pruners or scissors, snip a 4-6 inch stem, ideally just above a leaf node (the little bump where new leaves emerge). A clean cut minimizes damage and promotes healthy root development on your new basil cutting.
Step 3
Fill a clear glass jar with clean water, ensuring the lower leaves won't be submerged. I use mason jars, which are transparent and allow you to monitor root growth. Place the stem in the jar, with at least one node submerged, and position it in a bright, indirect sunlight or morning sun location. Refresh the water every 2-3 days. Check every day to see if the water needs to be topped up.
Sometimes, you'll be surprised how much water disappears from the jar!
Tiny white roots should emerge within 7-14 days.
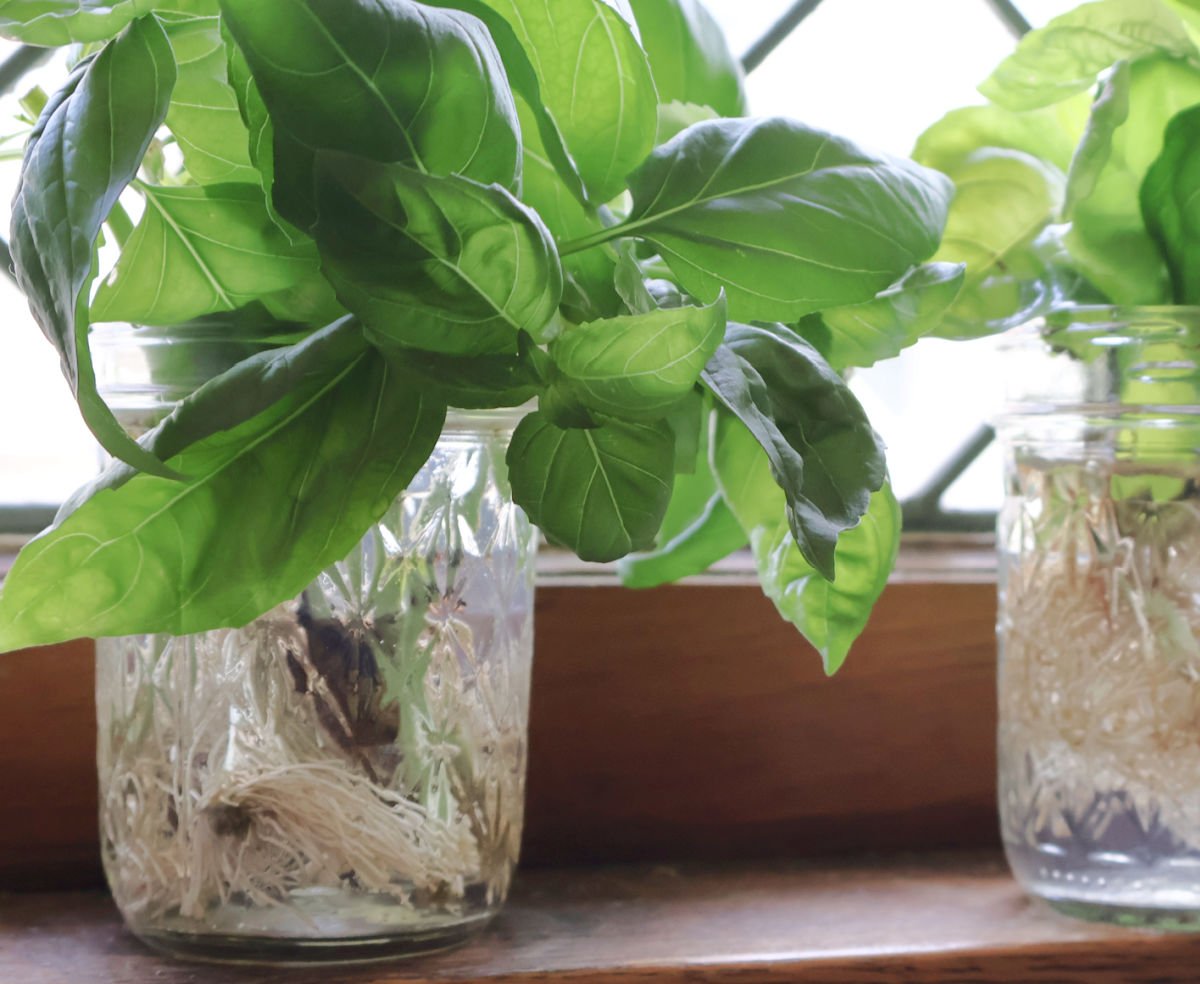
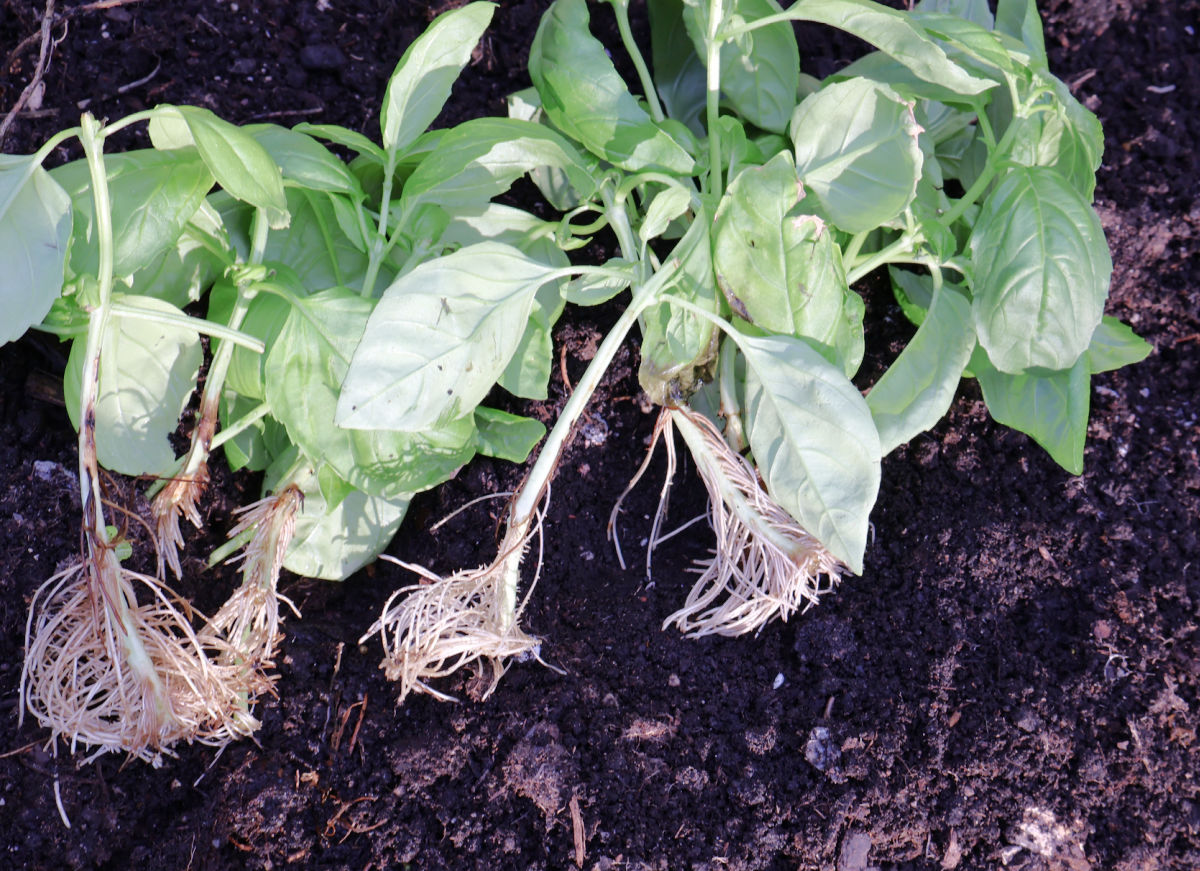
Once the roots reach about 1 inch long, it's time to give your basil a more permanent home. Transplant your basil by planting it into a pot with fresh potting mix or into your garden.
Keeping your Basil Cuttings Thriving once planted
- Sun: Aim for 6+ hours sunlight daily.
- Water: Keep the soil moist, but not soggy. Water deeply when the top inch of soil feels dry. Do let the soil dry between watering but don't keep it dry for long.
- Pinch & Feed: Pinch off top leaves occasionally to encourage bushier growth. You can also fertilize lightly once a month during the growing season, but this is optional.
- Harvest: Snip leaves regularly to promote new growth. Enjoy your fresh basil!
When planted outside, basil does well in full sun.
FAQs
Most basil cuttings develop small white roots within 7–14 days. Warmer temperatures and bright, indirect light can help speed up the process.
Basil can survive in water for a while, but it will eventually get weak. Once the roots are about an inch long, transplant your cutting to soil for the healthiest growth.
Yes! As long as the stems are fresh and healthy, you can take cuttings from store-bought basil and root them in water.
Cuttings grow faster and produce harvestable leaves sooner, while seeds are better if you want many plants at once.


Leave a Reply