A couple of weeks ago, one of my friends wanted to figure out a way to organize her necklaces. She wanted them handy and visible. With a defined place so her jewelry looked like it was supposed to be in that particular space. I tried for a while to figure it out, and couldn't come up with a solution. Lucky for Lori, I had my TV to HGTV and saw a frame with chicken wire that had a family's Christmas cards displayed. Bingo! This gave me the inspiration to try my project! Here is what I created and how I now display and store my everyday jewelry. 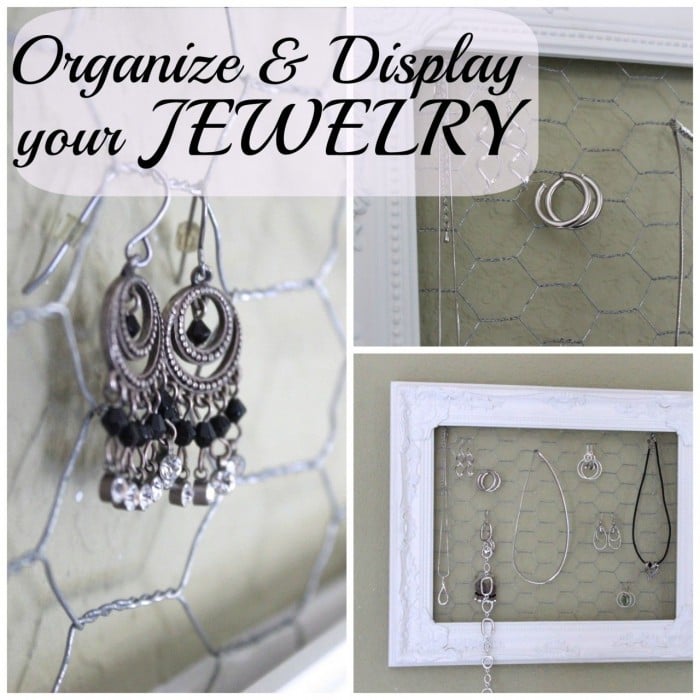 Supply List: 1. Frame with an opening the size you want (I used a frame that was 18x15 with a 16x13 opening) 2. Chicken wire (doesn't everyone have chicken wire in their garage??) 3. Wire cutters 4. Heavy duty stapler (my desk stapler didn't do the job) 5. Foamboard or cardboard to cover the back of the frame Instructions: Unroll the chicken wire and measure to fit the back of the frame. I've noticed some craft stores sell pieces of chicken wire. Saw some in Hobby Lobby last week.
 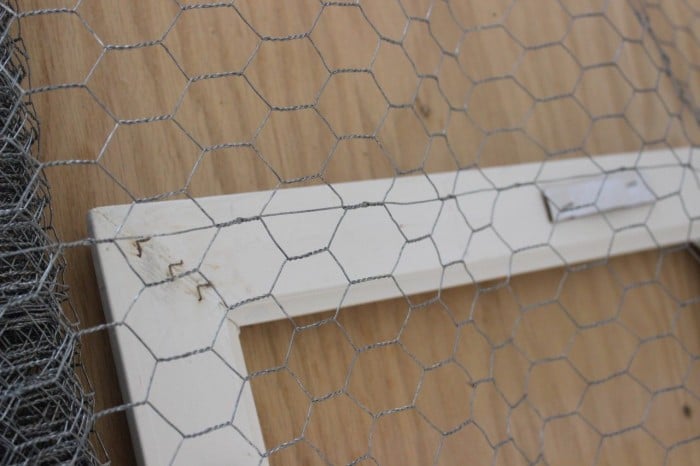 Cut to fit with your wire cutters. I tried to cut in the middle of the twisted part.
 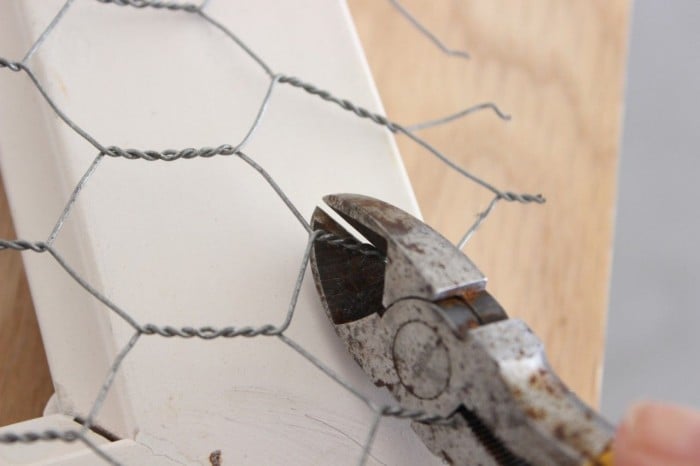 Please ignore the rust on my tool. Use a good quality stapler to attach the chicken wire to the back of the frame.
 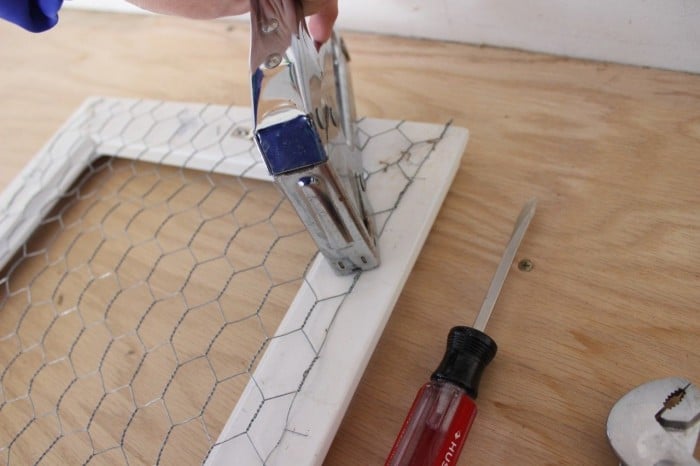 I made sure to tap the staples in with a hammer so they would be tight to the frame. Then I took some white foam board and traced the frame onto it. I wanted to cover the chicken wire so it wouldn't scratch my wall.
 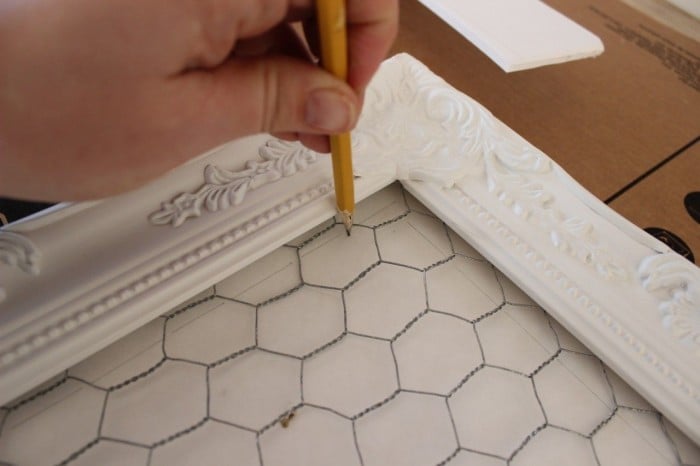 If you are smart about it, you would trace the foam board or cardboard before you attach the chicken wire! That would be both logical and easier.
 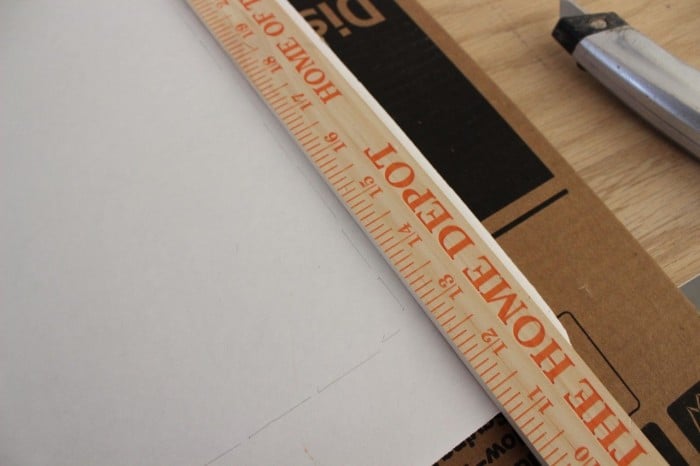 I used an exacto knife against a ruler to cut out the foam board frame. Then I stapled the white foam board frame onto the wooden frame. I made a point of cutting the foam board frame a little smaller than the wooden frame since I didn't want it to show when it was on my wall.
  To hang it up, I nailed two nails into the wall about 10 inches apart (inside of my frame is 13 inches). I wanted to be able to easily take the frame off so I could organize my jewelry and then hang it up. Don't worry, the nails don't show when the frame is hanging. Most frames have that lip that hold in the mat so all is good!
 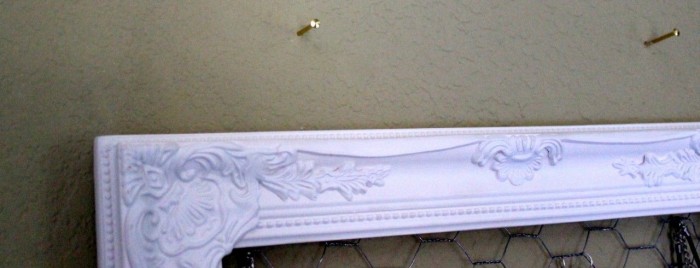 I love it! This was one of those projects I wasn't sure about at the beginning but, it turned out really well!
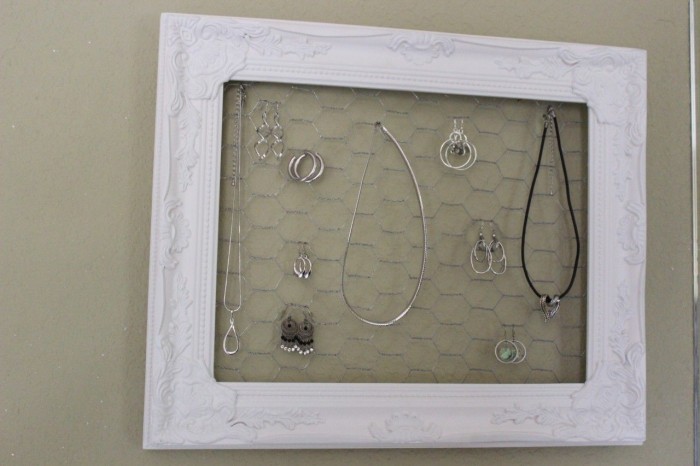
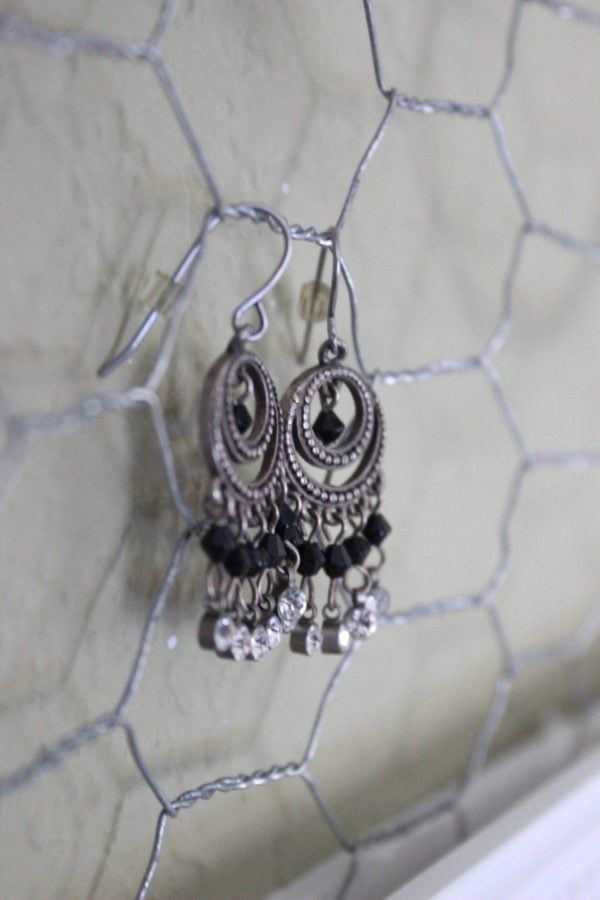 Above are my favorite earrings ever.
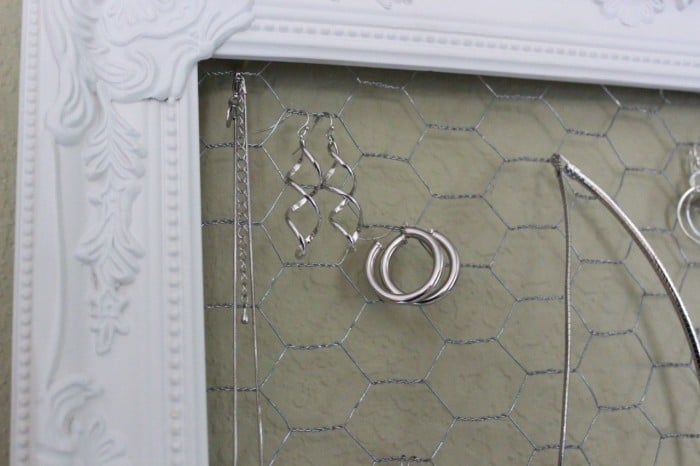
  Bracelets and necklaces can also just be attached. Just attach the clasp to the chicken wire.
 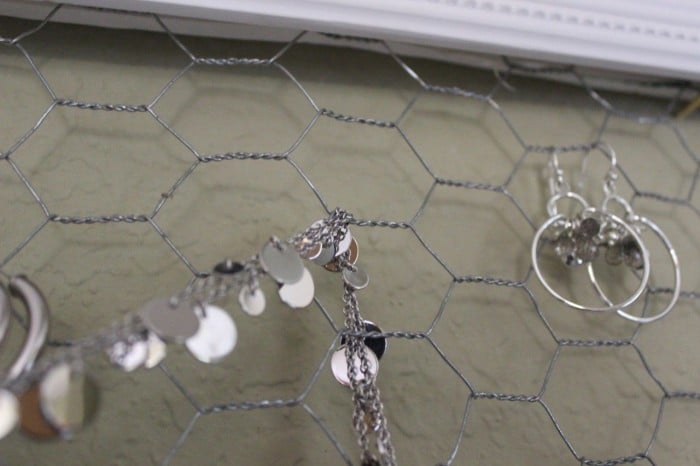 Longer necklaces can just be threaded through. Unfortunately, this system isn't good for those big chunky necklaces.
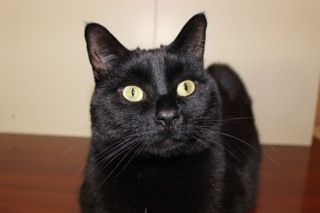
 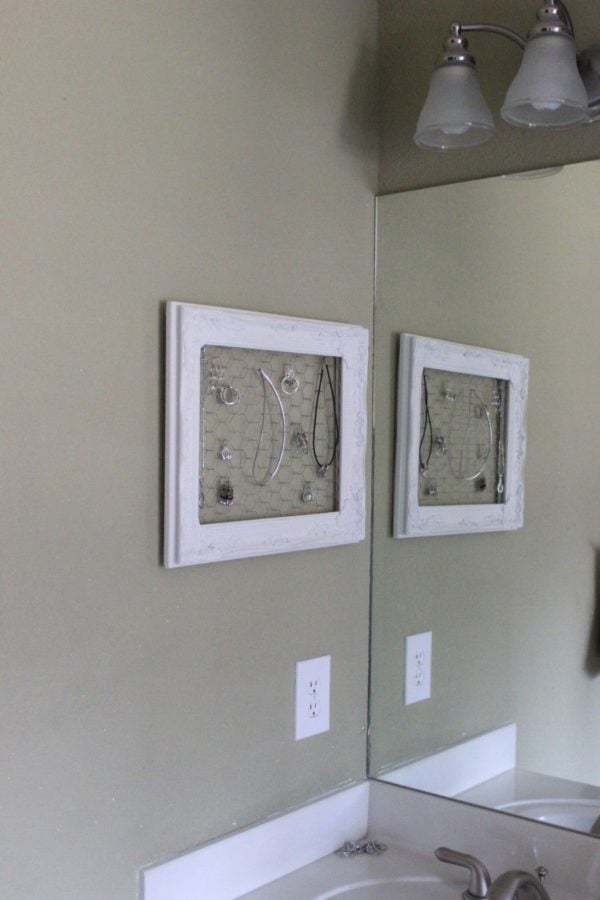 See, I put it at eye level right on the wall by my mirror. It's not in the way, and my everyday jewelry is displayed nicely! I am much better at remembering to put on a pair of earrings when I see them right there! Then, this is handy when I take my earrings off at night. I used to put my earrings on my nightstand but then this guy knocked them (or, one of them) off and I probably just vacuumed it/them up and threw them out : (.
Want to organize more? Here's how to make a tool organizing pegboard!
Leave a Reply