I mentioned previously that I was going to give my planters a haircut. In the 13 years I've blogged, I've never had so many people respond and ask me to share how I do that. As I was pruning back the annuals in my planters, I realized that, basically, I was doing two main things. One was to deadhead geraniums aggressively, and the other was pinching back petunia plants (a lot!).
Why I pinch back petunias
There is a point in the summer when I get tired of and even annoyed at my planters. They look unruly and unkempt. My planters don't seem to appreciate how much work I put into keeping them looking nice (yes, I take that personally!).
It's a normal part of my day to deadhead my planters and remove any yellowing or dried leaves. Sometimes they need a little more!
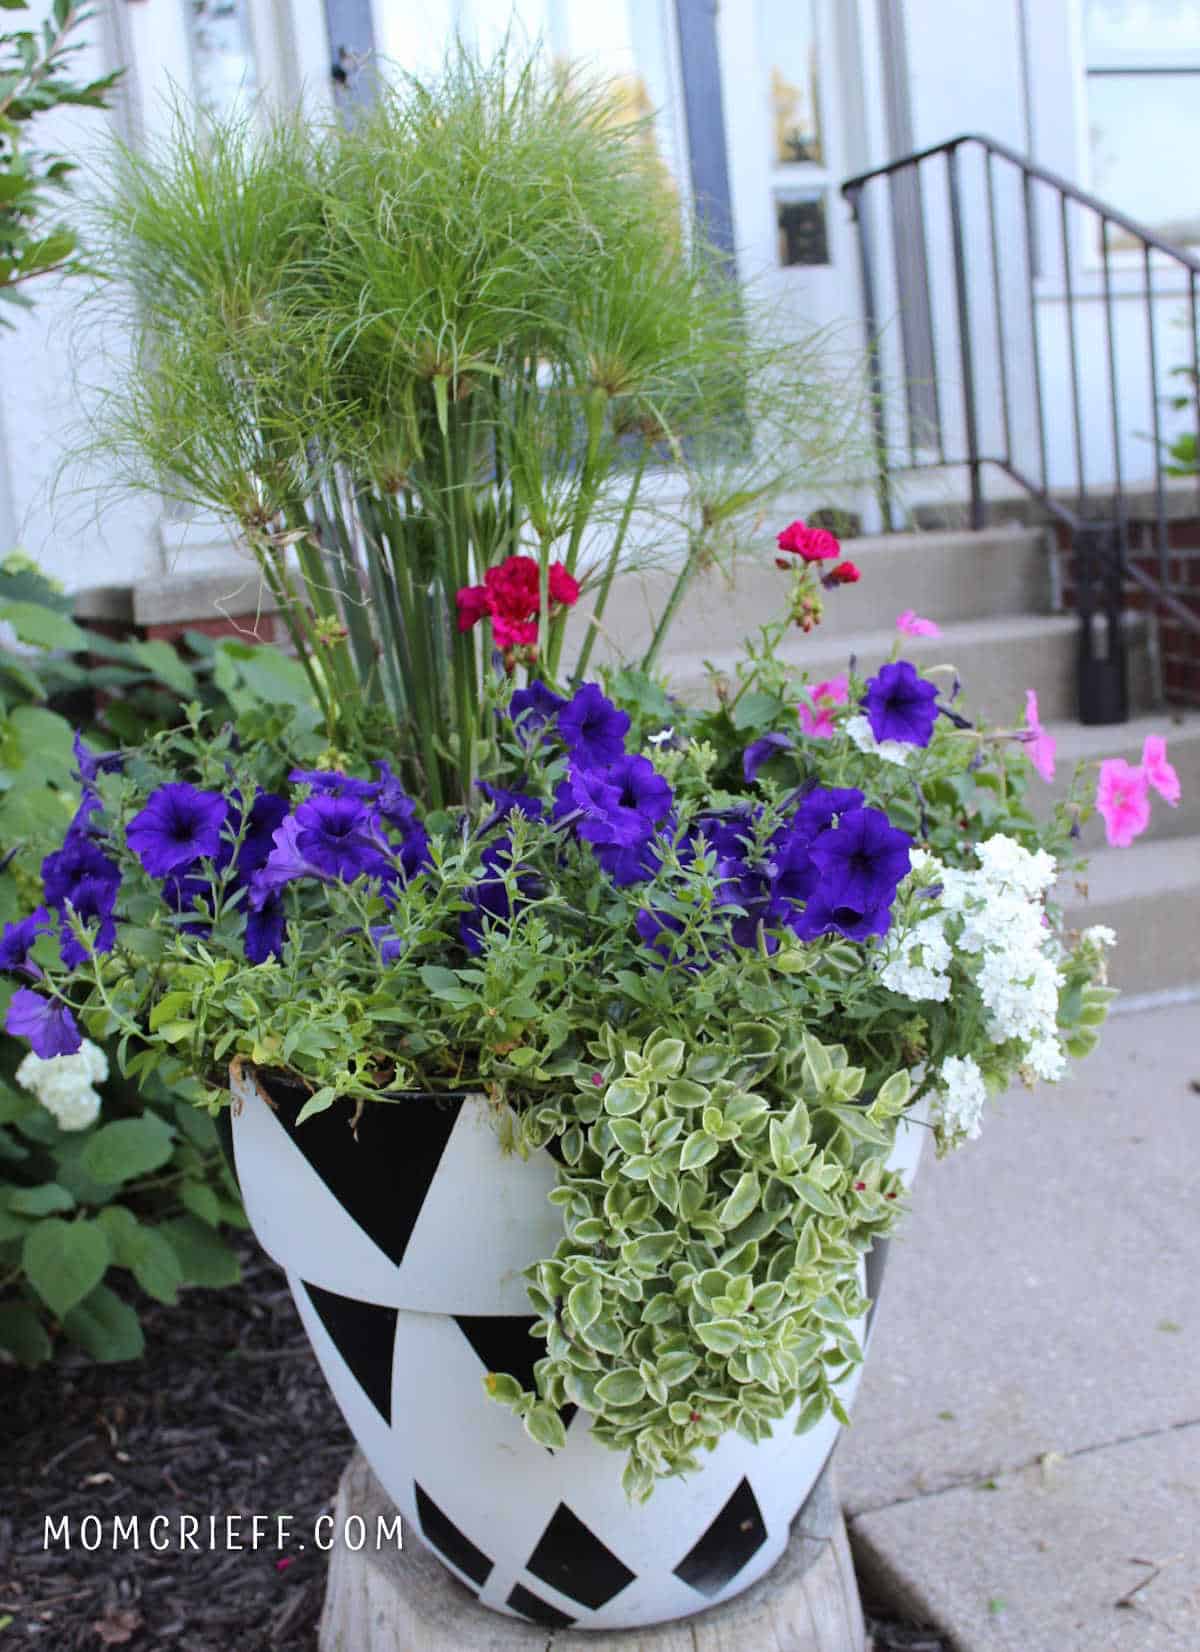
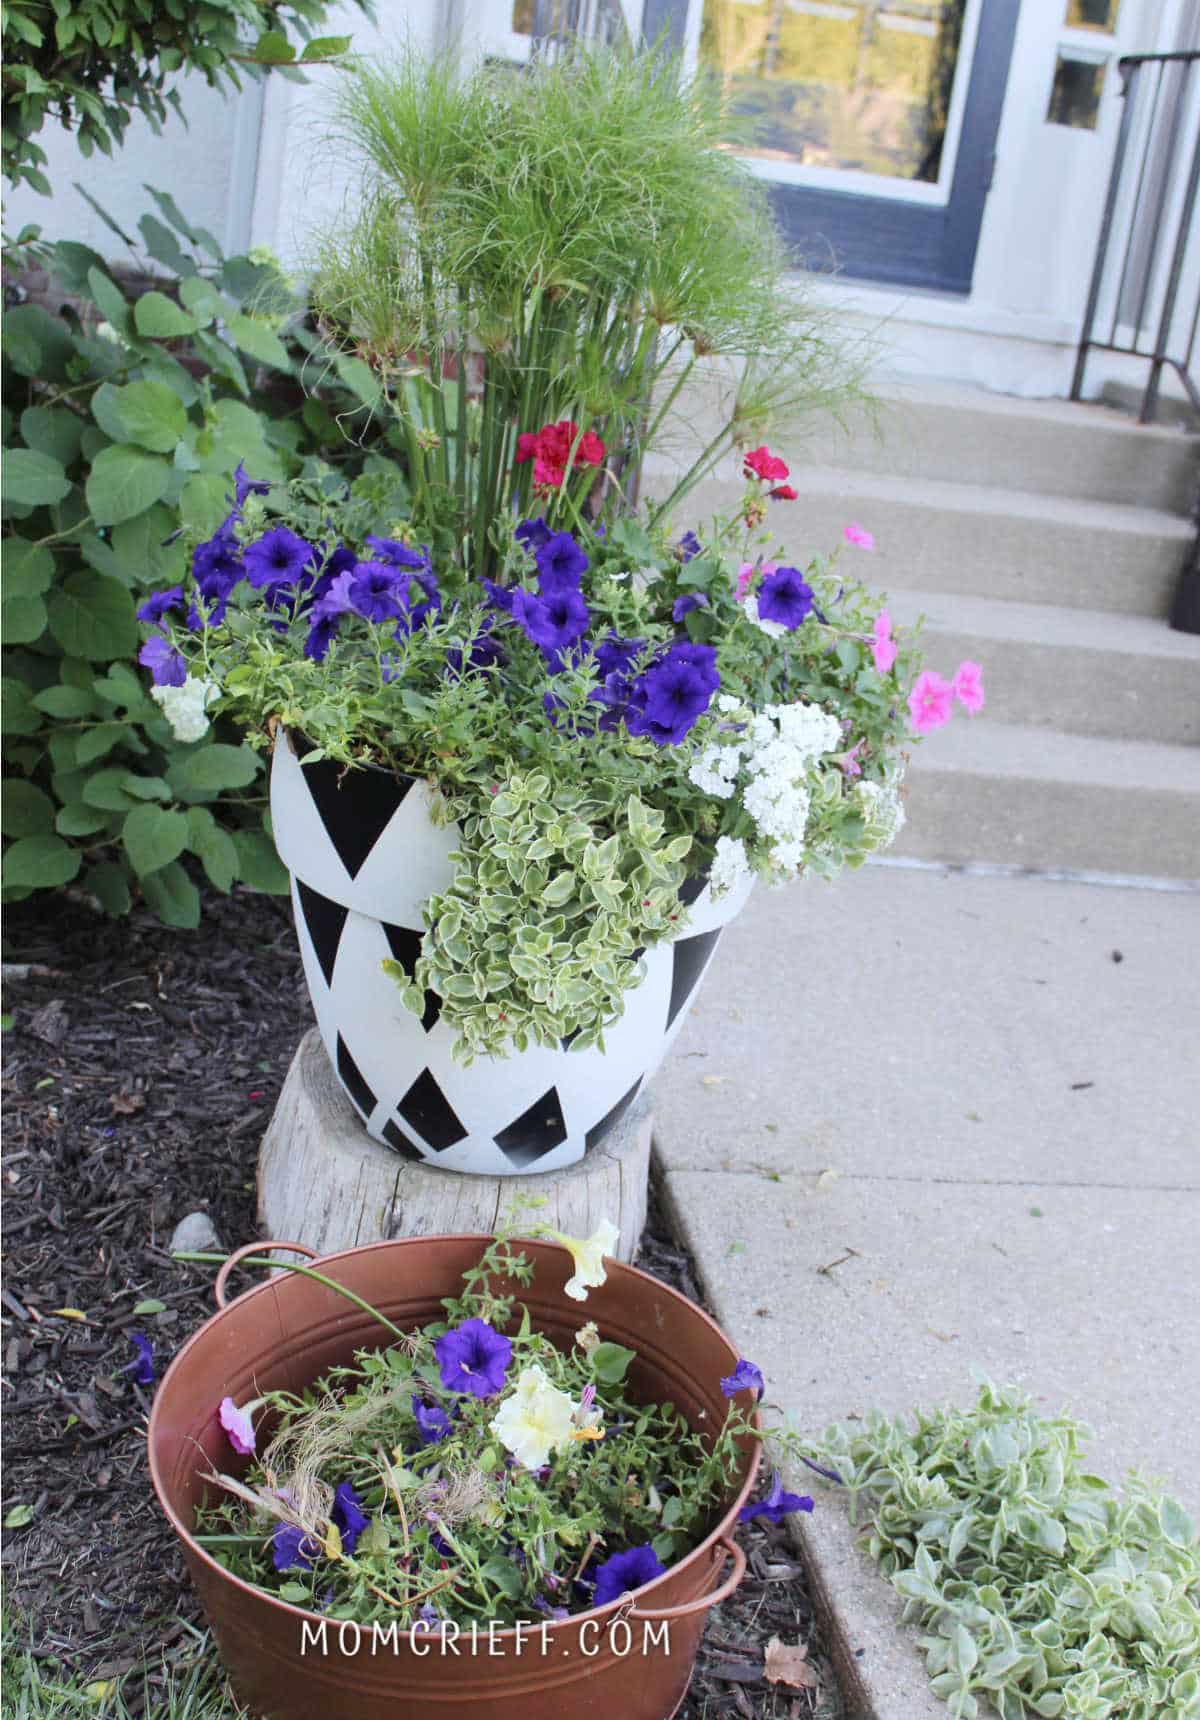
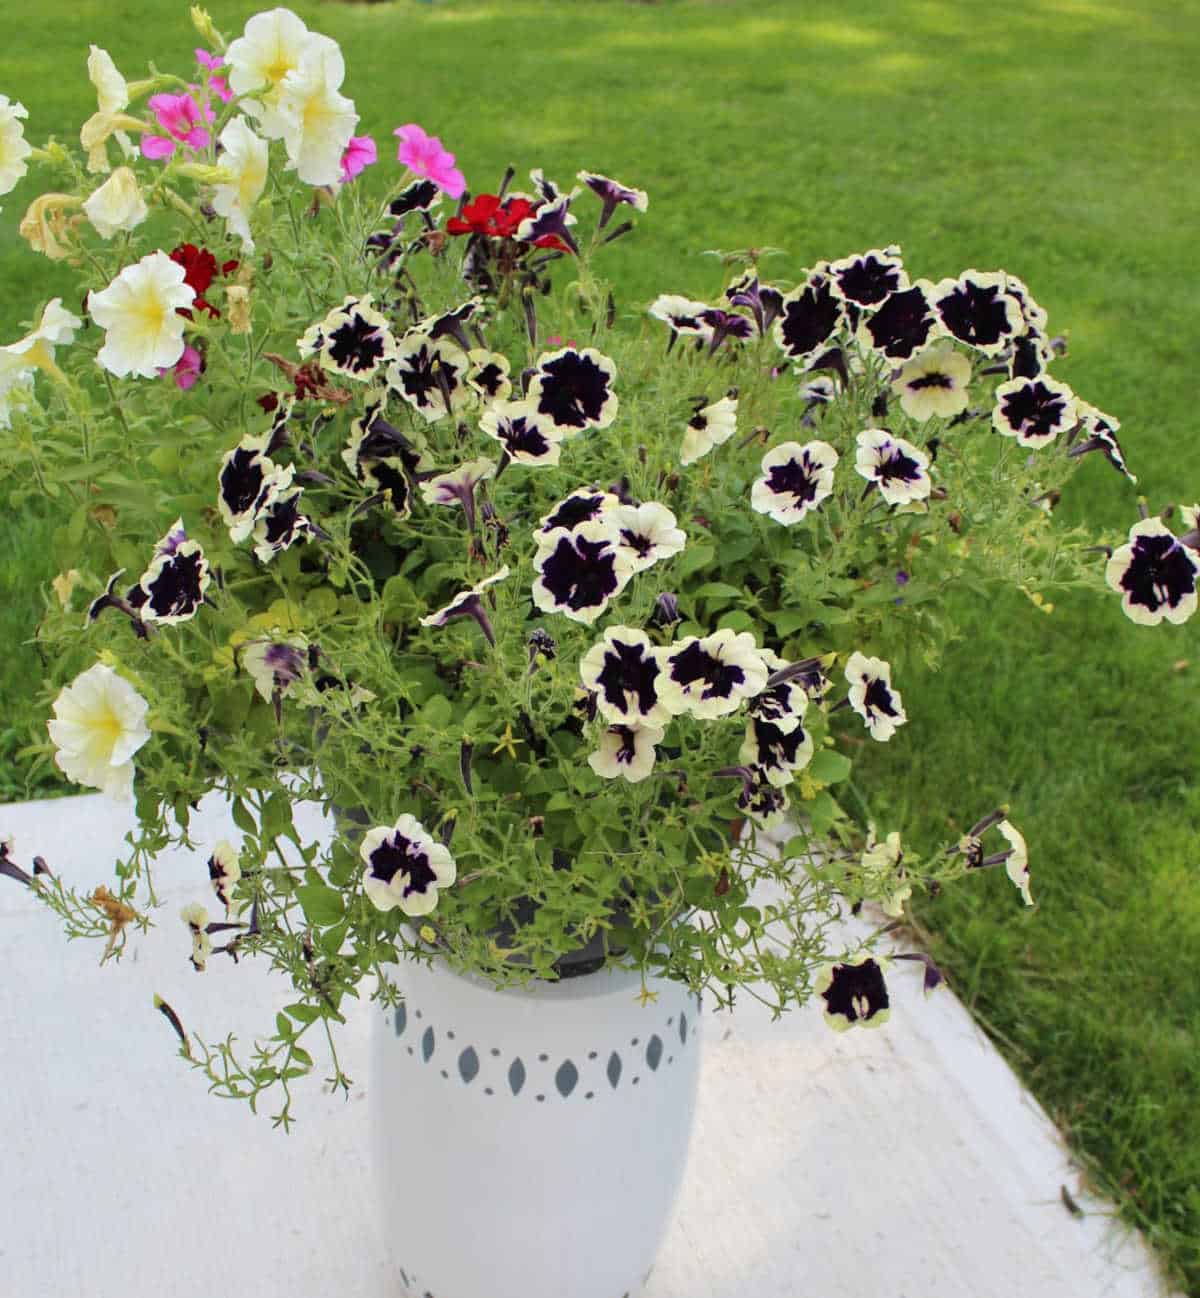
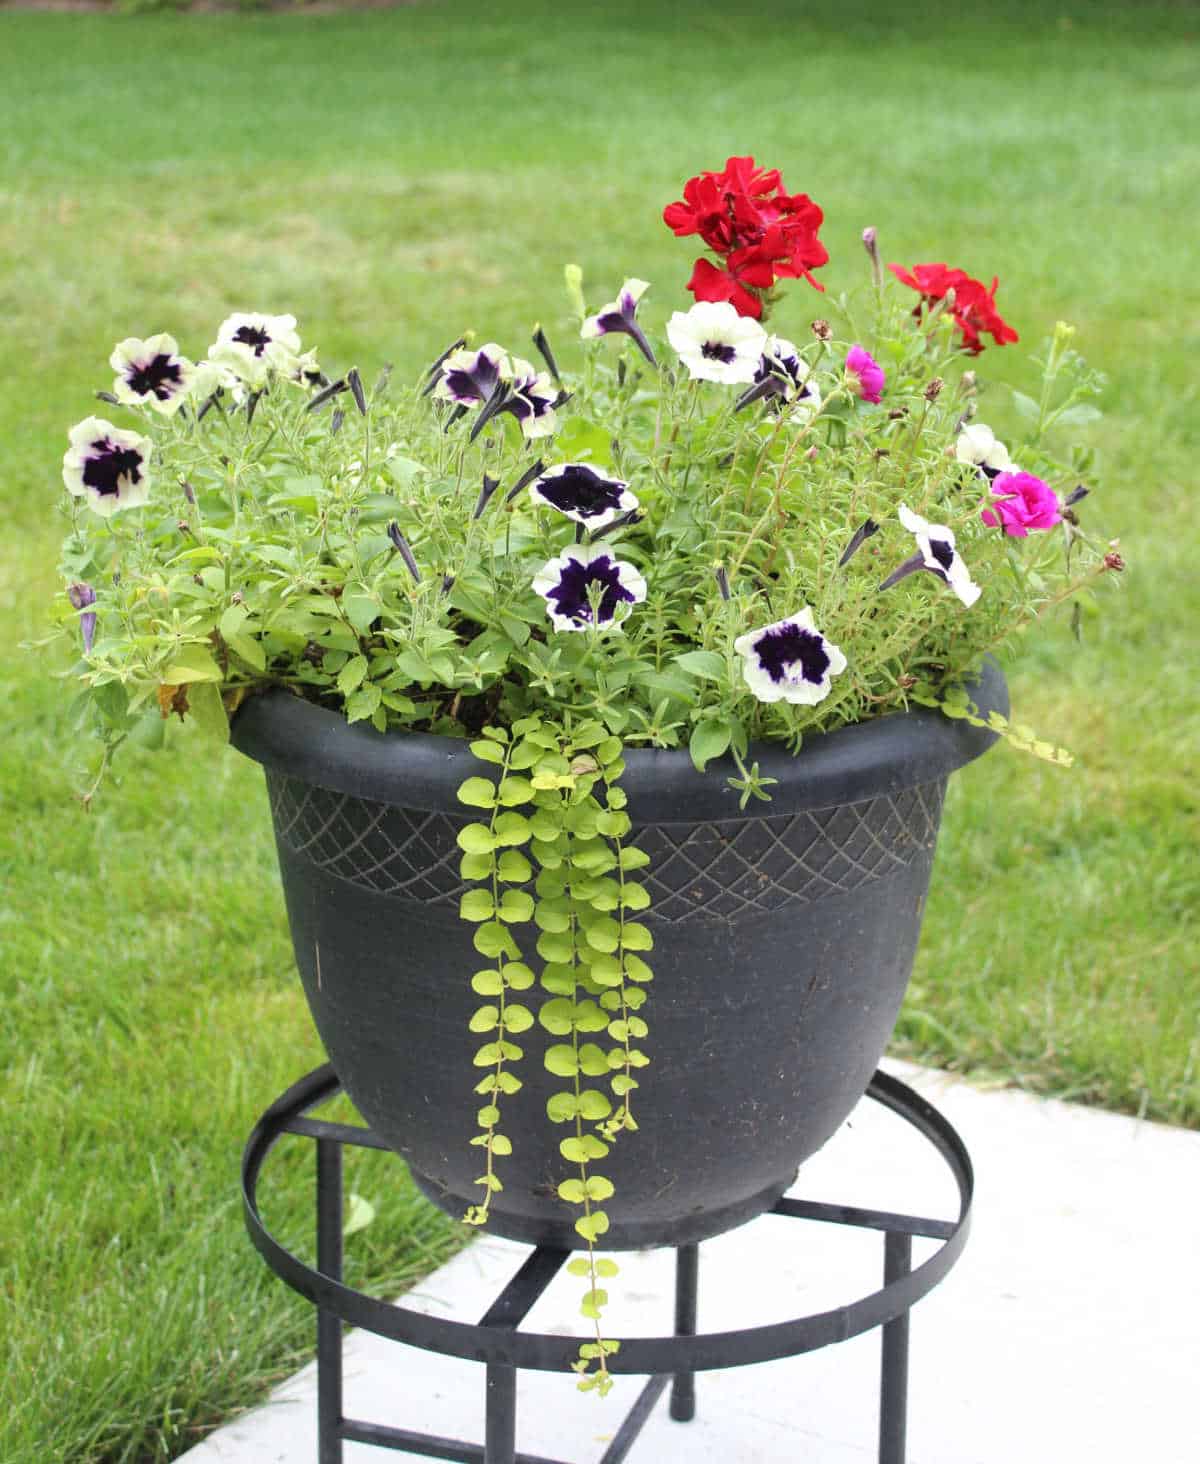
This planter is freshly pruned. When I started, you almost couldn't see the pot!
In my weekly email, I described my flower containers as needing a trim because they looked like they had bedhead! A week later, I still think it's the best analogy! The stems get long and are full of spent flowers. The new blooms of the petunia flowers are on a long and leggy stem with a little flower on the end. Years ago, I adopted a philosophy in gardening that either the plant/landscaping/tree will improve with some aggressive intervention, or it will die. Honestly, I got to a point where I didn't care if the plant died. It was a choice the plant had to make!
Three main steps when pruning
Usually, my planters get heavy summer pruning in the middle of the summer when it's still hot. It's too early to change them over to fall, but they don't look great. Here are the three main steps to getting your planters under control.
1. Water heavily a few hours before. The plant needs to be strong because heavy pruning is hard on the plant.
2. Do the deadheading, shaping, and pruning. I've supplied pictures and advice below. Please note this is all information from how I personally do this.
3. After you have completed the pruning, give each planter some diluted fertilizer. I usually ensure my soil is moist enough so the fertilizer doesn't run through. For flowering planters, I only use this Miracle Grow Bloom fertilizer.
My thoughts on fertilizing are to fertilize once a week or once every 10ish days. I water down the fertilizer from the manufacturer's suggestion because it's important to fertilize more often so the plants regularly get their nutrients. The potting soil's nutrients do get depleted by the plants! Even if you buy the best potting soil you can get.
When you do a heavy deadhead/prune, please give the plant time to recover. It will look better in a week, but it will look much better in two. I get emails with pictures of dead-looking plants on Thursdays, and folks want it to look great by Saturday. Your only option for that to happen is to buy a new plant (sorry).
Did you know that when you snip off the long stem, new growth appears, and that helps create newer bushier growth? It makes the plants fuller, extends, and makes the flowering season prettier and longer. But give the plant time to grow those blooms!
How to fix leggy petunias
You can't fix those leggy stems (gasp!). But you can help the plant grow fuller and look good again. Yes, many petunias, especially wave petunias, are more maintenance-free and don't require you to deadhead petunias. But they keep growing longer and longer, and the new growth with the new blooms is at the very end of the long stem.
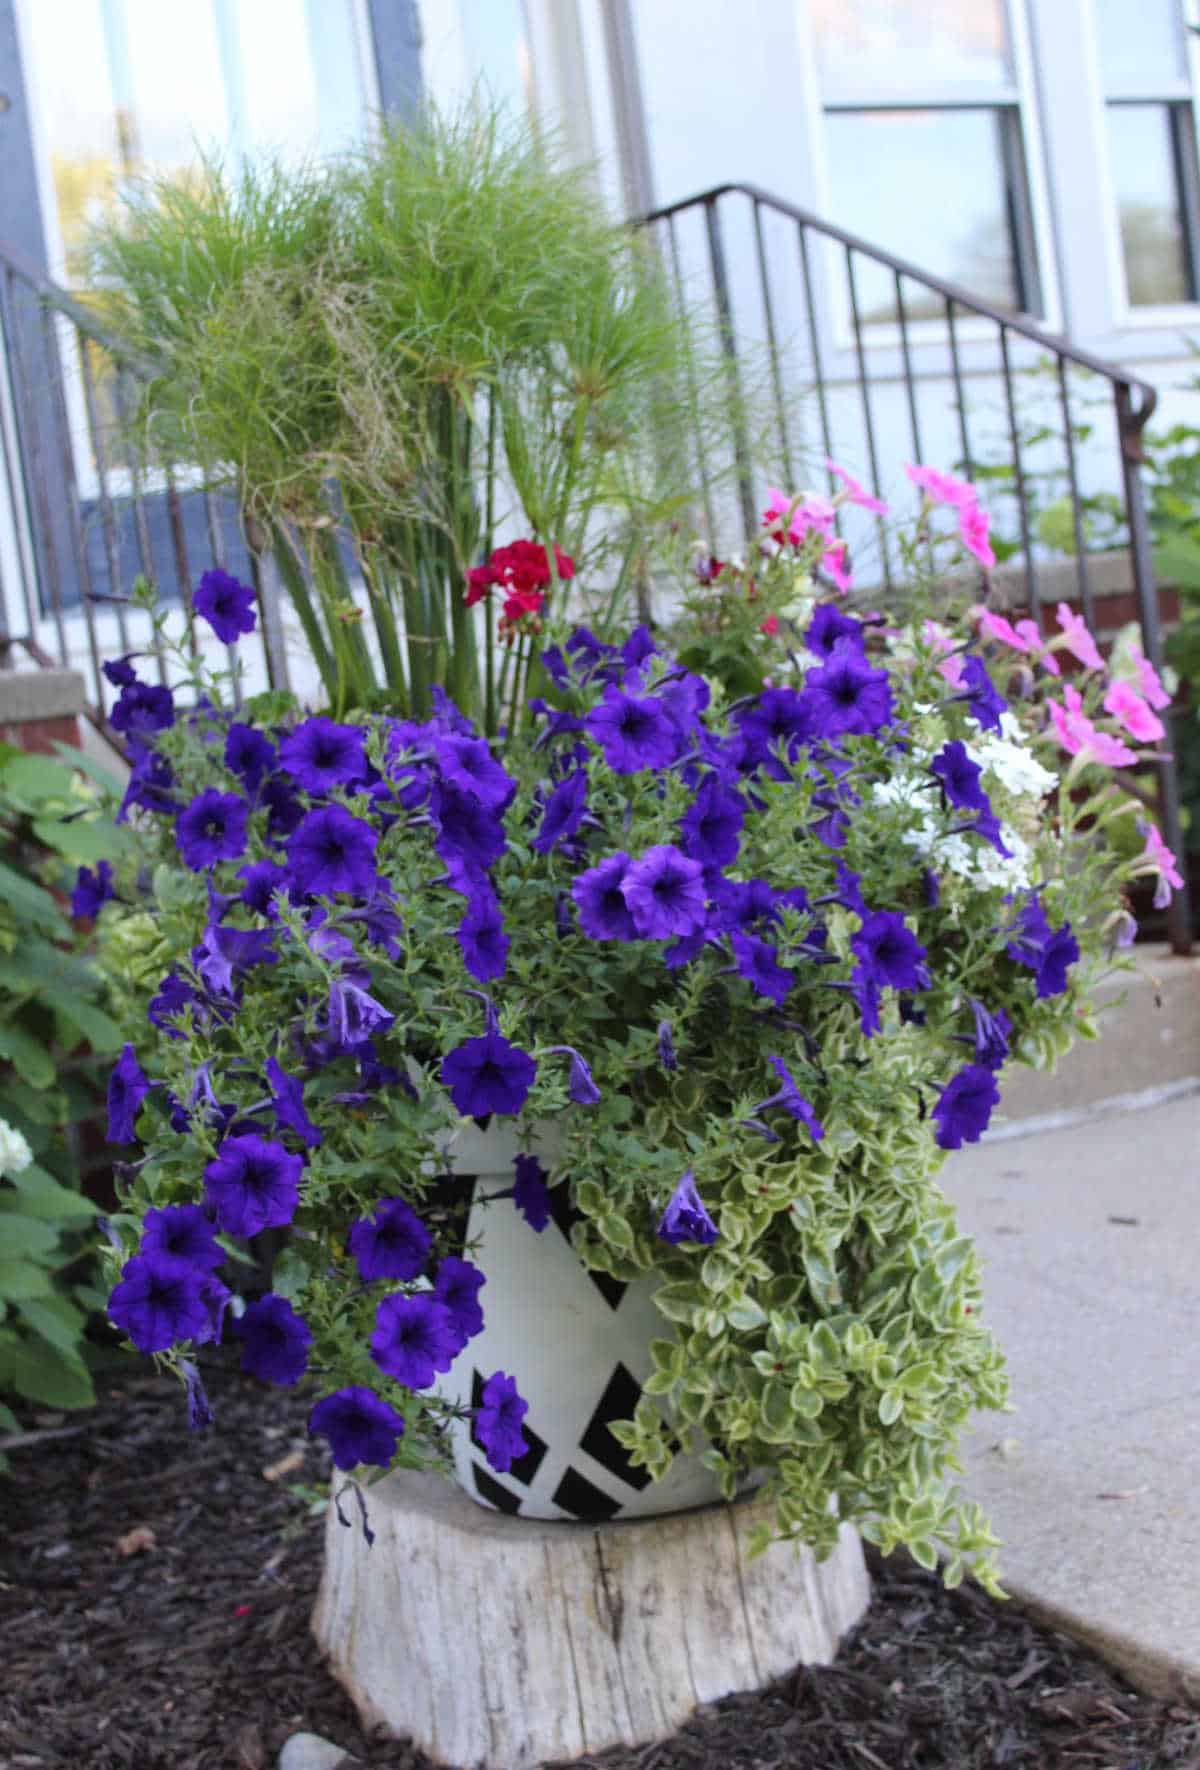
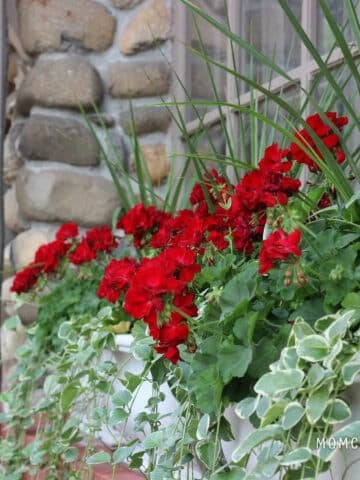
All the spent petunia flowers with faded blooms and wilted flowers get cut off with good pruning. Let me show you step by step what I look for, and then I'll tell you what I do. This is what the planter looked like at the end of July. It's not too bad because we've been getting rain and cooler days to break the heat. But the planter is getting messy, and some plants (hey, petunias!) look a little overgrown.
I like using these little pruning shears. They are inexpensive and allow you to do some very accurate trimming. I actually have a few tucked away around my yard.
DO NOT just randomly start cutting flowers and stems. You do not want straight lines or trim like a hedge. Returning to the haircut analogy, you don't want to cut your bangs straight across. Or, even worse, have a bowl cut. Don't embarrass your poor planter or hanging basket with a bad trim! Start with a plan.
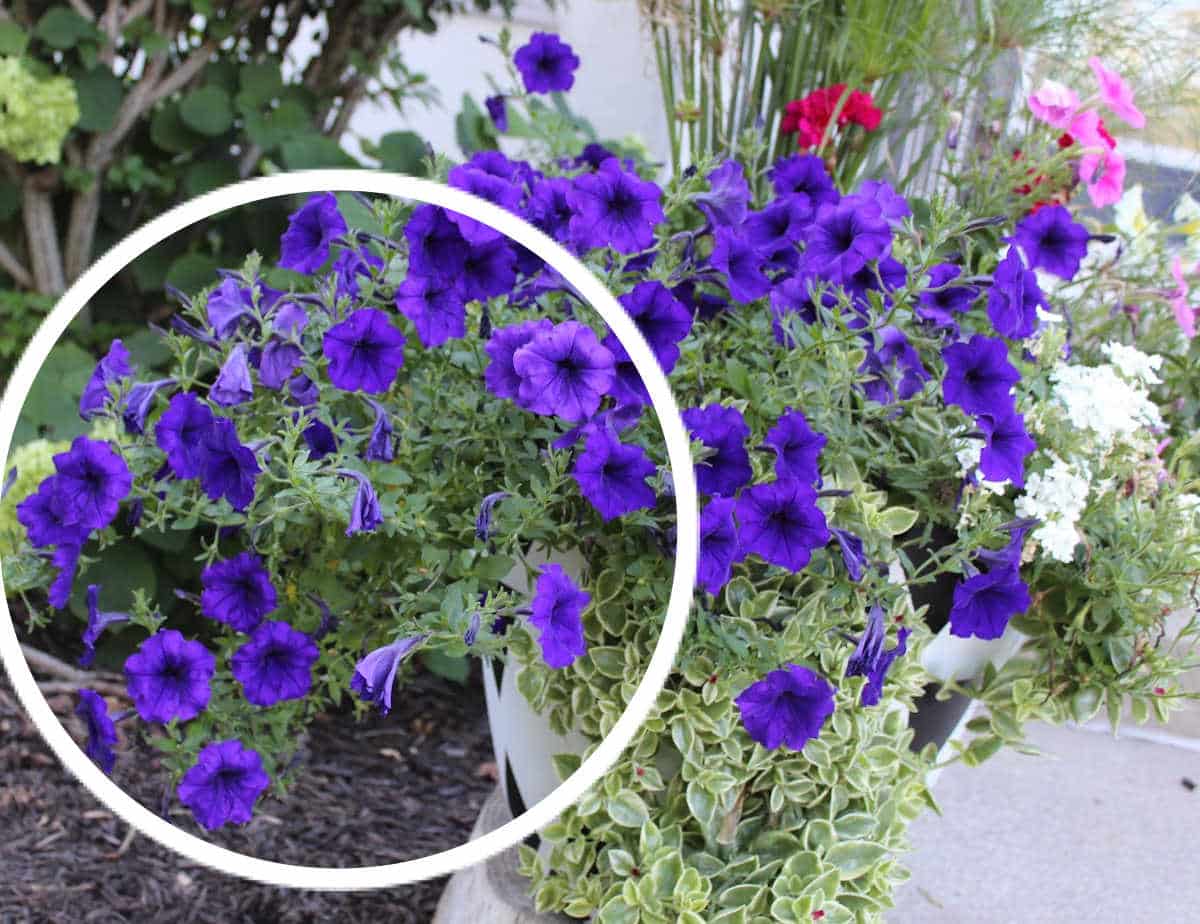
Do you see how far these circled petunias have reached from the pot? They stuck out over a foot. It looks messy to me!
Vary the length when pruning
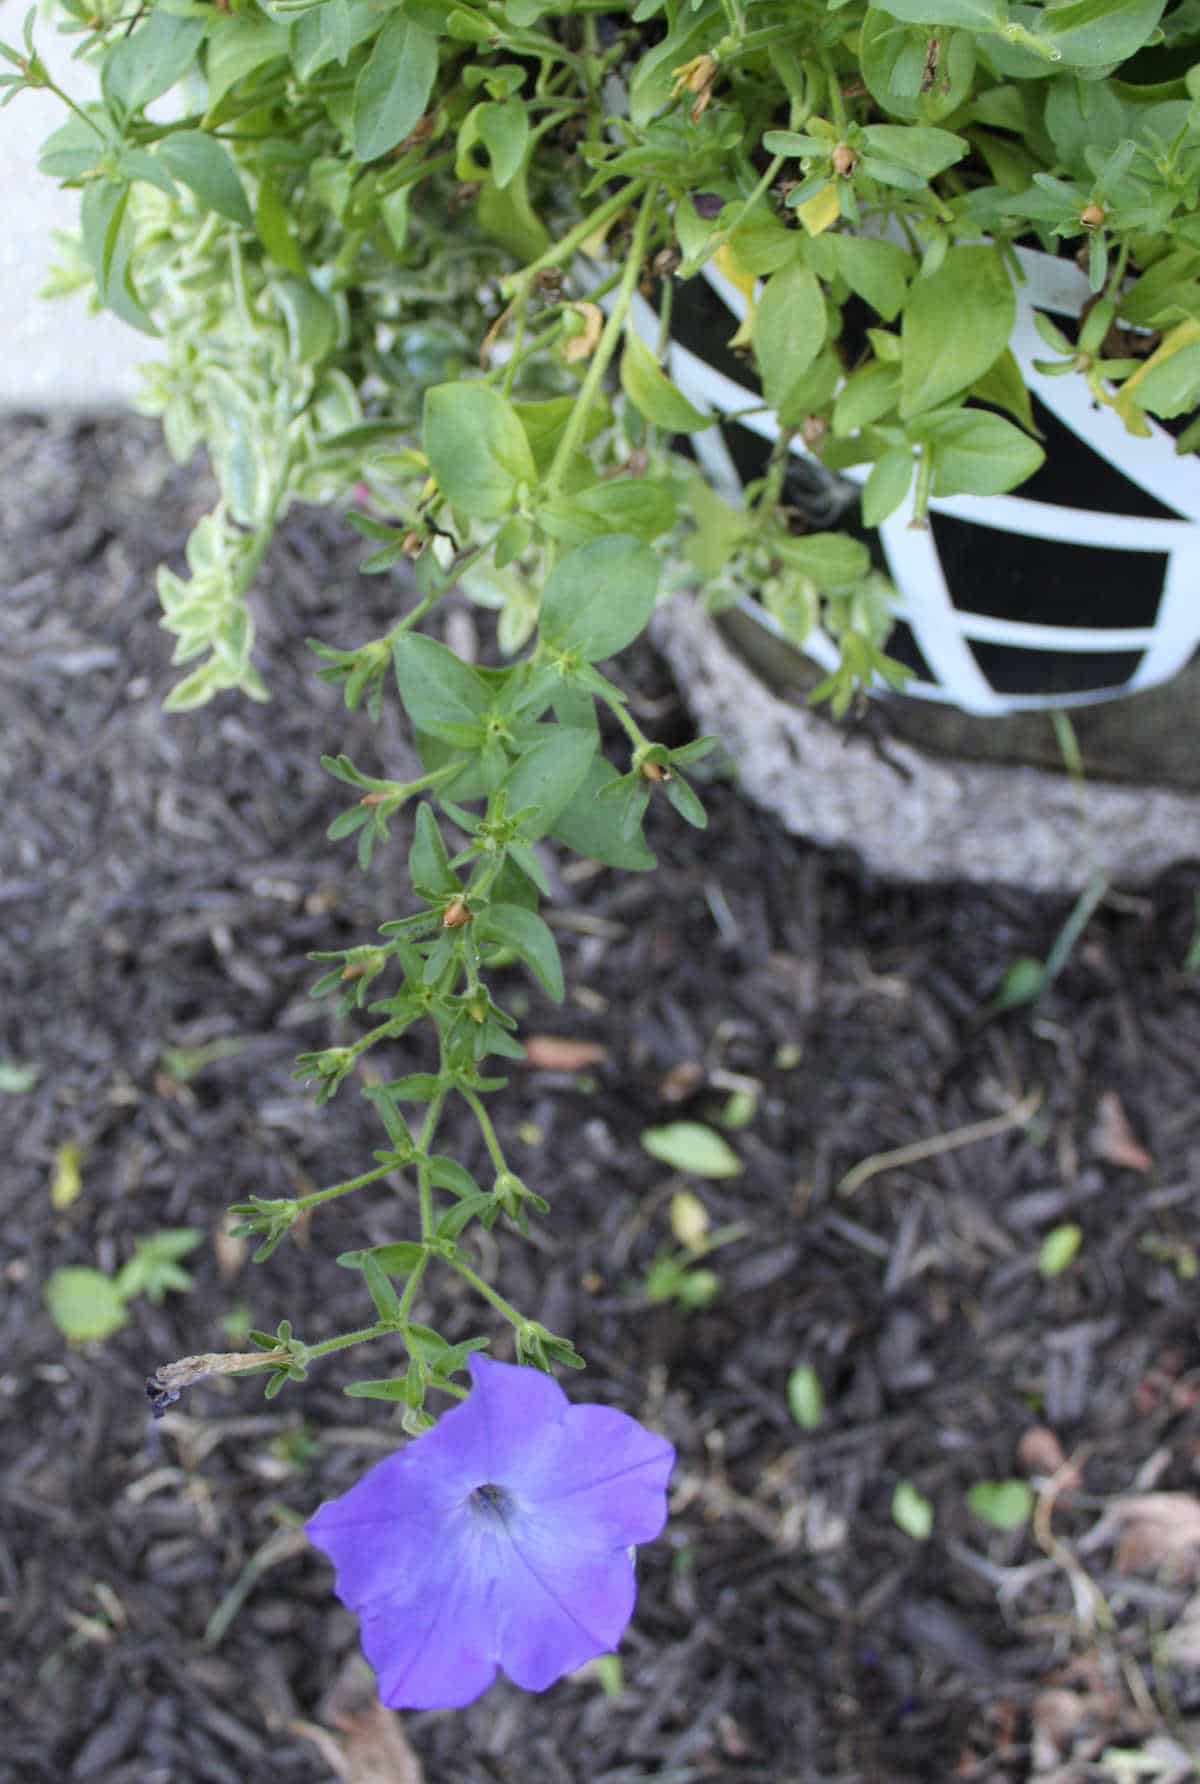
When I prune the leggy petunias, I vary the length of each stem. The petunias I pruned yesterday ended up being between 6 to 10 inches long from where they are rooted in the pot. Some pieces that I cut off were over a foot long! I trimmed most but left this one to show you how long it is (picture below).
Just an FYI, I do always try to buy Wave petunias because they are low-maintenance and self-cleaning. The thought of deadheading all my petunias is not pleasant (so I spend the extra money for the wave petunias).
The circled plant below is one plant. And it's so heavy! The plant is called an Ice Plant (Dorotheanthus Bellidiformis). It has little red flowers right now. I will try to root the cuttings and see how it does as an indoor hanging plant. I would love to have it inside year-round!
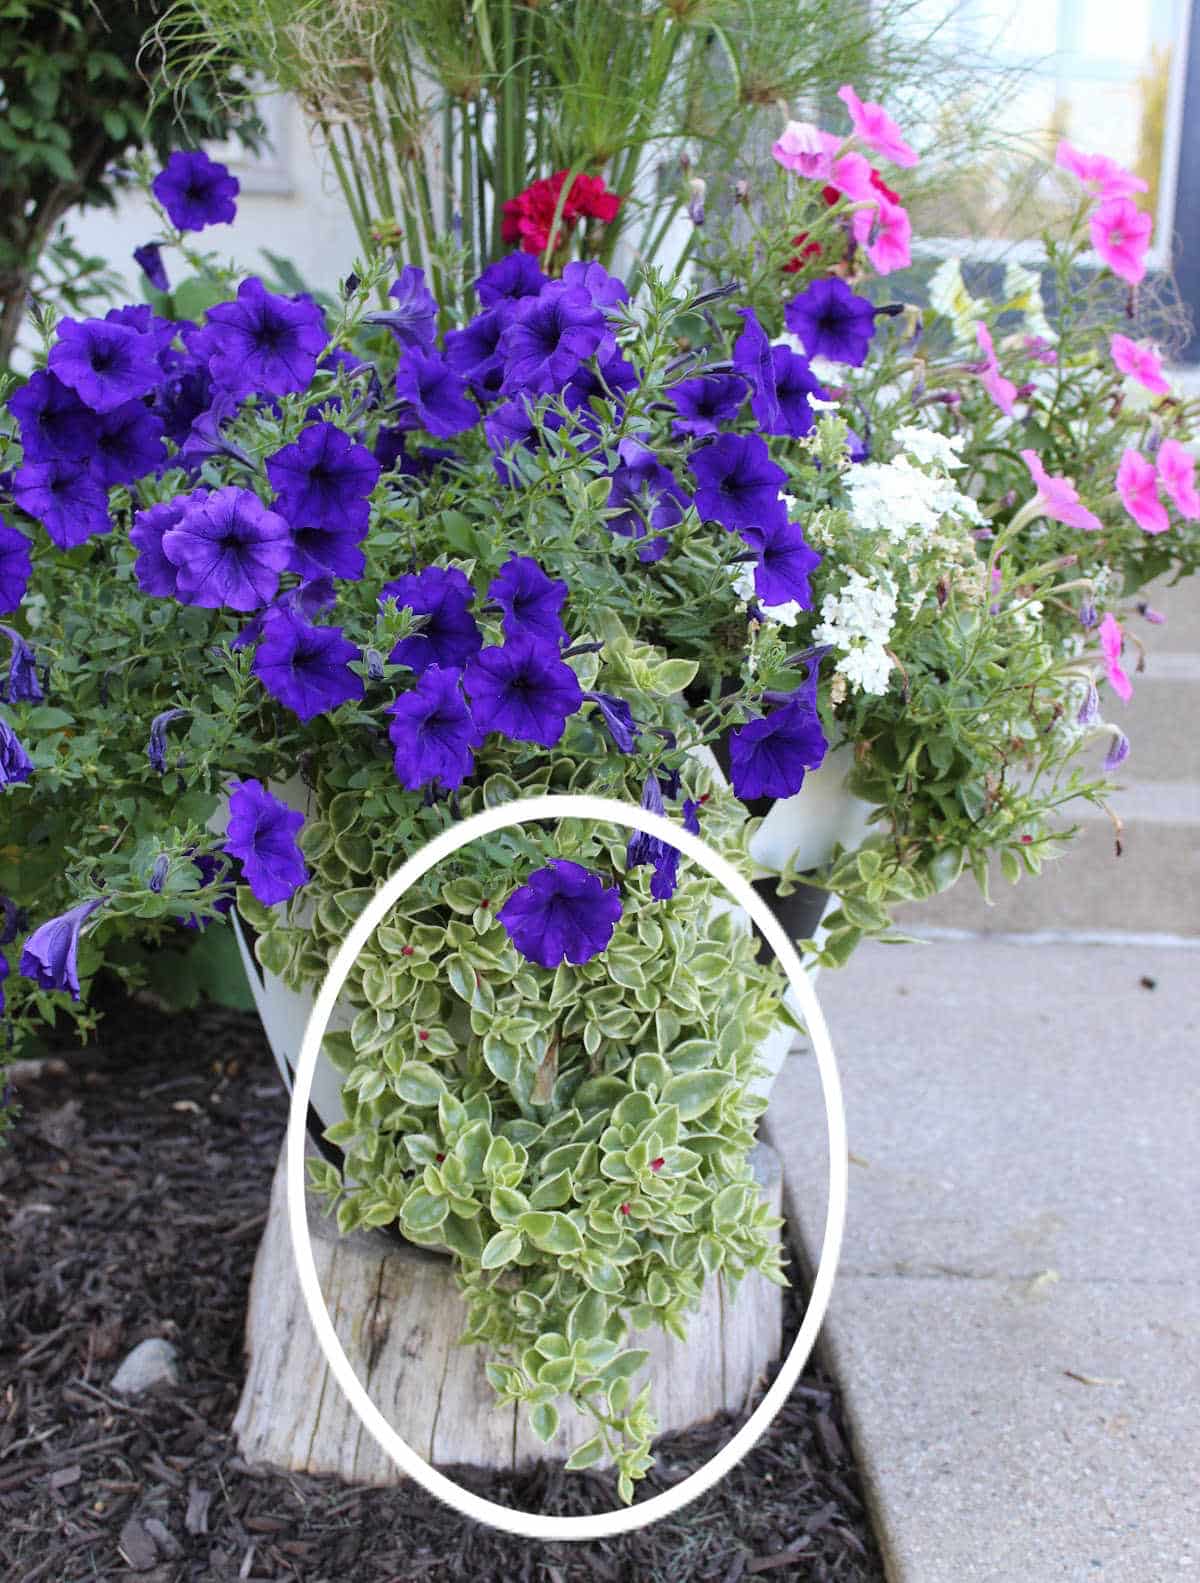
What needs to be pruned (pinched back).
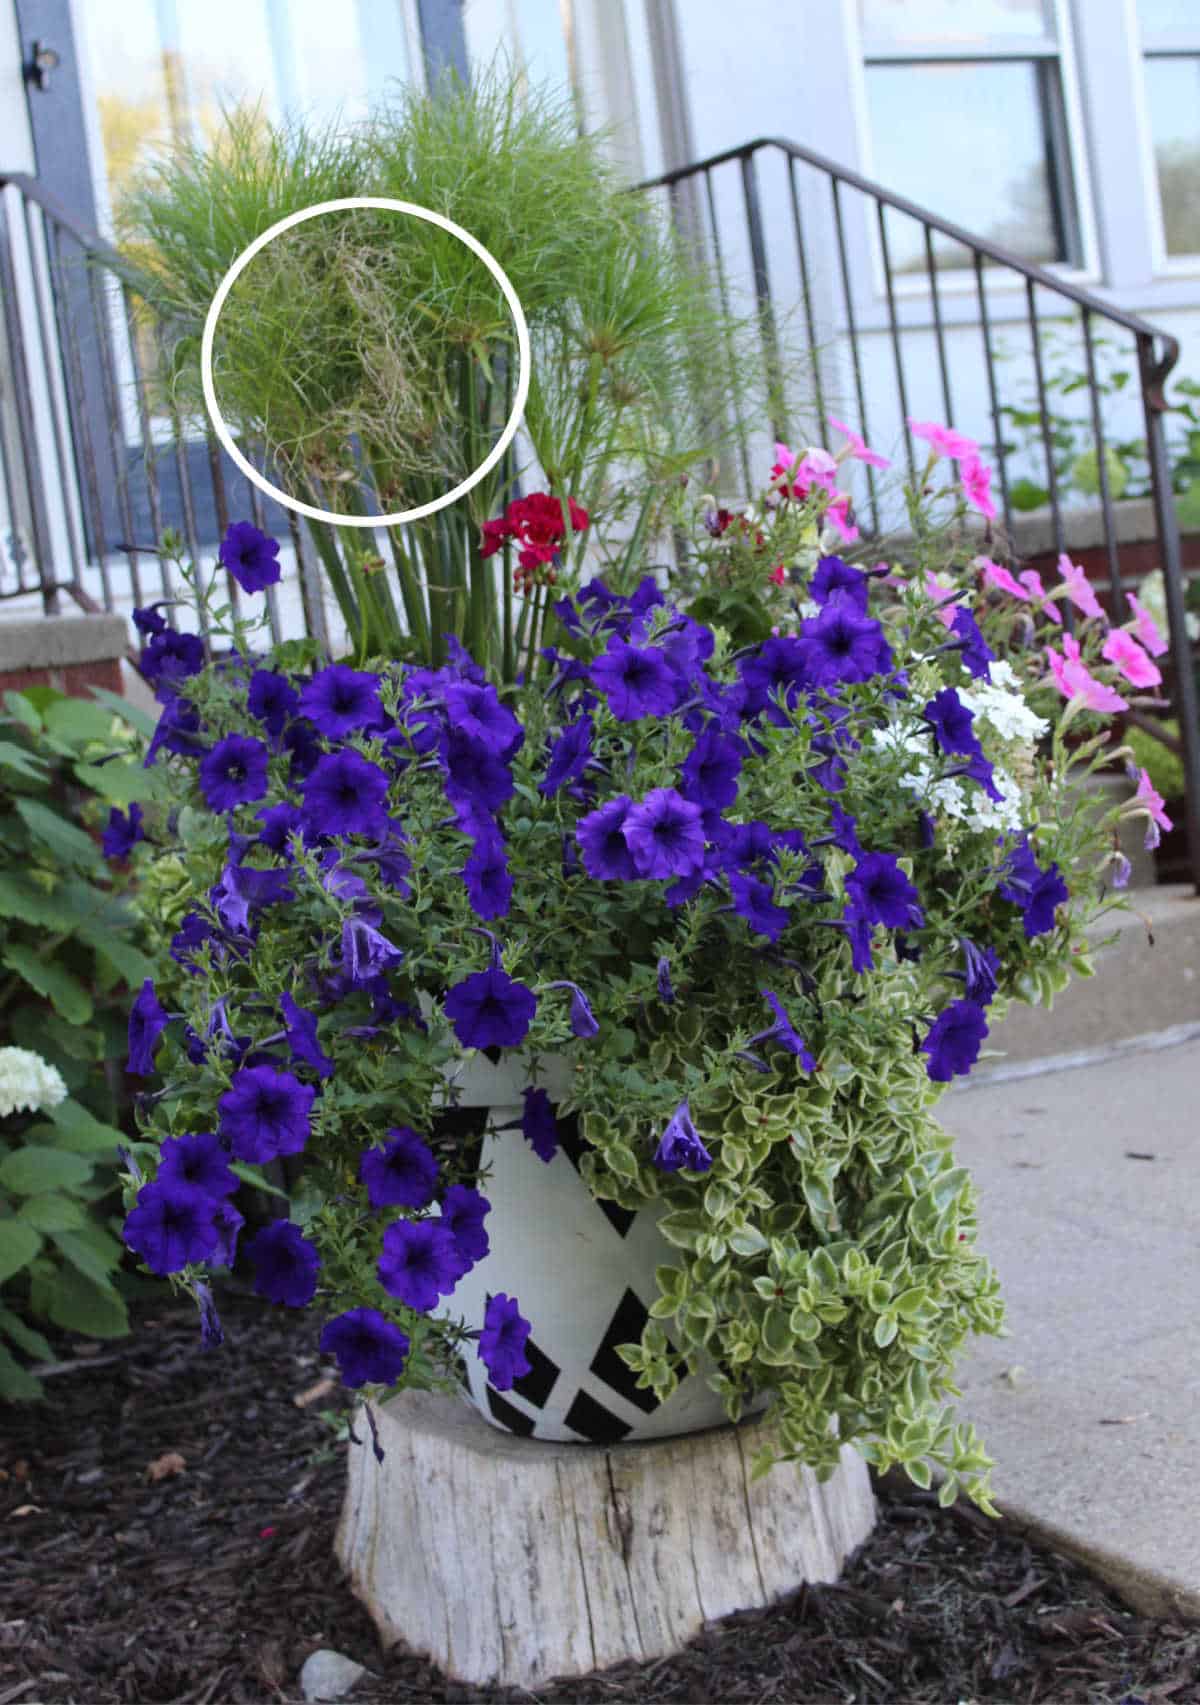
I look for plants that are dry/yellow or look unhealthy. In this case, some of the King Tut grasses (that I've circled) were dry and brown. I find that distracting in the summer. In the fall, it's OK because I like the dried, whispy look then.
After a major trim, it usually takes 1 to 2 weeks, and the flowers blossoms again, and the plant/planter looks nice and full. A major trim (prune) feels aggressive, but the plant feels much better after a few days.
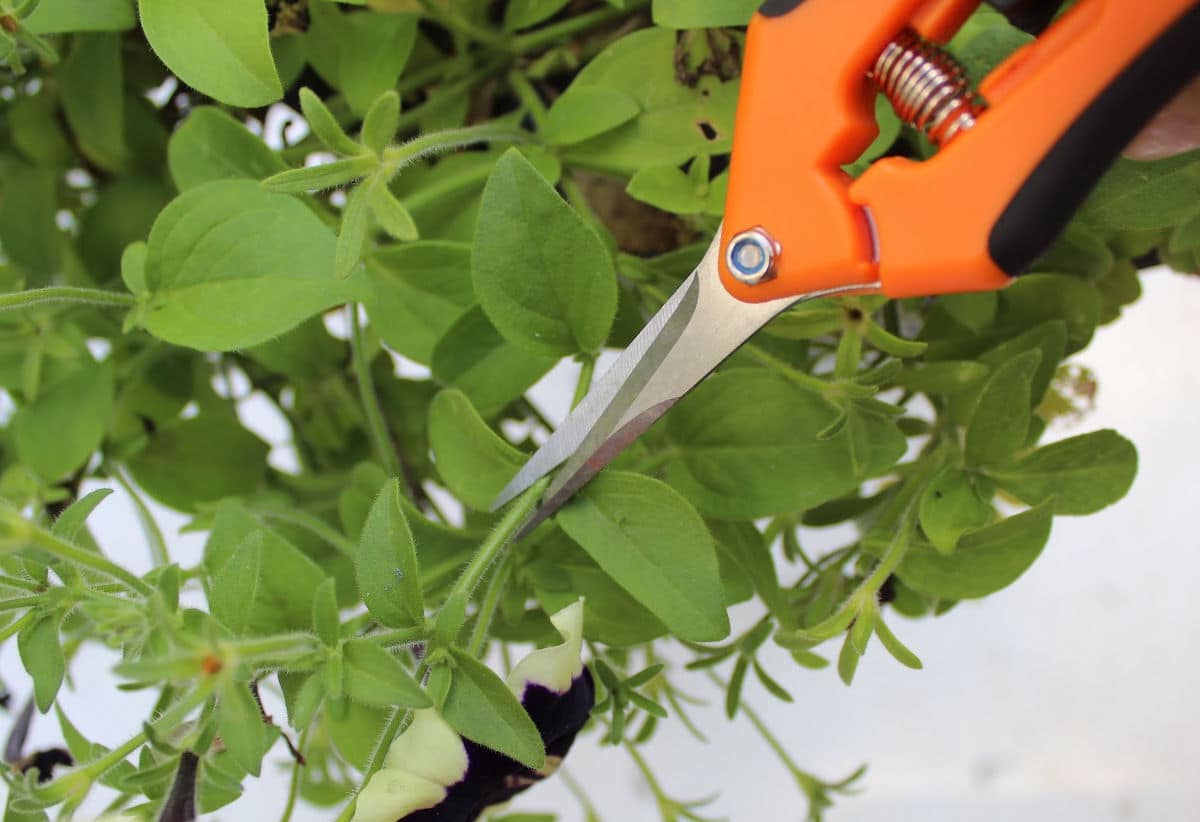
Where to cut the stringy-looking petunia
Petunias and many other plants should be pruned at the nodes (or technically the internodes) of the stem/branch. You want to cut the stem close to but just above a set of leaves. That way, you don't have these strange bare spikes sticking up everywhere. Take your pruners, find a nice set of healthy leaves, and cut the stem just above the leaves.
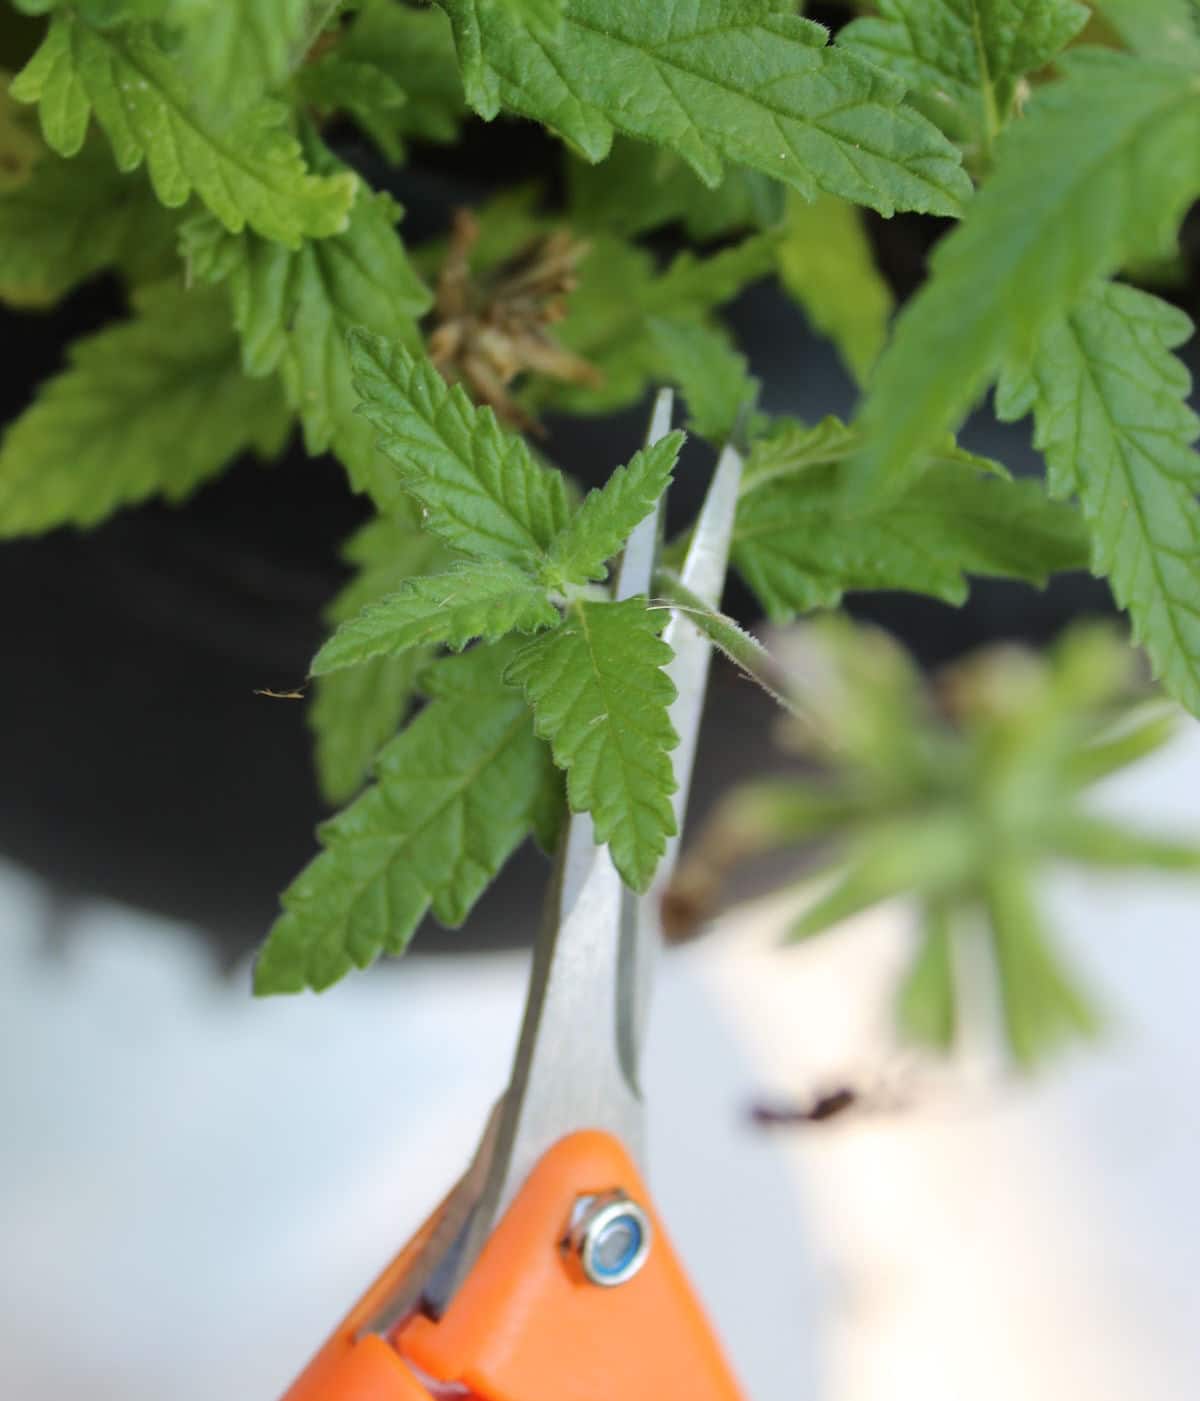
You deadhead most plants the same way. Follow the flower's stem to the first set of healthy leaves and trim there. Below is a verbena flower that is getting trimmed off.
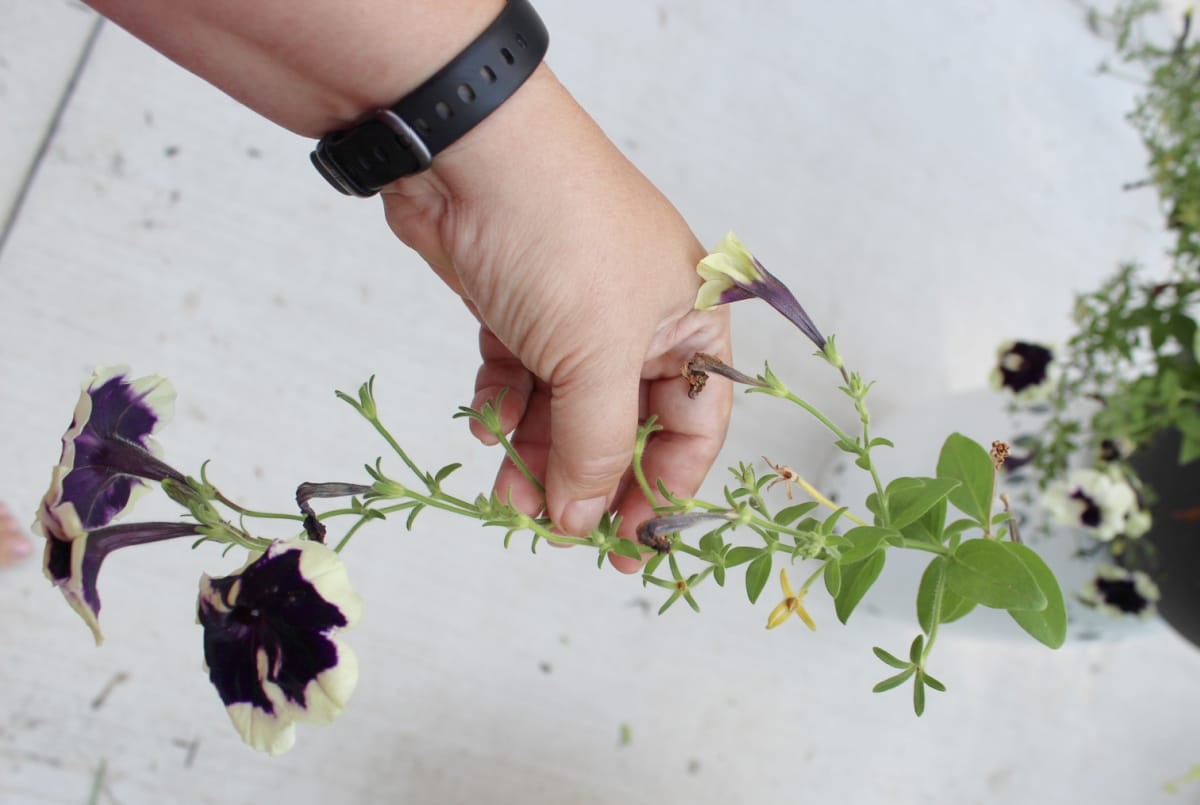
Geraniums are different, and if you are unaware of how to deadhead them, I wrote a specific post focussing just on deadheading geraniums (click the blue link to get there). But the basics are to take your thumb and forefinger around the bottom of the flower stem (by the elbow) and then break it off.
My front door planters are large compared to regular planters. And I like the white geometric pattern shown. Did you know I painted them myself with spray paint? It was easy, and my black and white spray-painted pots have lasted years! Click the blue link to see how I made them.
Help plants recover after a trim and pinchback
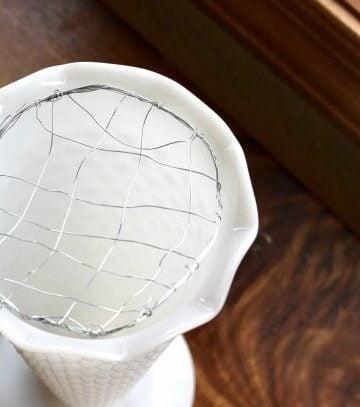
Here is what the planter looks like after it gets a good haircut! Everything in the container and beside the container is from one plant!
These geraniums are copies of watercolor paintings made by my friend Rosana, an architect in Spain. She made them for me (and you!) and is so talented!
These are printable files that will be emailed to you. Then you print them on your own computer! These are sized for 8 x 10 paper (normal printer paper size). The size is perfect to be framed and displayed in your home.
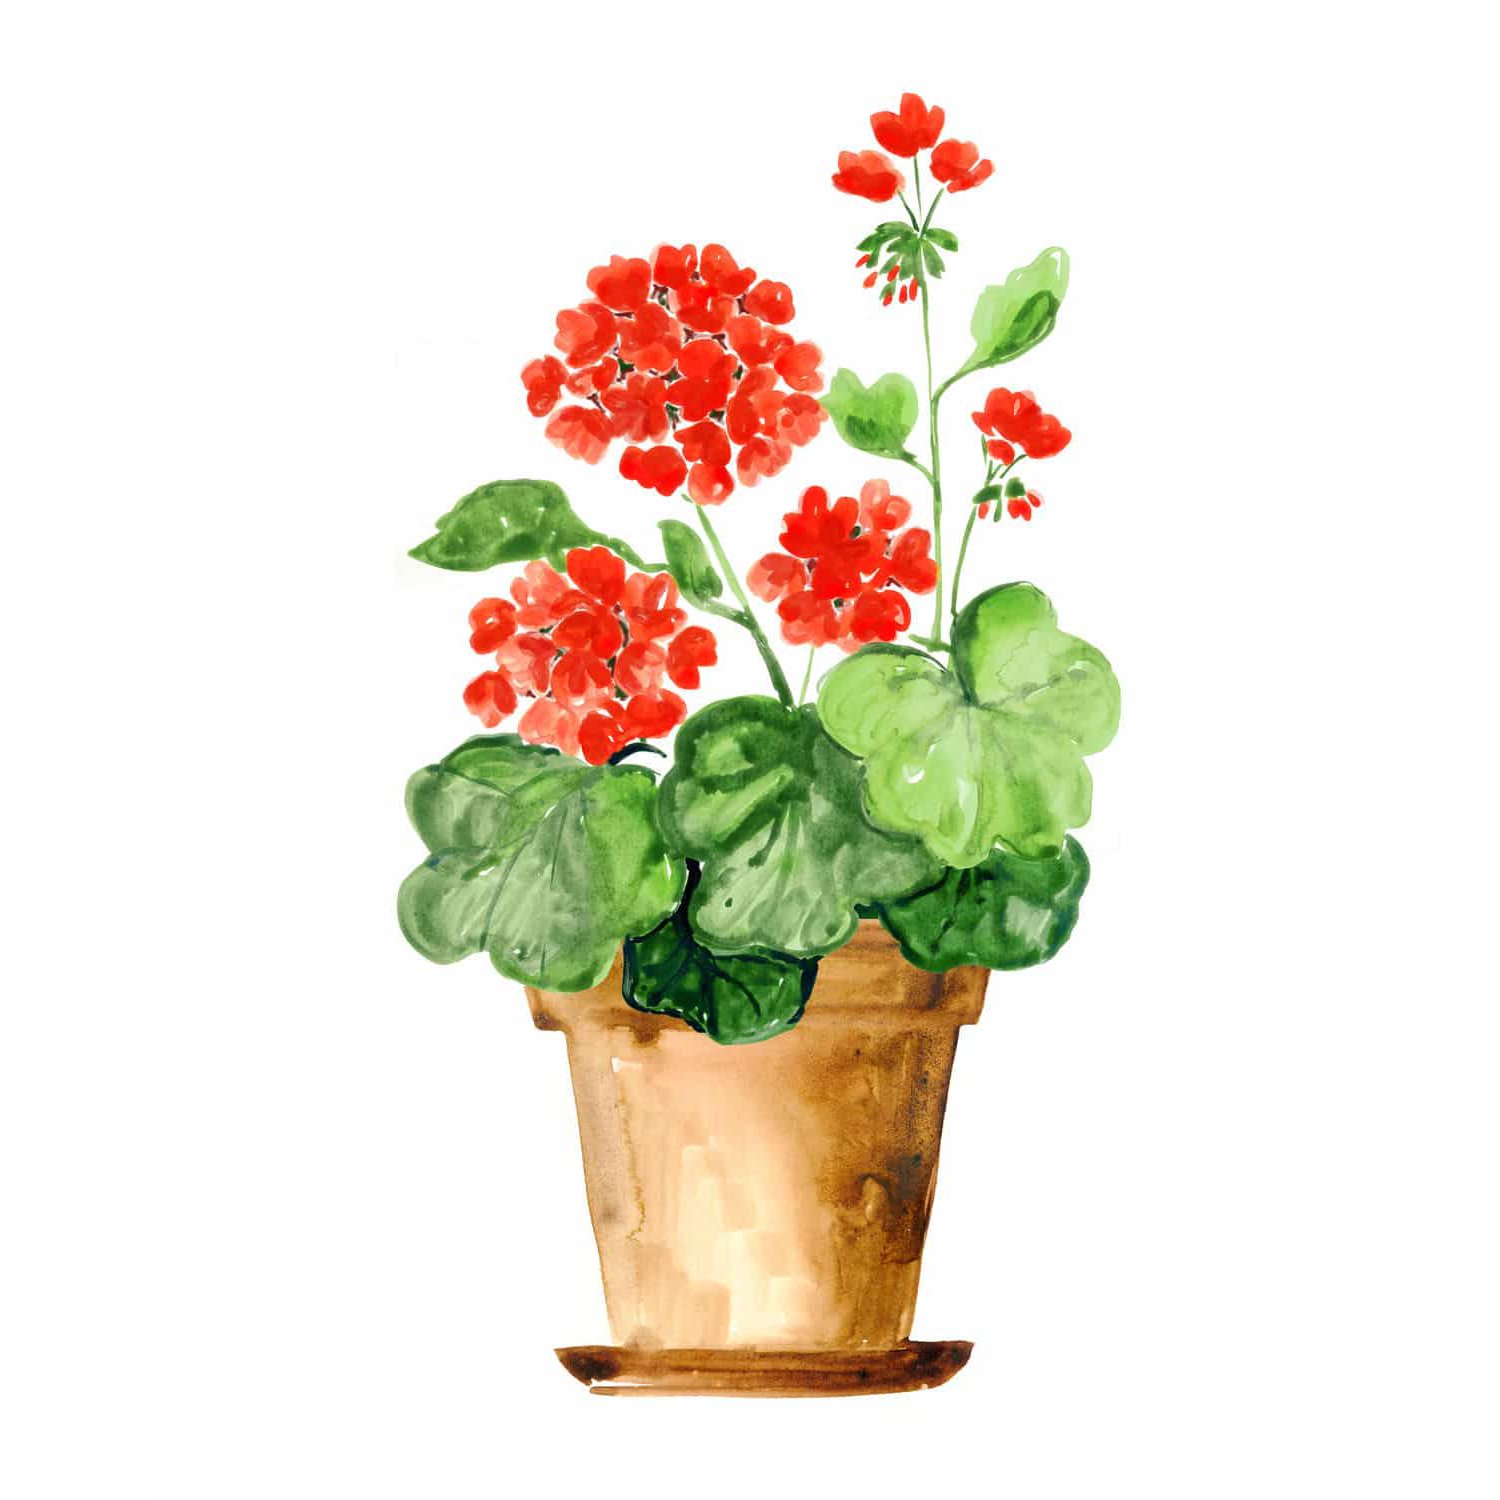
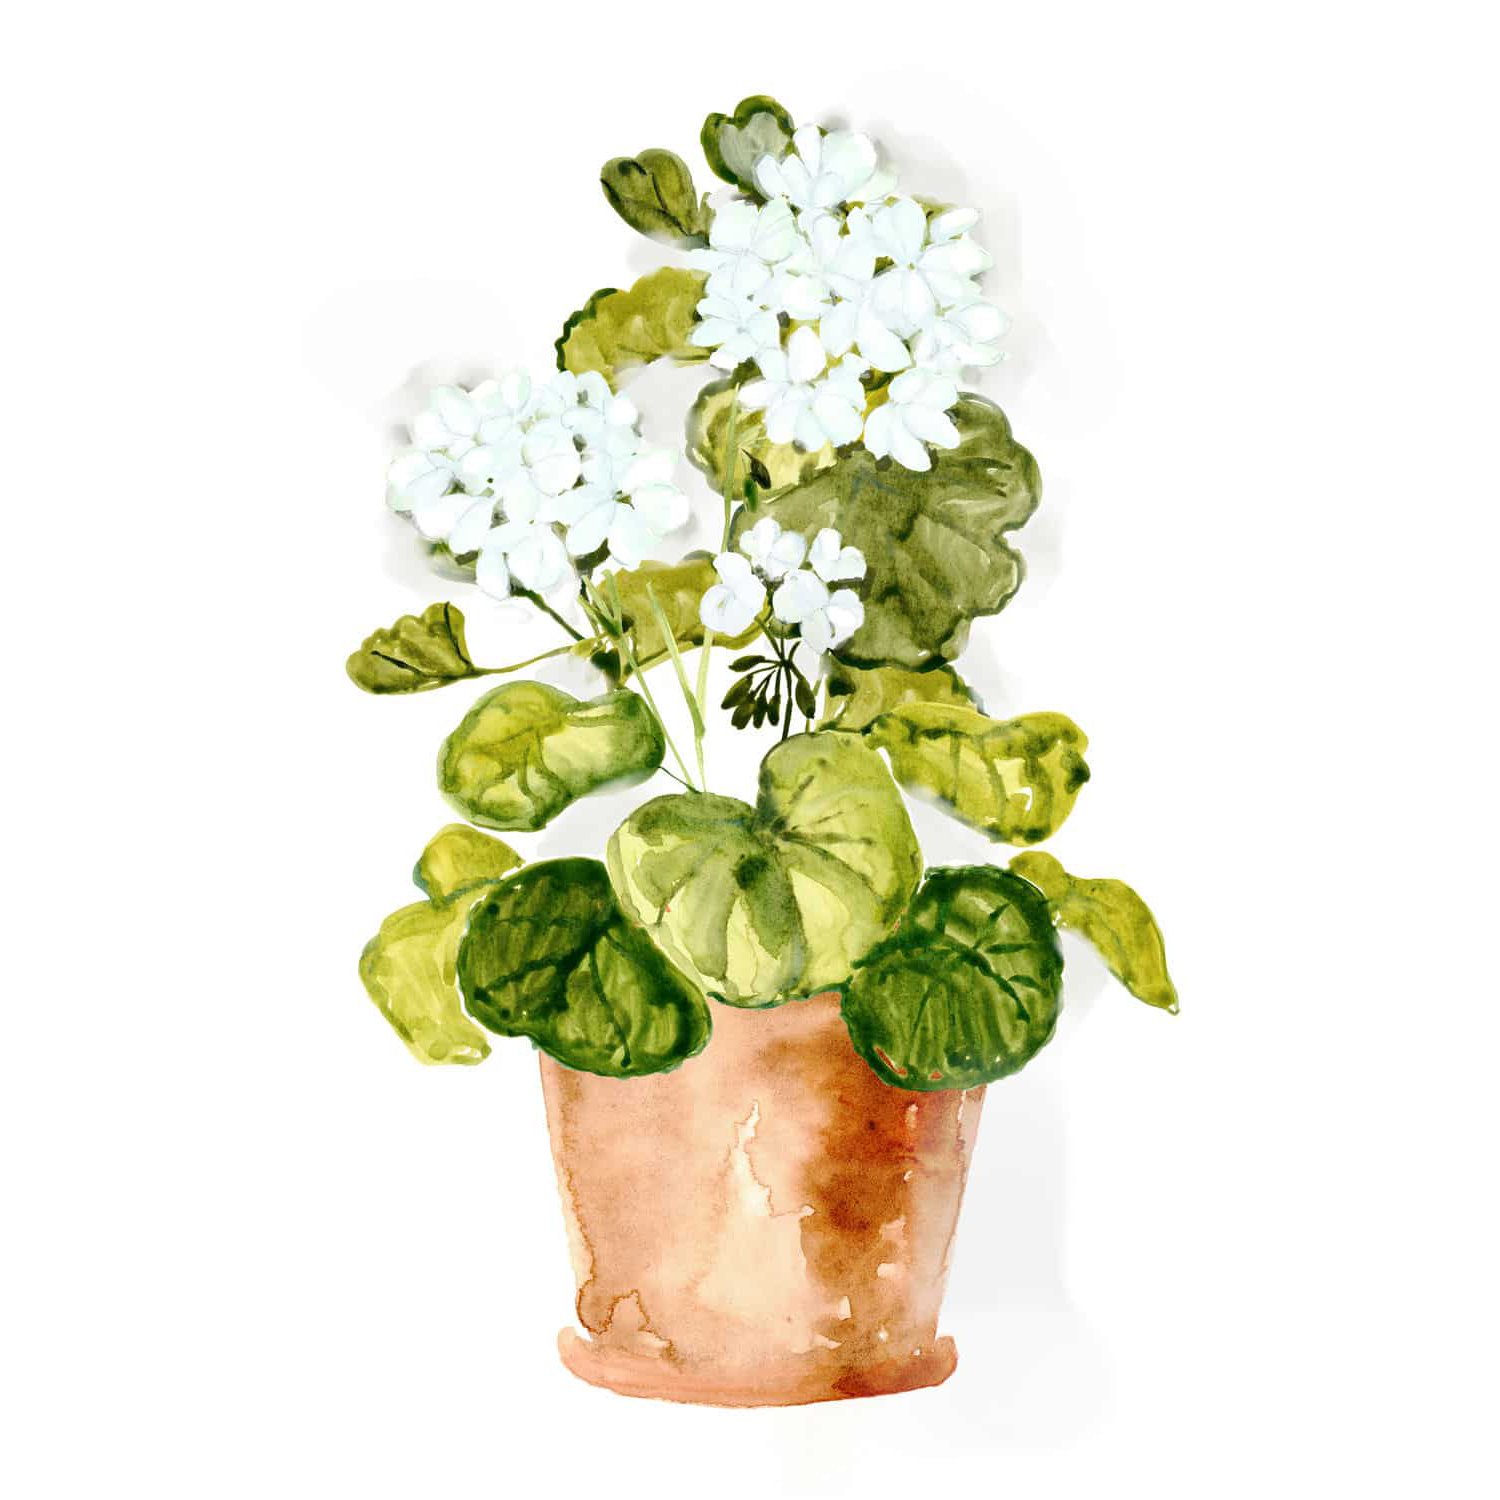
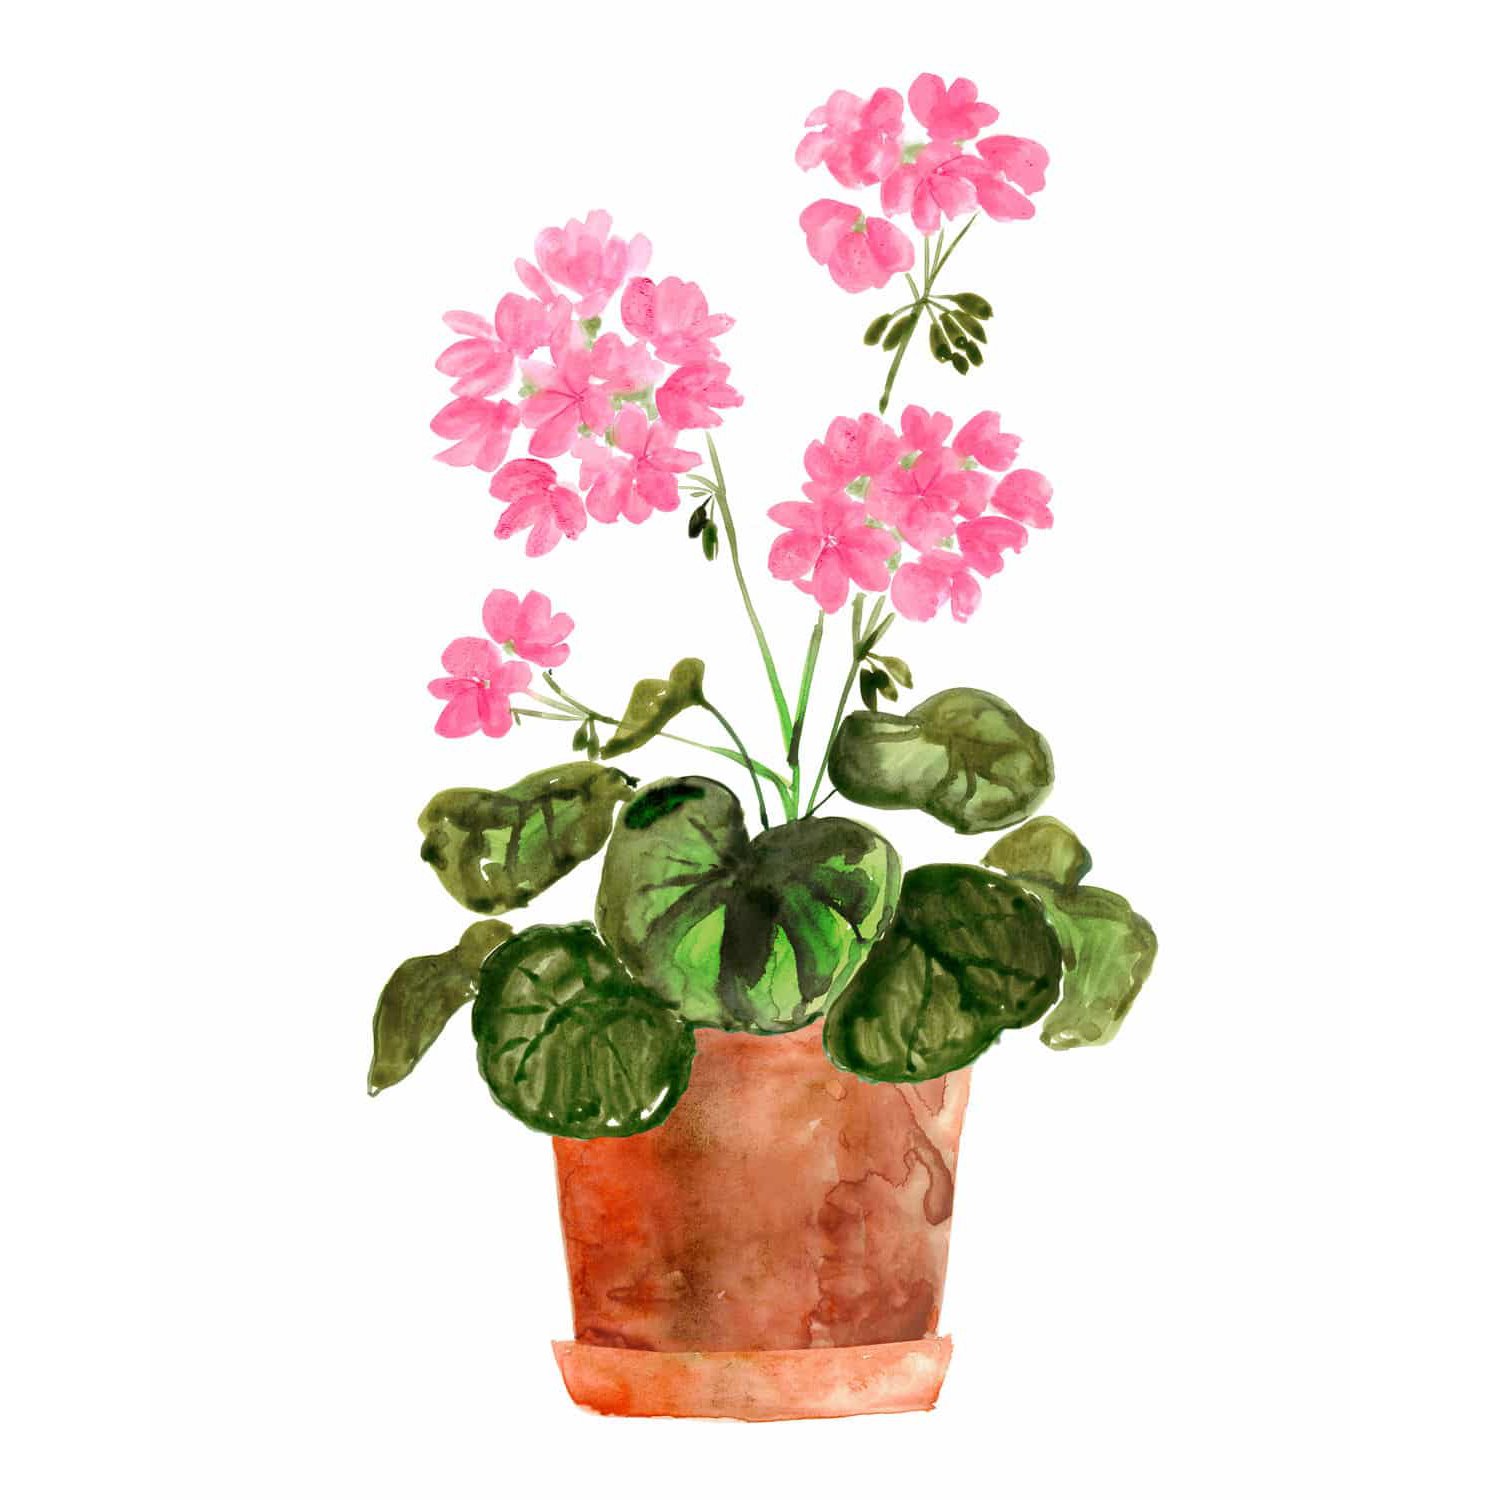
I've set up a 30% off discount just for you. It applies to my geranium products. Click on the link under the watercolor geraniums to get to the specific item. My store is called OnWoodlandLane if you would like to browse.
More pruning, deadheading, and pinching back examples.
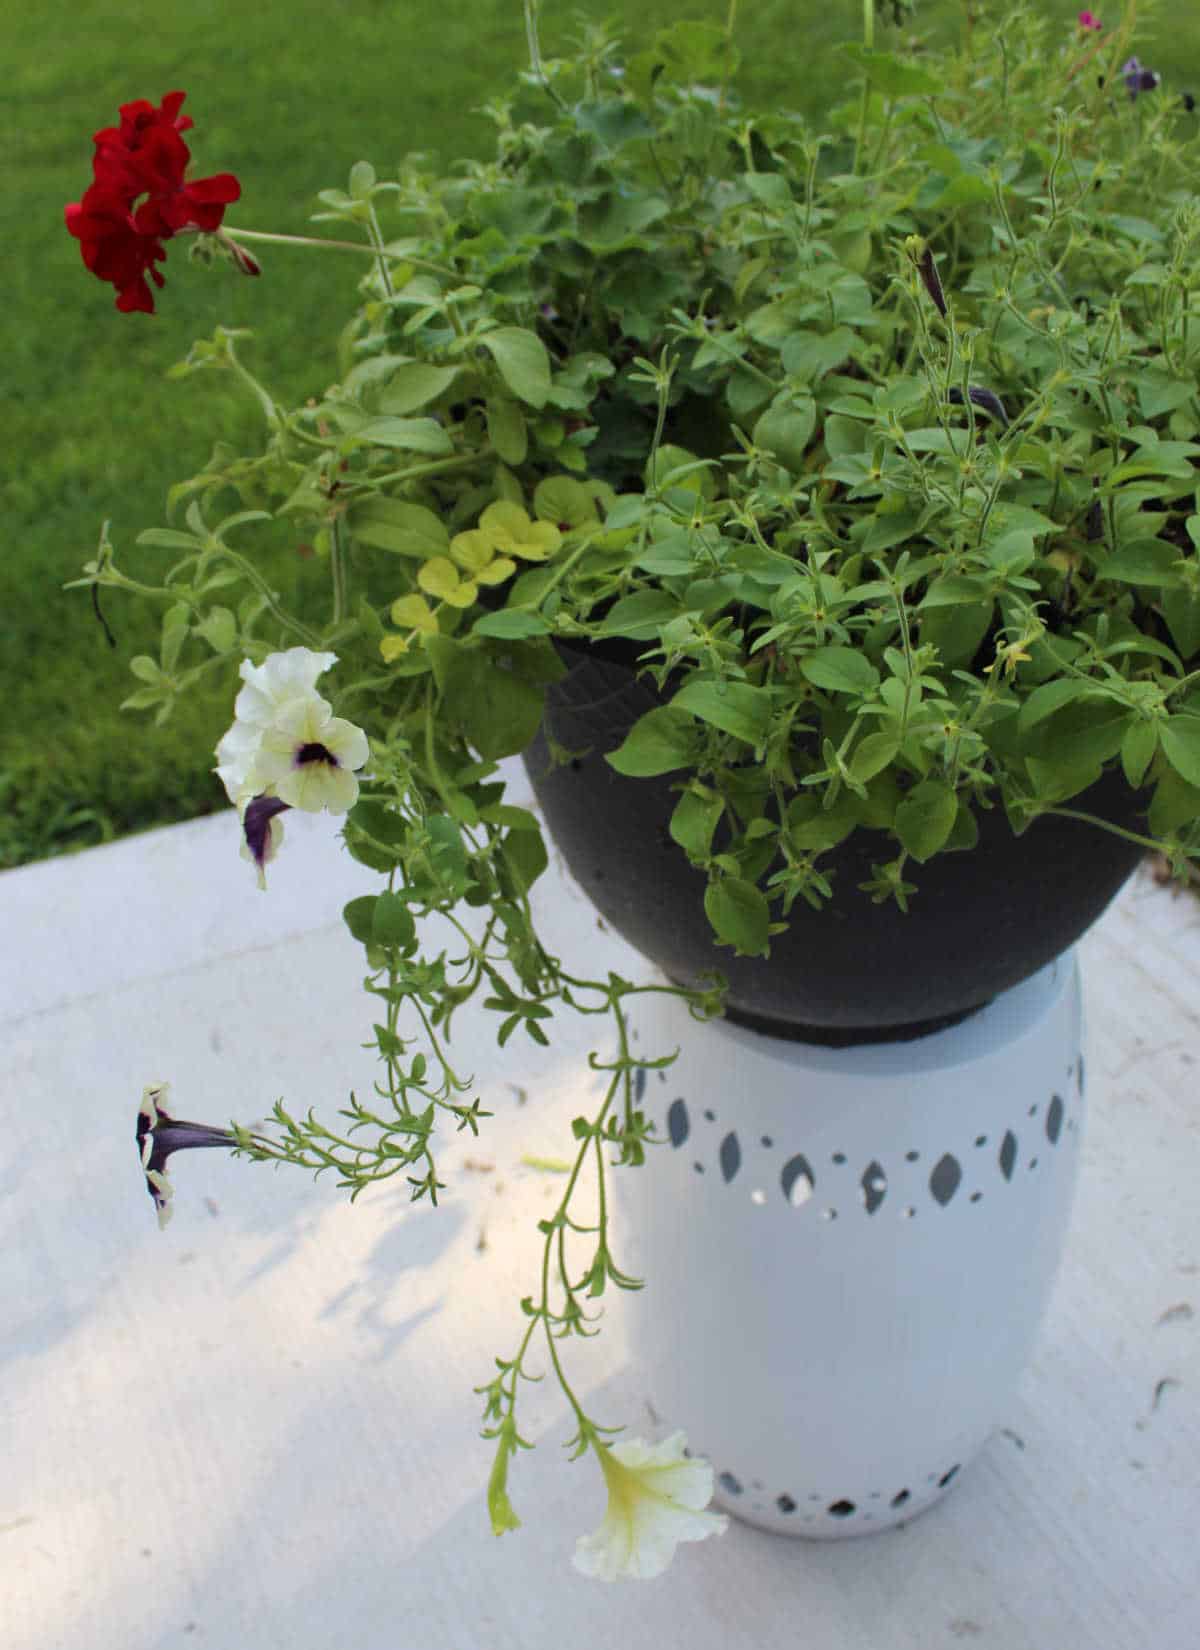
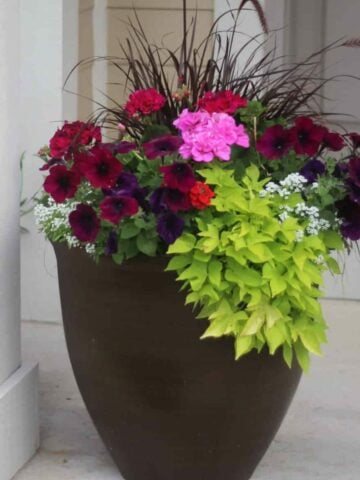
If you are still reading, let me share other backyard planters I gave good pruning. My backyard isn't in full sun, and all the plants in my container displays tend to get leggy. This planter is mostly crazy leggy petunias!
I felt like I had cut so many stems. But do take the time to cut them in individual lengths so the plants look more natural. Some of the petunia stems I cut off are long! You can see all the dead blooms along it. This one isn't the longest, but I remembered to take a picture of it.
Below, I left just a couple of long leggy petunias on the plant so that you can see them. Those long ones were over a foot long!
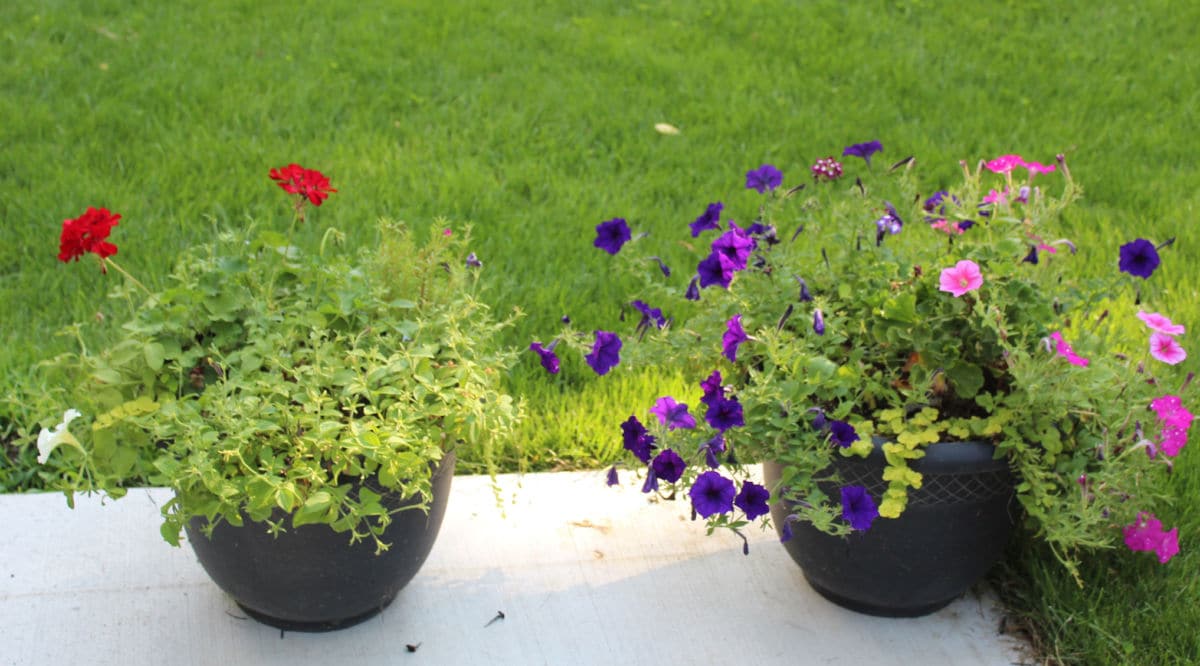
The planter on the left (below) is the planter that I just trimmed (the "before" of that same planter is above). The planter on the right is the next planter I'm trimming.
Even though I cut most of the petunia blooms off, I find the planter on the left looks nicer! It just needs a week or two and will be full of blooms again! Plus, I didn't even notice the pretty red geraniums hiding there.
I hope this post helps you tidy your planters and, specifically, how to prune petunias. A plant's sole purpose is to try to reproduce, and that's why it has flowers. By cutting off many of the flowers, it should bud and flower again. The plant will try to bloom again and create seed pods.
Below is the plant (above on the left) after two weeks. It'll be even better in another week!
Don't be nervous doing this! It does truly help the plant become both stronger and prettier!!
The planter two pictures above (on the right with the stringy purple and pink petunias) also got a good trim.
Below is what it looks like two weeks after a good plant haircut!
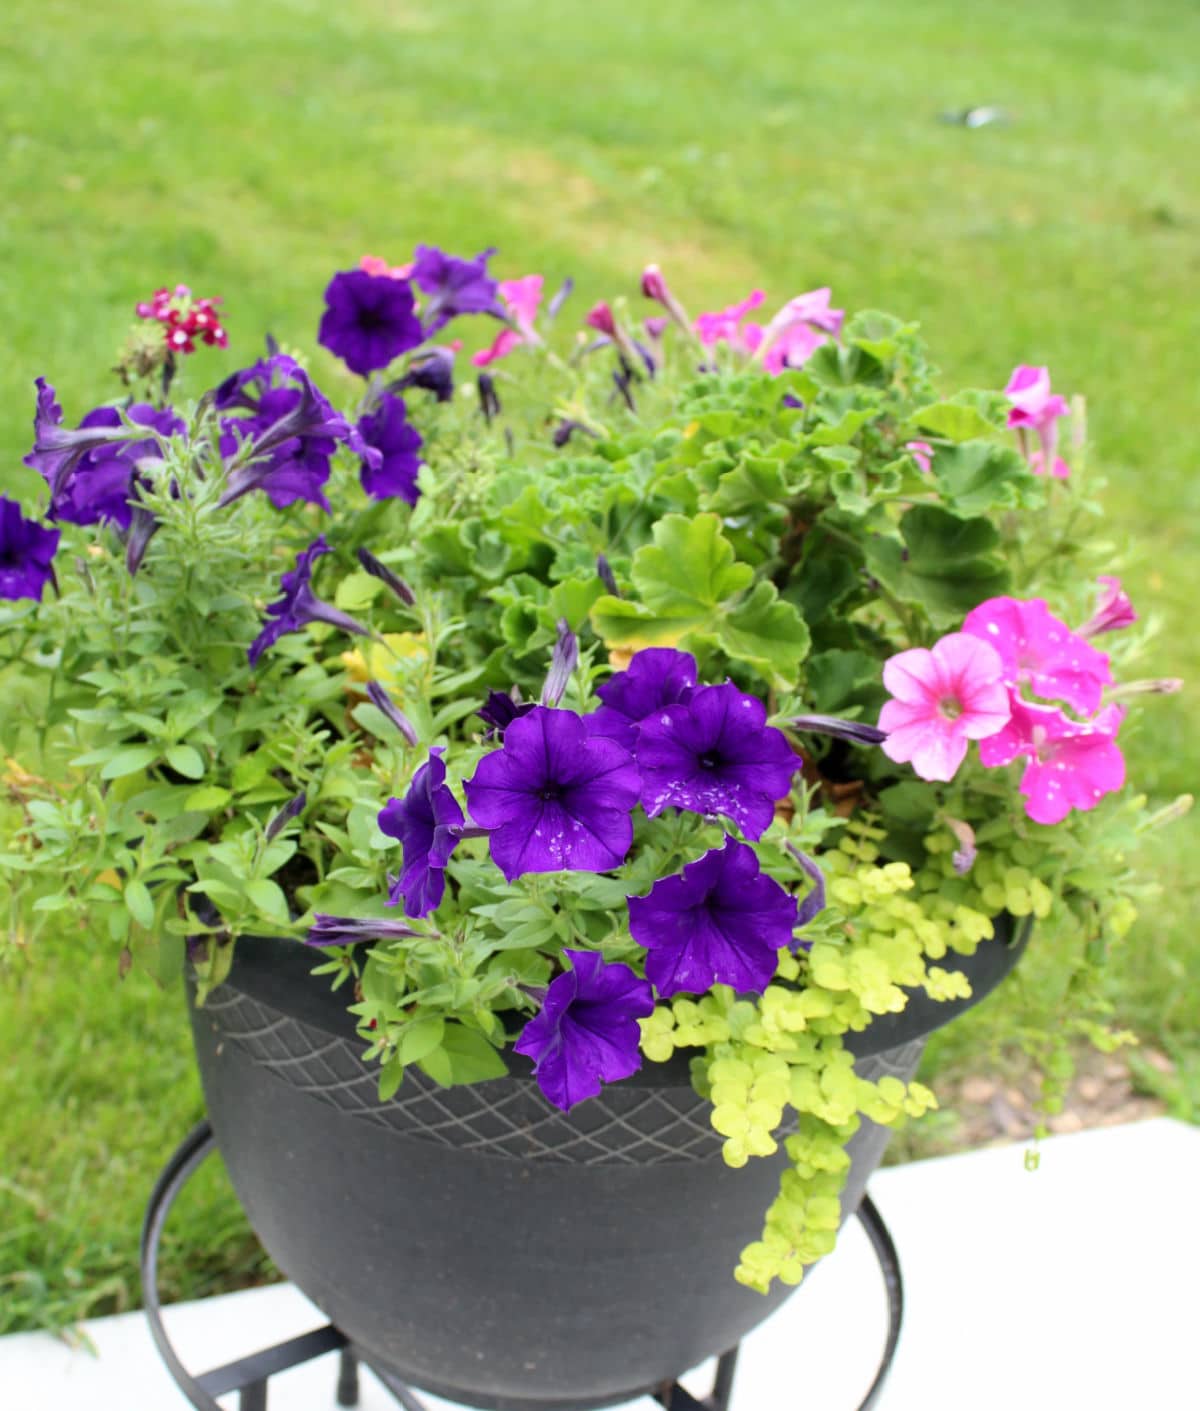
It looks so much fresher, and it will get even better in the next week or two.
They are not perfect, but they don't look as wild and crazy anymore. This helps extend their usefulness and keeps them looking good until it's time to start planting fall planters!

Sharon
Thank you for all the information. I’ve been leery to use petunias as they got too leggy and ugly. So, Thank You!!!
Deborah S Mitchell
Thank you so much for this information. My petunias look really bad right now because of the heat. Today they are getting a pruning .
Never knew you could do this.
Deborah Van Horn
Thank you for your wisdom on pruning petunias. Your flowers are beautiful!!
Becky williams
Thanks for the advice on how to take care of petunias. I have a lot of them and this helps a lot. Mine are looking really bad now due to the really hot summer we are having.
DeeDee
Thanks for a clear, VERY I formative article! Really, really helpful (& encouraging!)
Mimi TUDMAN
Thank you so much for your detailed information. It is perfect.