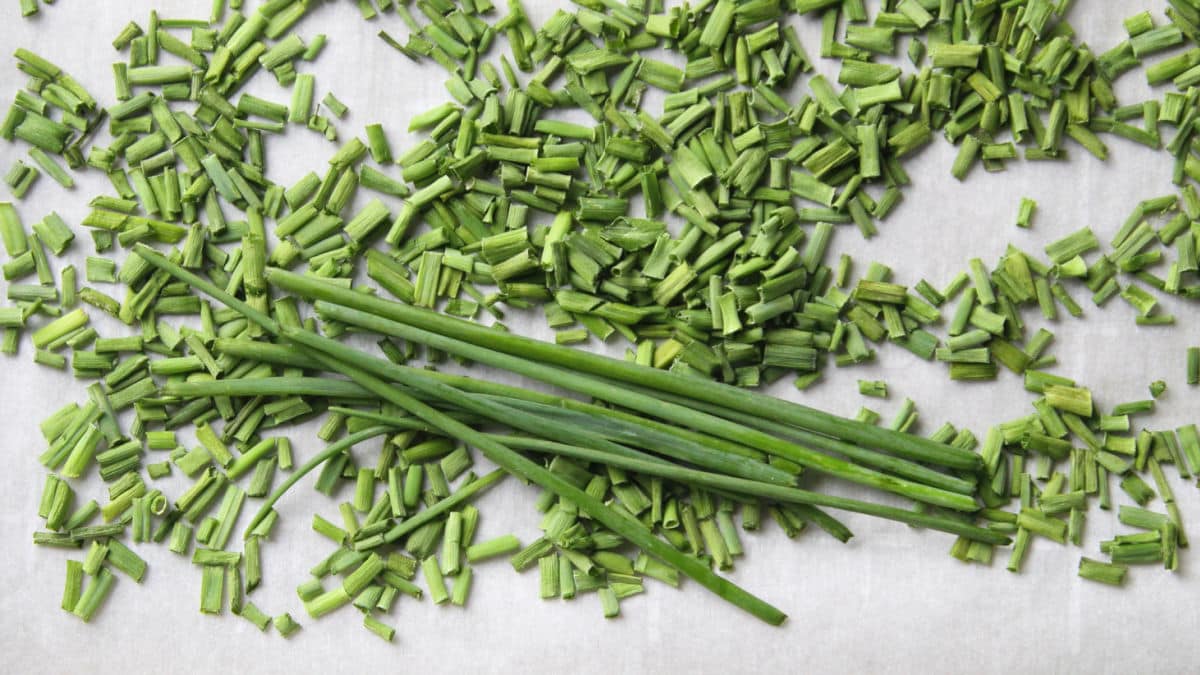
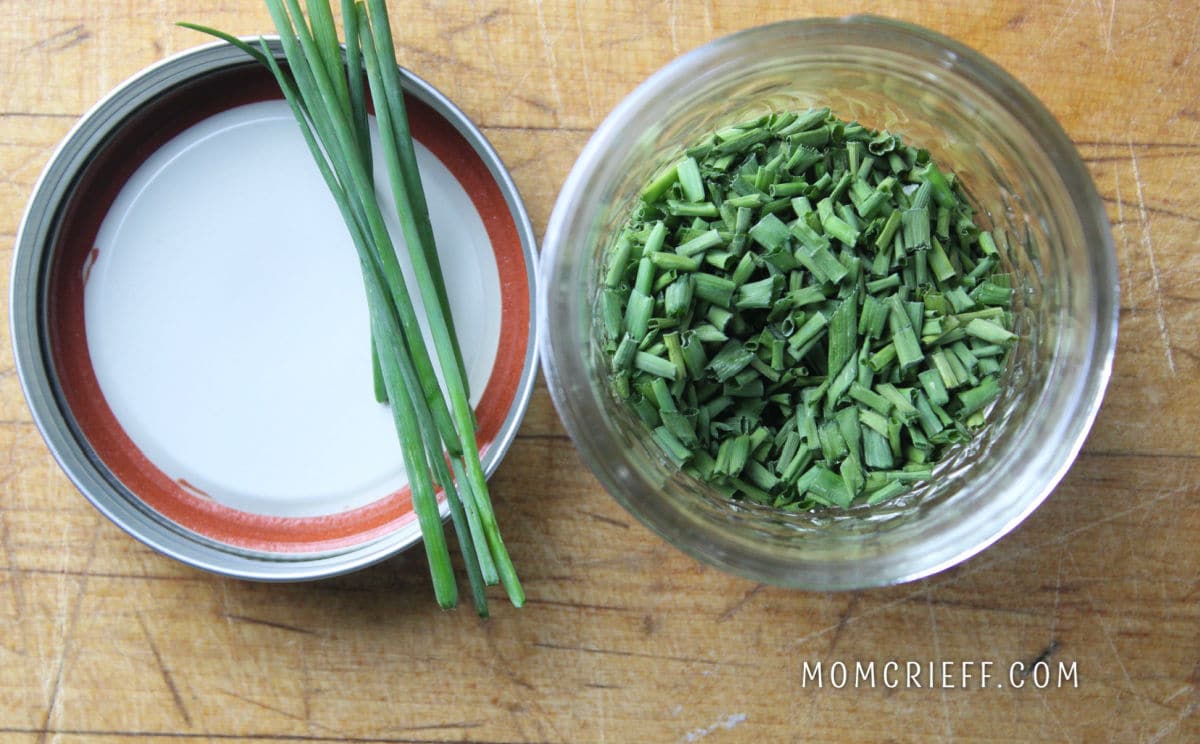
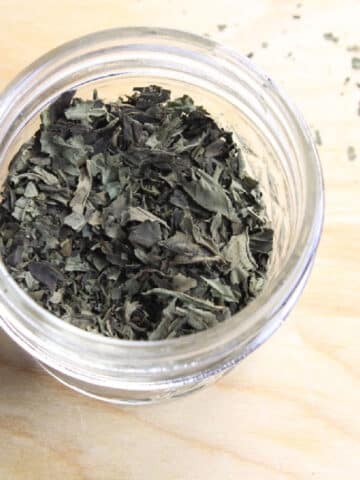
Recently I was asked how do you dry chives. Chives are truly the easiest herbs to dry. My preferred method is to oven dry since the color and shape are well retained. In the image below, the chopped chives have been dried, and I placed some unchopped chives with them. These perennial herbs are also the easiest herbs to grow! And they are so easy to preserve by drying. It doesn't take much time or any fancy expensive equipment!
Chives are a perennial herb, and even people who don't have a garden often have these. They are that easy to grow! This plant is easy to maintain, and they are really easy to preserve by drying. Anyone can quickly and easily preserve some chives for the months they aren't handy in the garden. Below are what a young bunch of chives looks like in my herb garden in the spring.
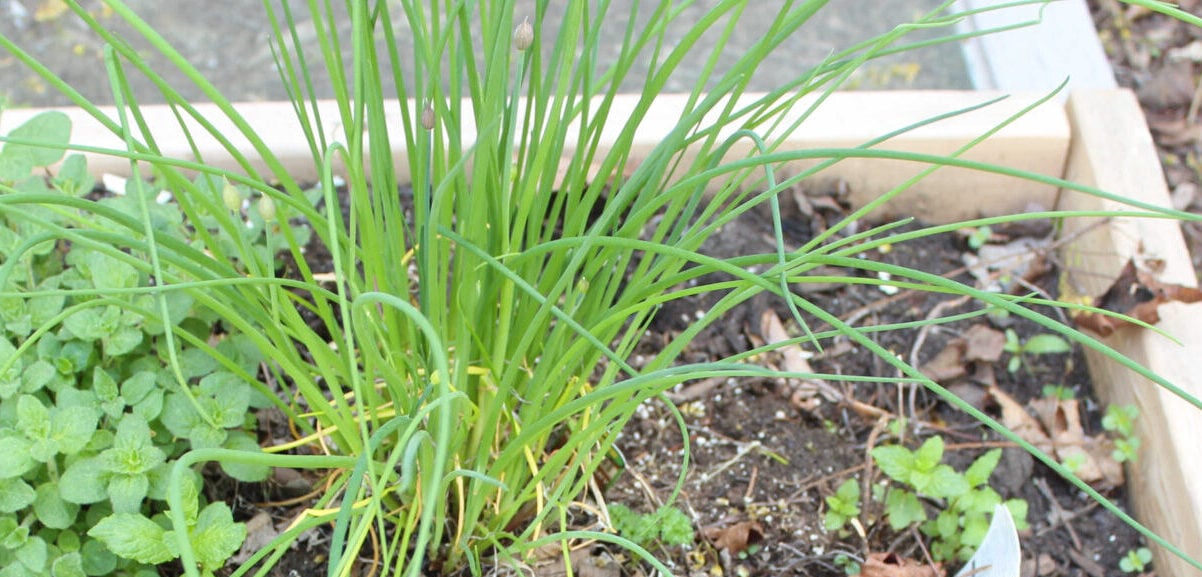
Chives can be grown from seeds, but the easiest way to start growing them is to ask someone to give you a chunk. No gardener would refuse such a request!
What are they used for?
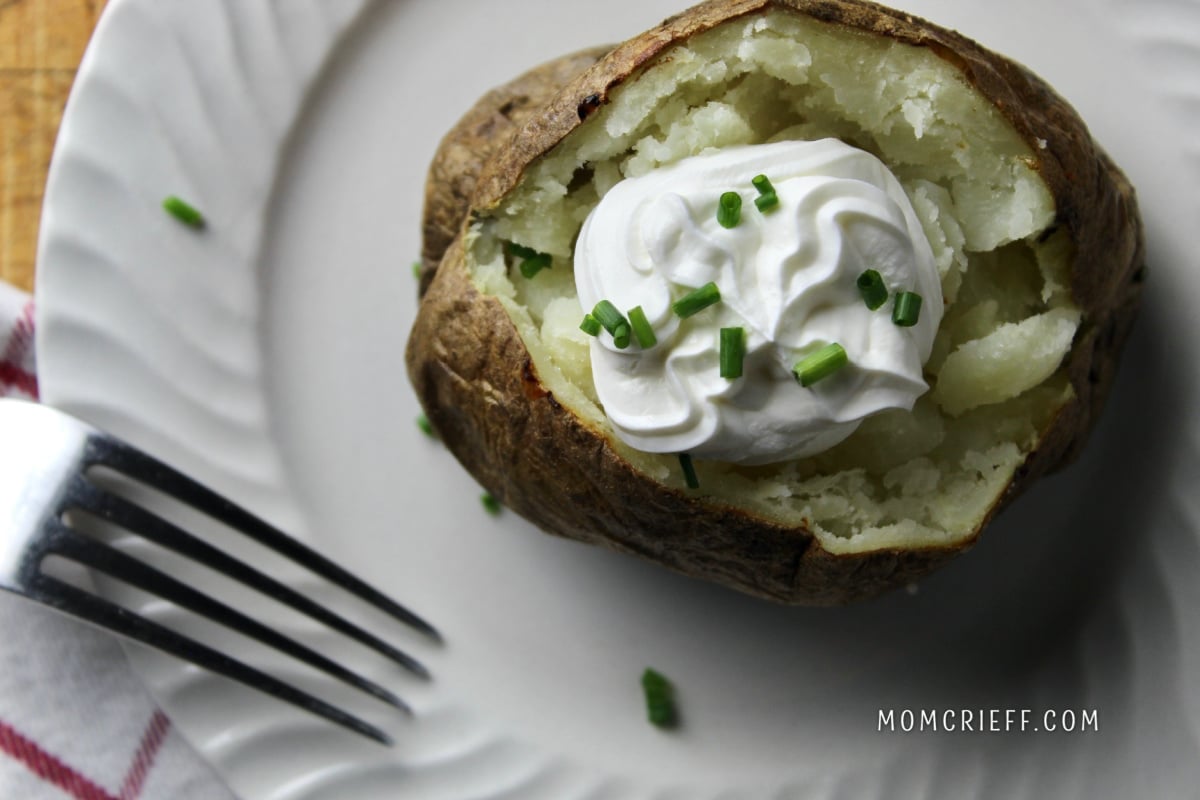
Chives have a mild onion-type flavor. Because of that, they are ideal for recipes requiring a garnish that has a pretty green color. There is nothing better on a baked potato than some sour cream and some chives! Chives are also excellent in salad dressings, sprinkled on salad and vegetable dips, or in sauces.
Here is a baked potato I made earlier with chives sprinkled on top! This is a classic use of this herb. One of my favorite appetizers is a cucumber sandwich appetizer, and I think the herbs sprinkled on top are the stars of the show!
Why do I like oven-drying chives?
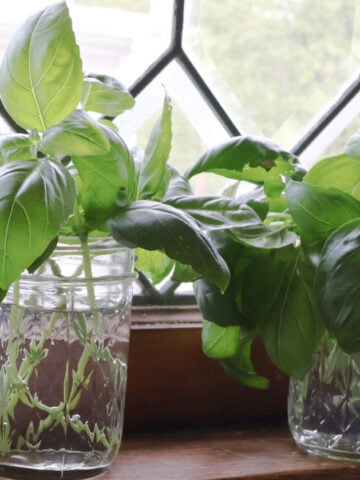
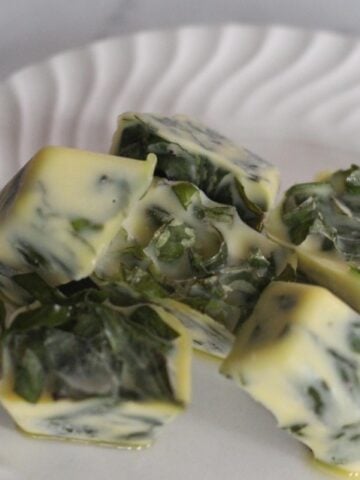
Chives are plentiful in the summer but not in areas that experience cold winters. Since this herb is mainly used as a garnish, oven drying helps retain the shape and color, so even after it is dried, it can still be used as a garnish. When air-dried by hanging or freezing, they don't look nice enough to use as a garnish. Some herbs, like basil, are preserved well by freezing. Here is an article on how to freeze basil with oil in an ice cube tray.
This is an inexpensive, easy-to-grow herb. I appreciate the convenience of having it available and not having to buy a big bunch for a small amount of garnish.
Instructions
Harvesting
Use your kitchen scissors or a sharp knife and grab a loose bundle of chives. Cut them about 2 to 3 inches from the ground. They will regrow, and you'll have many opportunities to harvest or use when needed. The best time of day to harvest is in the morning before the sun has stressed them.
Cleaning
Holding onto the bunches of chives, rinse well with running water. Use your fingers to ensure the dirt and any garden friends are rinsed off.
It's very important to dry these well, especially if you are going to preserve them by totally removing the moisture. Shake off some water, lay them on a tray, and use paper towels to pat away as much moisture as possible. I find leaving them to sit for a few minutes (20 minutes or so) allows them to further dry.
Chopping
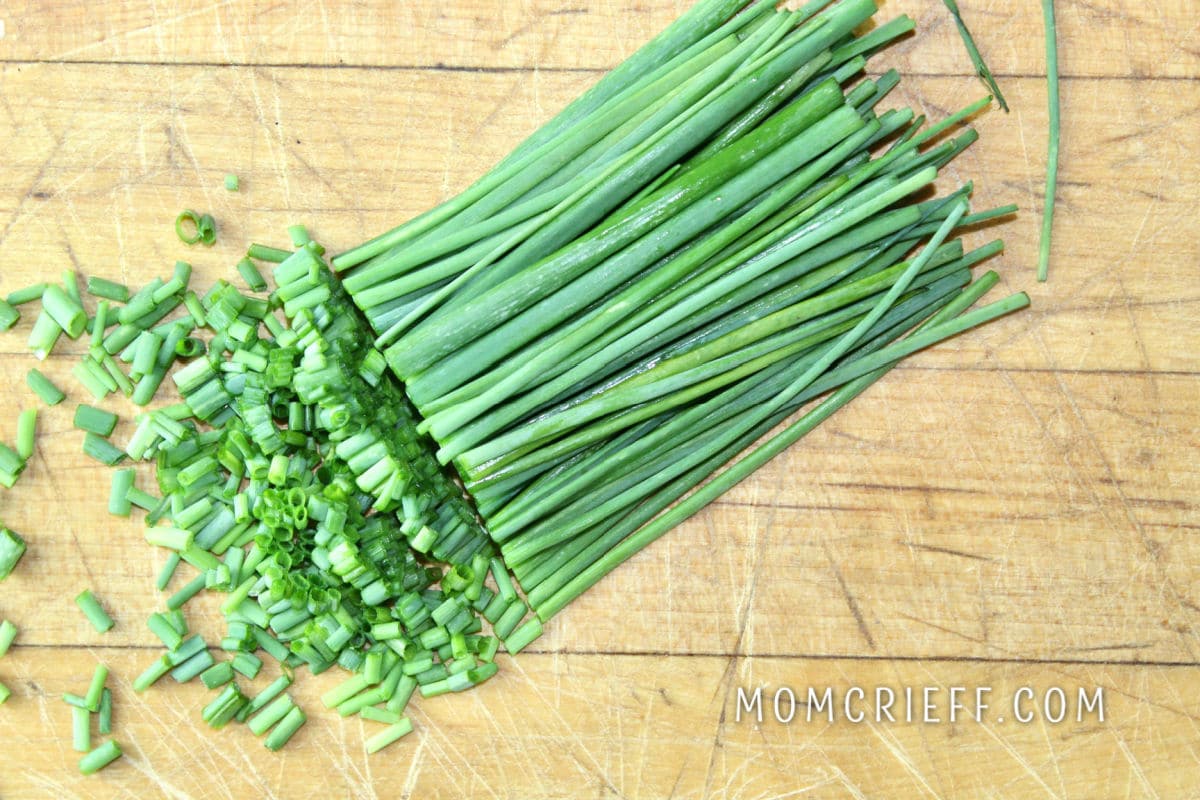
Below is a picture of how I chop the chives. Line up the chives and cut them into small pieces.
You cut the fresh chives as you would for use, but we will dry them. A sharp knife is helpful.
The easiest way to dry chives
The quickest, easiest, and best way (in my gardening and cooking experience) is to preserve this herb by oven-drying it. Once you have finished cutting the chives, lay them in a single layer on a baking sheet. I always use parchment paper when drying herbs.
Heat the oven to the lowest temperature it will allow. You are aiming for 100 degrees Fahrenheit. My oven holds this temperature to proof dough. You aren't trying to bake the tray; you want to remove the moisture. Depending on how big of a batch you have, it will normally take about an hour. Occasionally, stir so that the chopped chives are separated and can be evenly warmed. Once the chives look and feel dry, I turn the oven off and let them sit for a few more minutes. They don't get too dry, but if they are not dry, there is a chance they will spoil.
How to store
Your dried chives should be stored in a jar (small mason jar or reuse a spice jar), and keep them in a cool, dry place.
Alternative ways of preserving
Two other popular ways of preserving this herb are freezing chives or air drying them. I do not air dry this one because I feel mold is possible.
To air dry, you must tie the herb clumps together with a rubber band or twine. The herb clumps should be hung out of direct sunlight to dry. There is no air circulation in the middle of the clump! If you do air dry chives, you must regularly check to ensure the clump does not have mold. Some herbs, like rosemary and thyme, are more suited to air drying.
A quick and easy alternative is to freeze chives in ice cube trays. Fill the ice cube section with chopped chive leaves until the section is just over ½ full. Then top with water. A gentle stir will sometimes release the air bubbles within the chopped chives. This is appropriate if the recipe you are using has water, like soups or stews. However, frozen chives usually are not used as the main flavoring ingredient because their flavor is mild. You won't be able to sprinkle them as a garnish if preserved this way.
I hope you have found this helpful and informative! Please fill out the form below so I can send you more posts! You'll get gardening posts, easy recipes, and an occasional update on my 100-year-old home. See you soon!
Here is a Pinterest pin for you!


Leave a Reply