Hi Everyone!
Life has been busy lately. But, I wanted to share the amazing gift (a gift card tree) I was given by a group of girlfriends recently. Yes, I had (another) birthday. Make them stop!! I don't want to get another year older (again!).
I've also majorly downsized from a much too large house to an 'I'm not sure if it's big enough' apartment. However, I still seem to be able to purge, reorganize and redecorate. The process of making this apartment our home is still underway. Getting rid of 'stuff' is a continual goal. Less stuff means less cleaning and a more spacious and airy feel.
Which brings me back to what this blog is about. This summer, a group of blogging friends decided to challenge each other to write a DIY post about a creative use of a tin can. Yup, a plain can. Mine used to have corn in it. Just letting you know. There are some wonderful projects further down in this blog post. Please take some time to take a look!
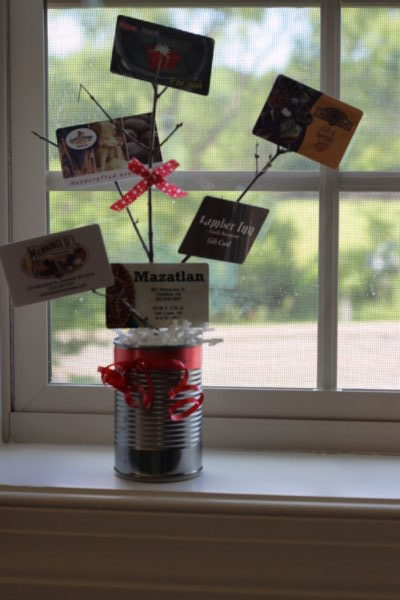
Anyhow, my friends gave me the most amazing thoughtful present and that's what I'm sharing with you today. It's a gift card tree. Anchored by a can with just the slightest bit of decoration. It was such a perfect gift for my birthday and a recent move. All the gift cards are for restaurants that are within a 10 minute or less walk of my new home! Yes, these restaurants are getting a bit of free advertising here on my blog, but, they are all wonderful and we have been working our way through the gift cards.
Directions
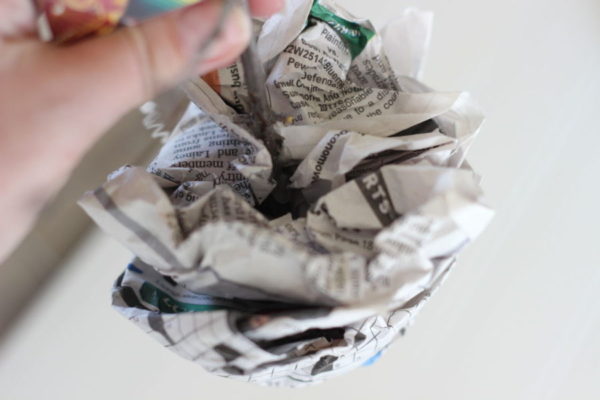
Wad up a newspaper page and place a big glob of hot glue in the center. Put the bottom of your 'tree' into the glue in the newspaper. This will help anchor your tree and keep it centered.
Gently push into the can you are using. Make sure your can has the right scale. You don't want it looking way too big or too small for your tree. If your 'tree' is bigger or heavier and you are concerned about the stability, put an inch or two of sand or stones in the bottom of the can. Mine didn't need it.
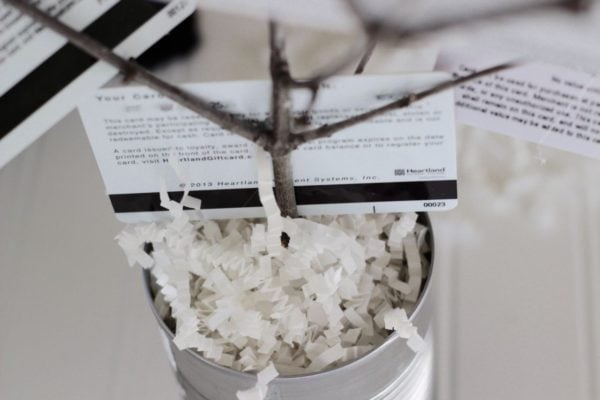
Then, put something on top of the newspaper to make it look a little nicer. This is crinkled shredded paper. Some tissue paper would also do.
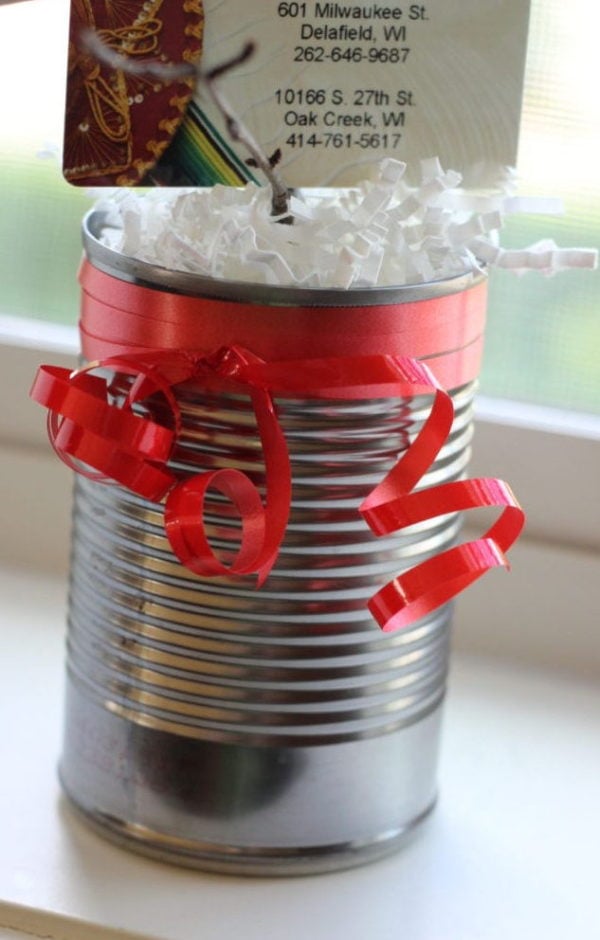
A little bright ribbon is also nice!
This was the perfect gift. It has given me an opportunity to try some of the eating establishments in my new neighborhood. It also didn't add to the issue of my having too much "stuff" right now. Plus, it's so stinkin' cute that I've just been displaying it on my kitchen window ledge.
Just a thought, but don't forget that your recycle bin could have a great beginning to a DIY project!
Now, I hope you have a few minutes to take a look at some of my blog friends' projects. Isn't it amazing what everyone came up with for their tin can challenge?
Enjoy!

Carole West, Garden Up Green
Fun idea and I've been on an extreme downsize too. Feels so good! So I really like this and I'm thinking it would also look cute with garden seed packs attached. Awesome idea!
farmhouse40
This is such a fun idea. I love to get one of these as a gift. I think most people would. Thanks for sharing.
Gartener
What a super fun idea! This would be perfect for baby and wedding showers as well. Brilliant!
not a trophy wife
HI Susan What a fun way to present a gift! Love it! laura
Karen
This is such a creative and fun way to recycle a tin can. I can't think of anyone I know who wouldn't love this! And such a great way to lessen the load of too much stuff.
Happy belated birthday, Susan! Enjoy your fun treat.
Patti @ Garden Matter
Hi Susan,
What a fun gift and a super great project. This would be perfect for grads and really most of my nieces and nephews are getting older. I know I could just give them money but this would be more fun. I hope you are settling in to your new place nicely. I'm sure you will love having less to clean and you can start decorating (and blogging about it) however you want.