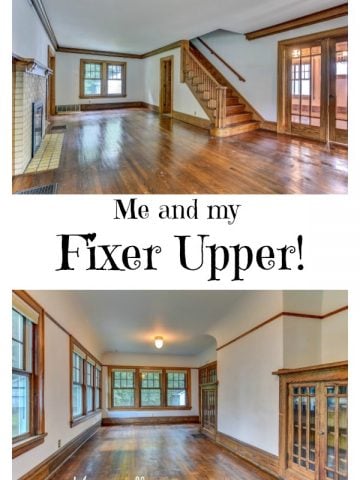
History of this 1920's bathroom
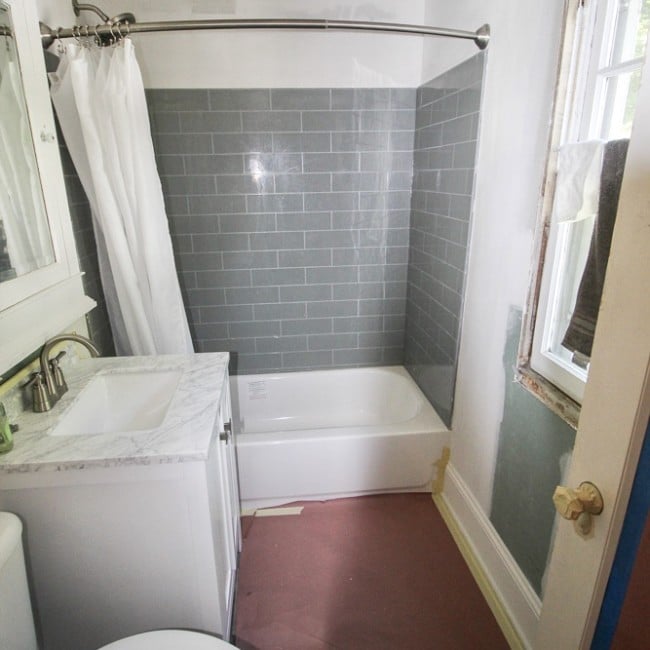
The main bathroom in my 1920's house is small. It's amazing how a bathroom renovation can make a small 5 x 8 bathroom footprint feel more spacious and airy.
I purchased this house in an 'as is' condition. That is code for "fixer-upper". In hindsight, I think I was lucky to get a mortgage. A lot of things came together for me to get my new home.
Take a look at the detailed video slideshow showing how we went down to the studs and rebuilt this bathroom. If you want to see more than the pictures in this post, take a look at the video!
Video of the Remodel of my 1920's bathroom
Table of contents
The "Before". What the bathroom looked like when I bought the house.
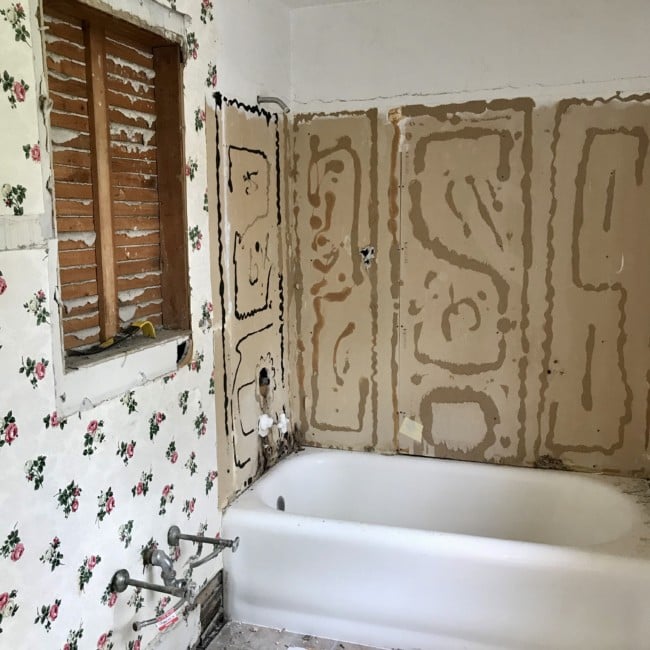
But, here is what the bathroom looked like when I bought the house. I actually have a roll of that wallpaper! I'm not sure what to do with it. Any ideas?

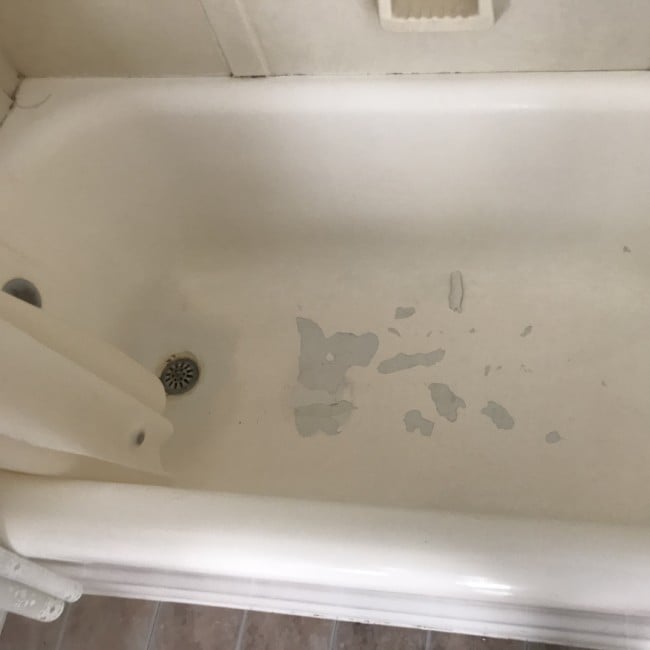
The nasty bathtub.
HGTV style demo - down to the studs!
The demolition didn't take long. The surround and medicine cabinet were removed.
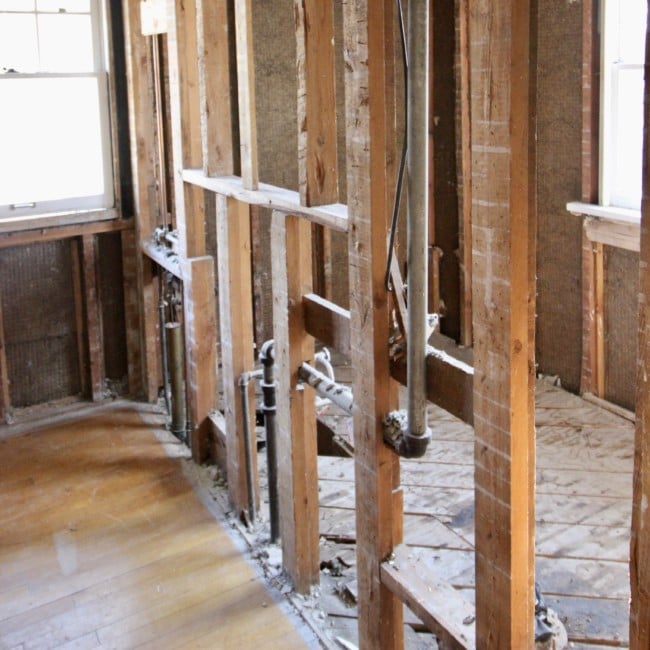
Then the walls! In this view, the hall bathroom is through (to the right) of the wooden supports. We took the wall down because the whole bathroom needed to be rewired. The whole house had aluminum wiring (it was just like an HGTV episode with knob and tube wiring). The plumbing all needed to be replaced too! The plan was to add another small bathroom on the left of the wall for a master bath.
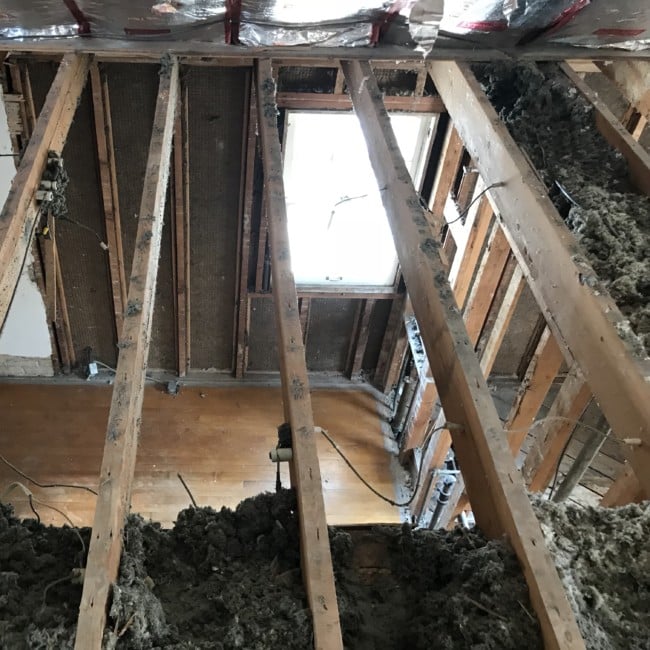
When I was looking around at what was left of the bathroom, this was the first time I thought, "What have I done?" The picture below shows the view from the attic down. You can see the old insulation that had basically no insulation value. Yup, had to replace the attic insulation too. All 'the things' that had to be replaced and weren't pretty or visible were necessary to make this house a sound home to live in with utility costs that are affordable!
Rebuilding the bathroom.
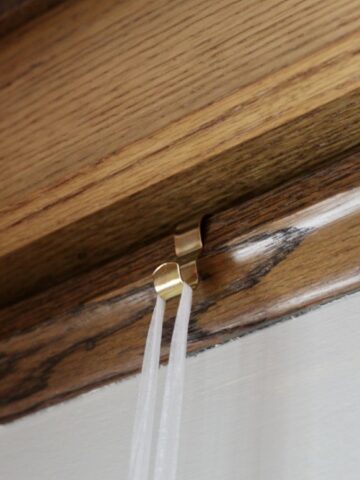
When the bathroom was at this point, we moved in! My landlord had leased out the apartment we lived in and we had to go. The walls didn't even have paint primer on them. You can see the trim around the windows had been removed and the original windows were still in place. We used a tension rod to hold hand towels!
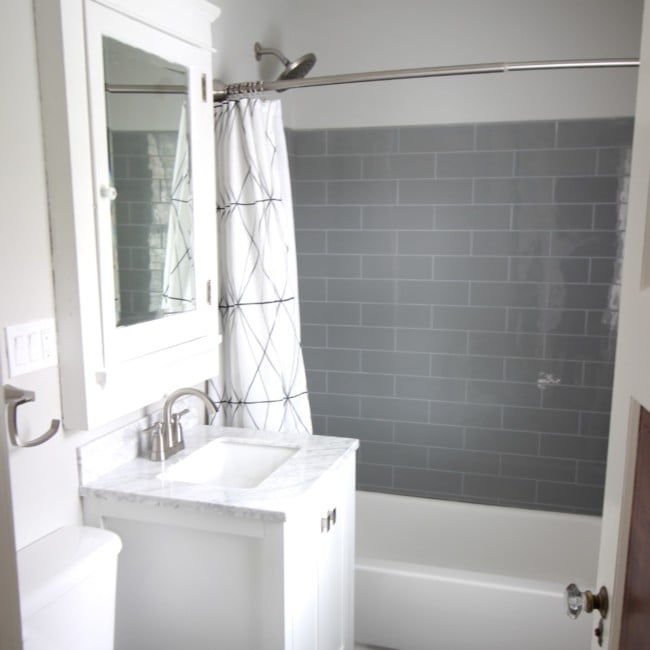
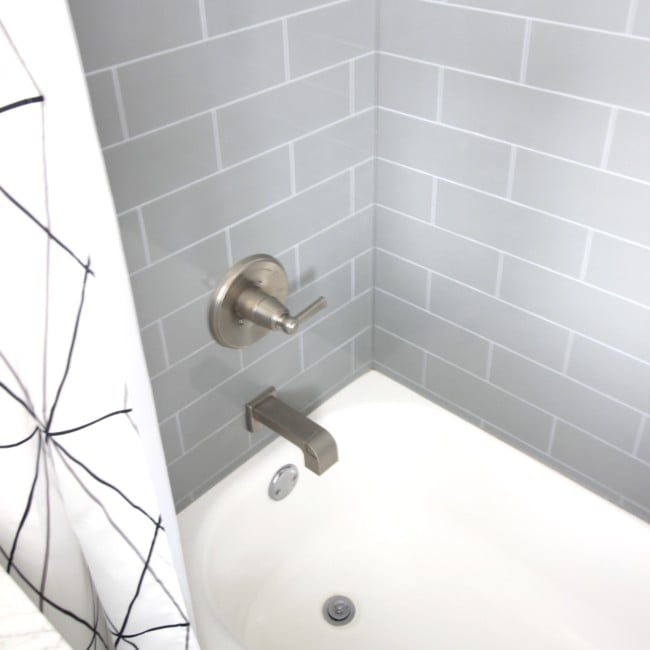
We chose modern squared fixtures for a modern and masculine look since this would be the main bathroom for my boys.
That tile surround - it's not tile! When I received the original quote for tiling this bathroom the number was too high. It was out of my budget and I was so disappointed I couldn't do that. BUT, I found this surround which looks like tile. Unless you touch it, you wouldn't know it wasn't a surround!!
The finished 5 x 8 bathroom.
But, most importantly, I kept what I could.
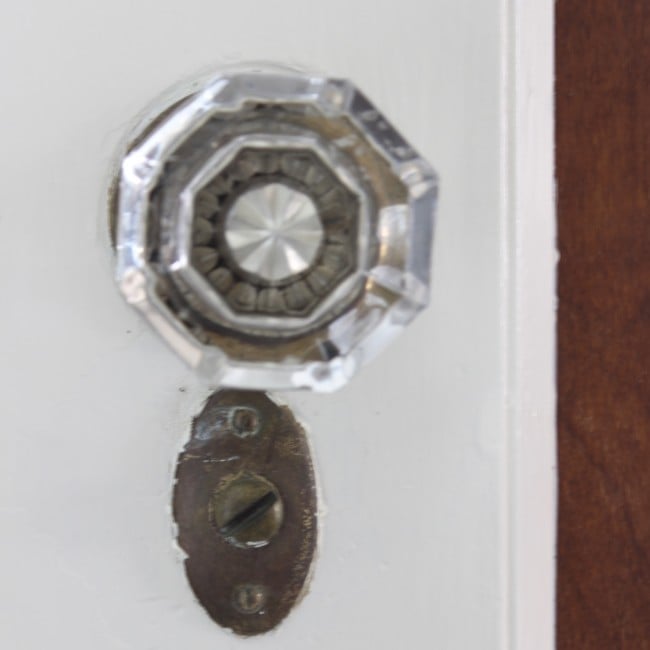
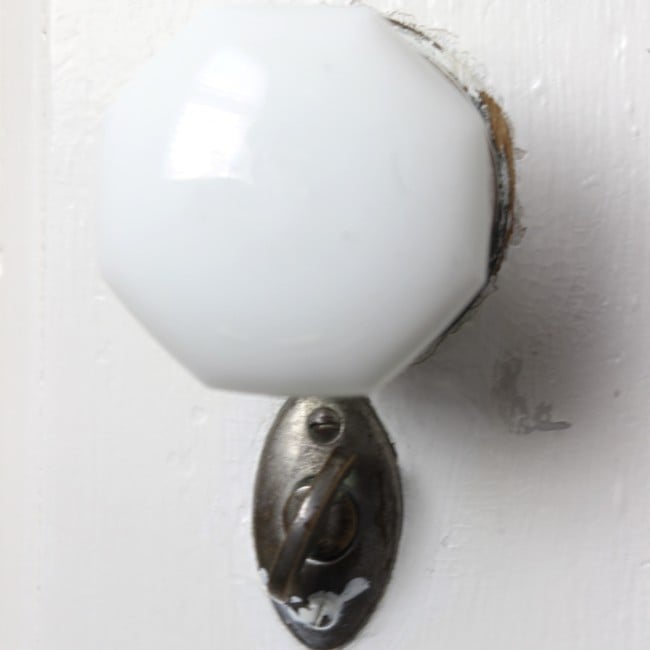
Love the original doors!
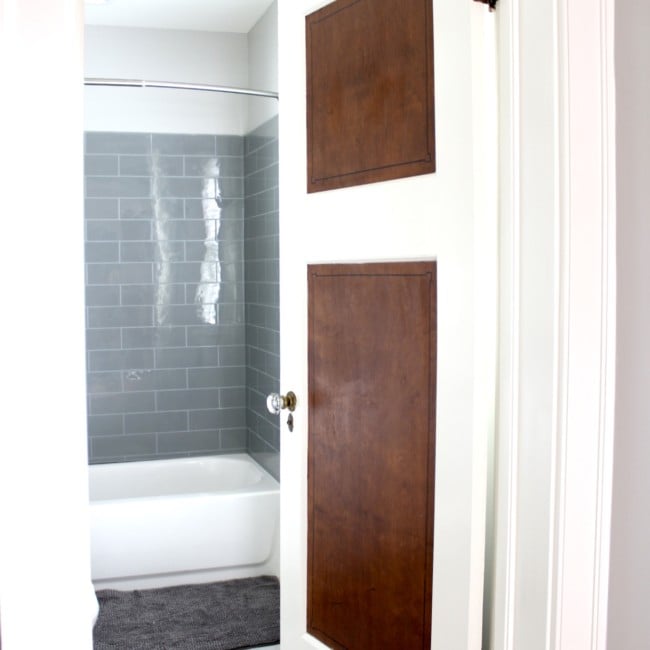
With the original doorknobs and lock.
I love my home and think the renovations fit perfectly in my 1920's house! This was a low budget renovation but was so necessary. The bathrooms and kitchens are totally new, but the rest of the house still has the original character and finishes.

Other posts about my 1920's home.
The post explaining why I bought a 1920's house that needed a ton of work!
New Beginnings - Me and My Fixer Upper
Other rooms that have been completed and shared so far!
My 1920's kitchen renovation - I bought a house without a kitchen!
KS
Where did you find the very attractive tile look insert?
Susan Moncrieff
Menards has this! They still have it at my local locations.
Deana Landers
This is such a great Project to share. Thank you.
momcrieff
I enjoyed my bathroom project! Thanks for letting me know you enjoyed seeing it!
Maria Brittis
This is awesome, love to see how it is done down to the studds.
Lori Nell
You’ve done a wonderful job on this bathroom! Congratulations Susan!
Michelle Leslie
Oh my goodness. That's a huge improvement. Wow Susan and that "not tile" surround is beautiful. Where did you get it?
Adam Abbot
Great article! I have been thinking about my bathroom remodelling for a while already. I read that it is better to start with countertops, I want to replace my countertops with Caesarstone ones first as this work is quite dirty, then I think it's better to replace the tiles.
charles Riley
thanks for sharing those tips. Great tutorial! Plumbing is a great issue for remodeling any kinds of bathroom. I prefer your idea back up a bathroom. it is very professional intelligence, I think.