A tool pegboard, for the garage, I explained! I think Dad would love it! He could find all his tools. He would know where everything is at a glance. And, you guys could use power tools to put it together. It would be a labour of love, not just something we buy from the store, I explained. The boys thought it was a good idea and were all aboard. If you know teen boys, you know you can't convince them of something if they aren't 'into' something.
Here is the before:
Ummm, I'm not going to show you the storage shelves in the corner of the garage. They were a little on the nasty side. And unorganized. And we pulled three big garbage bags of trash out of them.
We had pegboards and already owned many of the pegs. I wish I had taken a picture of the Nerf Gun wall my son had in his room. If you ever are at a loss as to how to store them, think a pegboard wall! But, that might be another post. So, my point was we had much of the materials and we just repurposed.
The pegboards were 32" x 48". The bench was 96". Awesome!! Perfect fit with two side by side. We attached some 1" x 2" boards to the wall. Boys used a stud finder to find the studs then screwed the boards in for the base of the pegboard. I know it's obvious, but you have to have space behind the pegboard to put the pegs in.
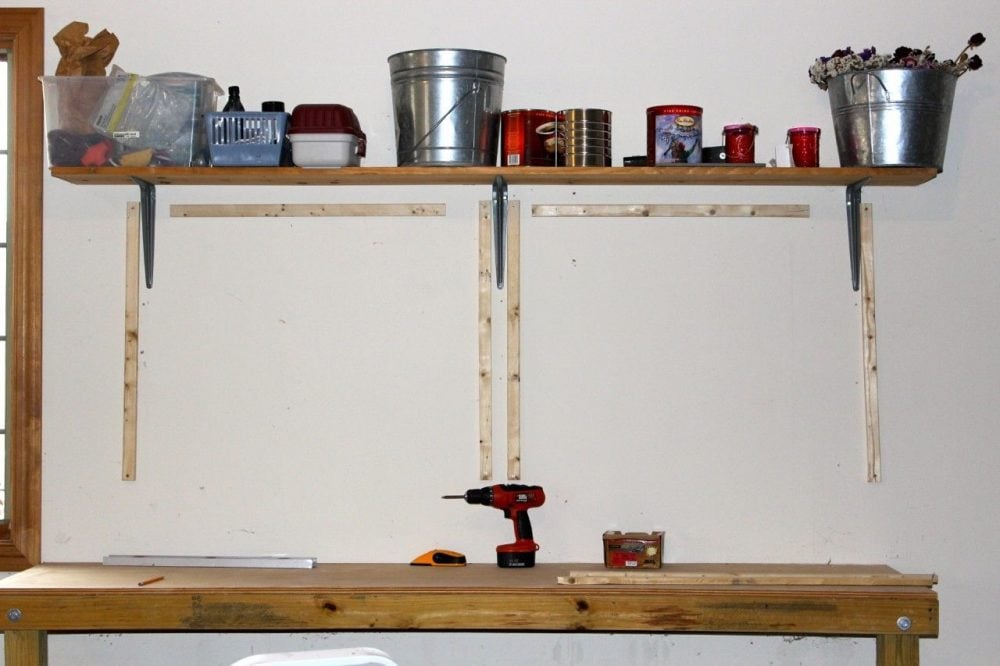
The guys took down the fishing rod storage thingy and put us the strips in two square-ish configurations. Obviously the bottom row still needed to be attached in the picture above. Oh, here's a little hint if you are trying to do this and don't know how to use your husband's electric saw. If you ask the guy at Home Depot to PLEASE cut them to these lengths and explain that you know he isn't supposed to cut to your exact measurements but you really NEED him to do it because you don't know how to use the electric saw your husband has, he will. At least the nice guy working the day I asked did!
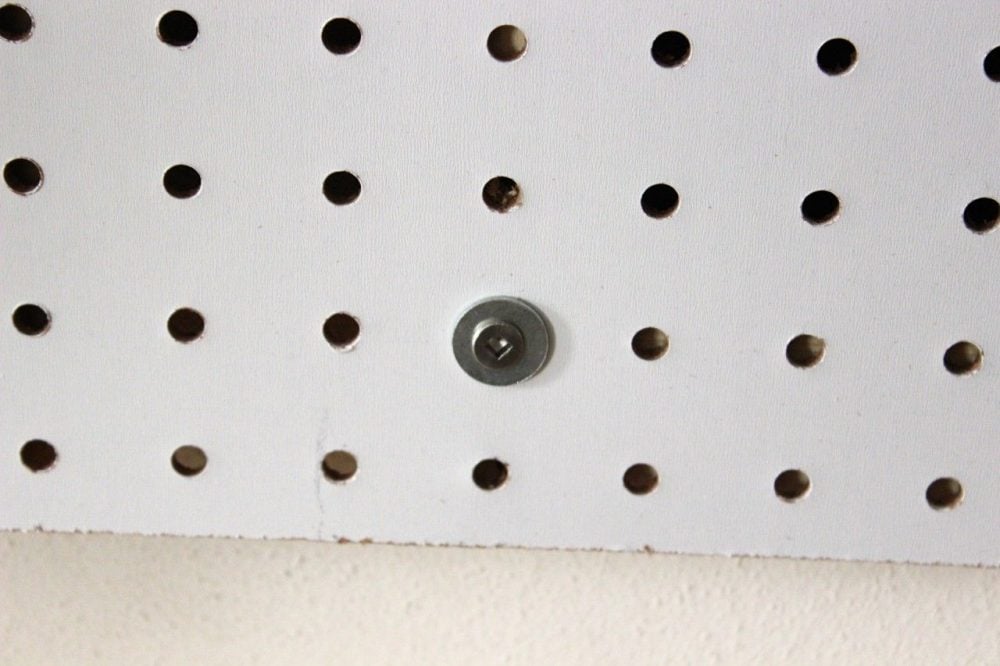
We then attached the tool pegboard to the wood strips with a screw and a washer (the screw was about an inch longer than the pegboard plus the wood strips.
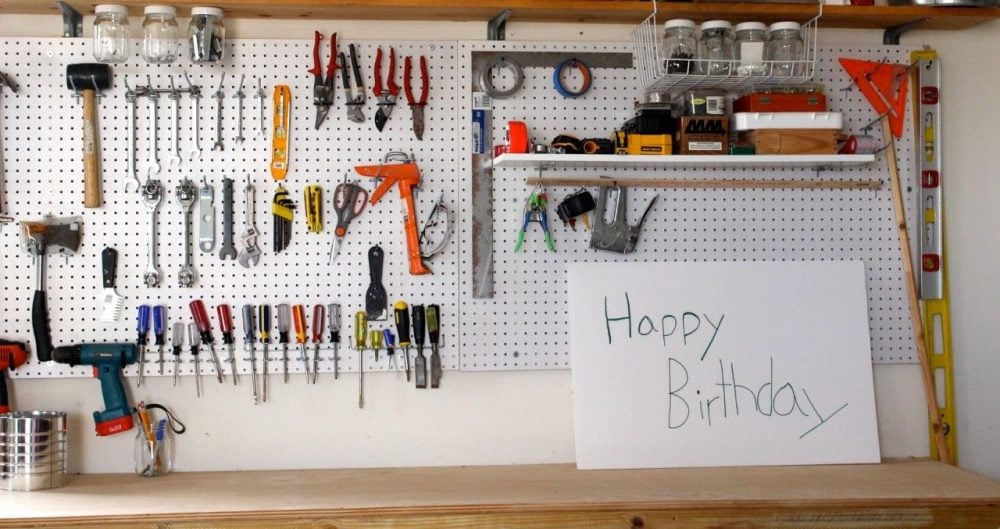
Then we had fun putting the pegs and the tools on our new tool pegboard. We found all the tools we could and put them up. We had found so many tools, we did not need to keep the new one's I bought.

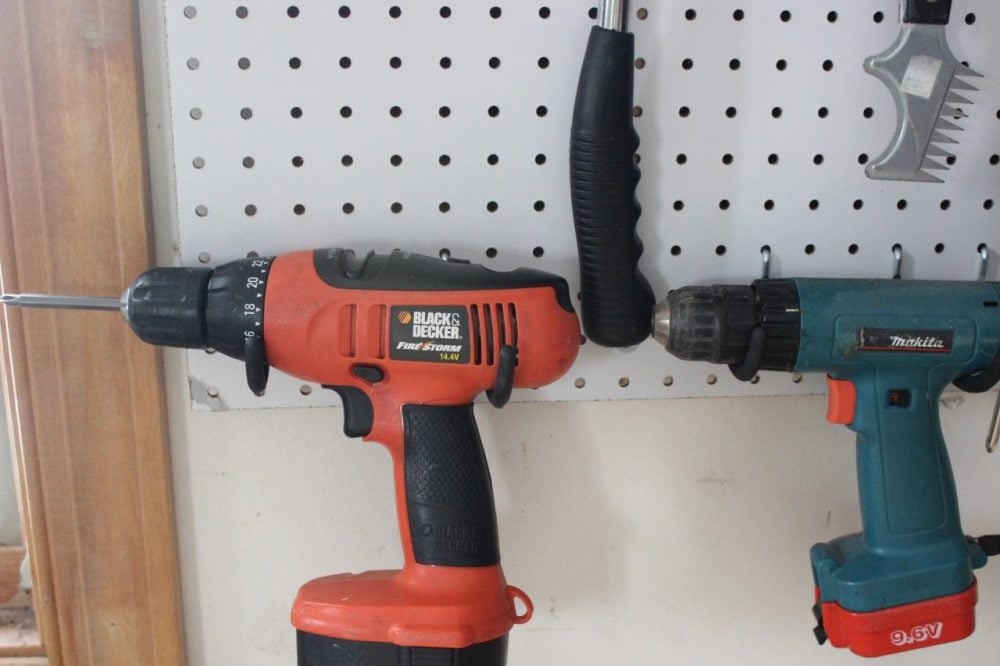
We were asked why we had so many hammers? Well, we owned them but they were just not organized so we couldn't easily find them!

See the one with the tape? Not sure if the hammer is actually taped together. But, it belonged to my hubby's father. I don't know if we should be using it, but we sure need to keep it.
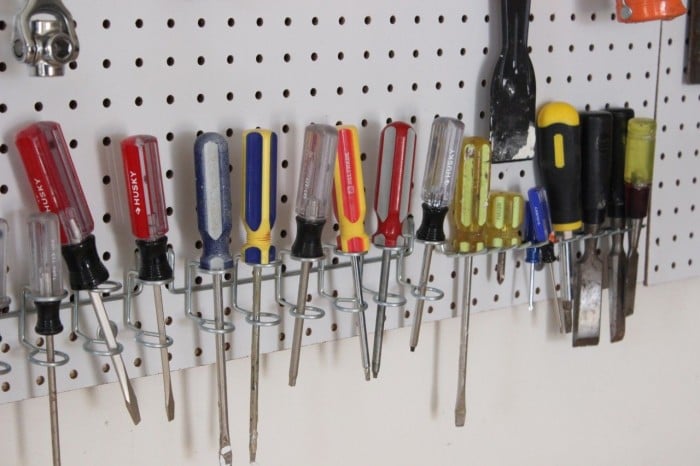
I LOVE how the screwdrivers look. All lined up and sorted.
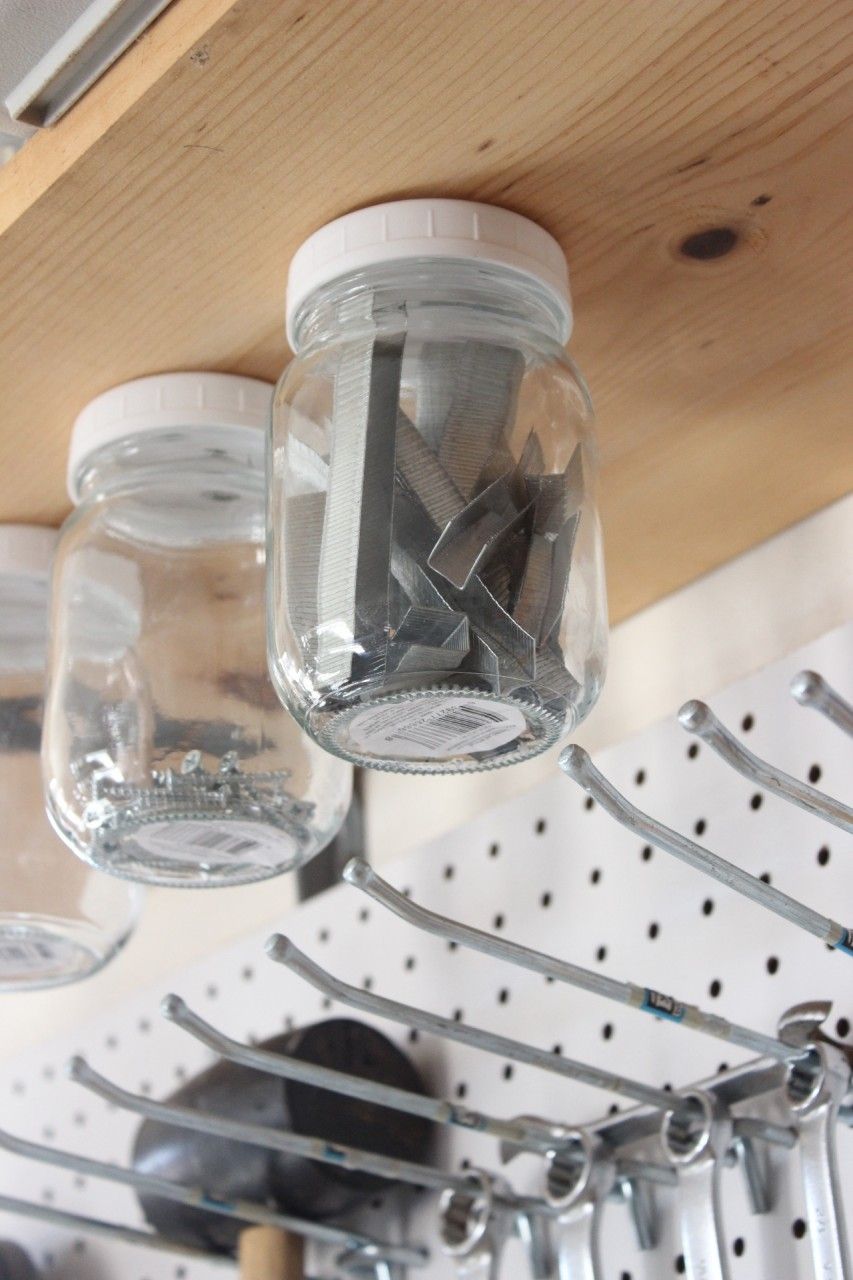
And we attached some lids to the shelf so the jars can just be screwed on. Just an fyi, you need to put two screws in the lid. If you only put one, the jar lid twists and you can't undo the jar. Just thought you'd like to know!
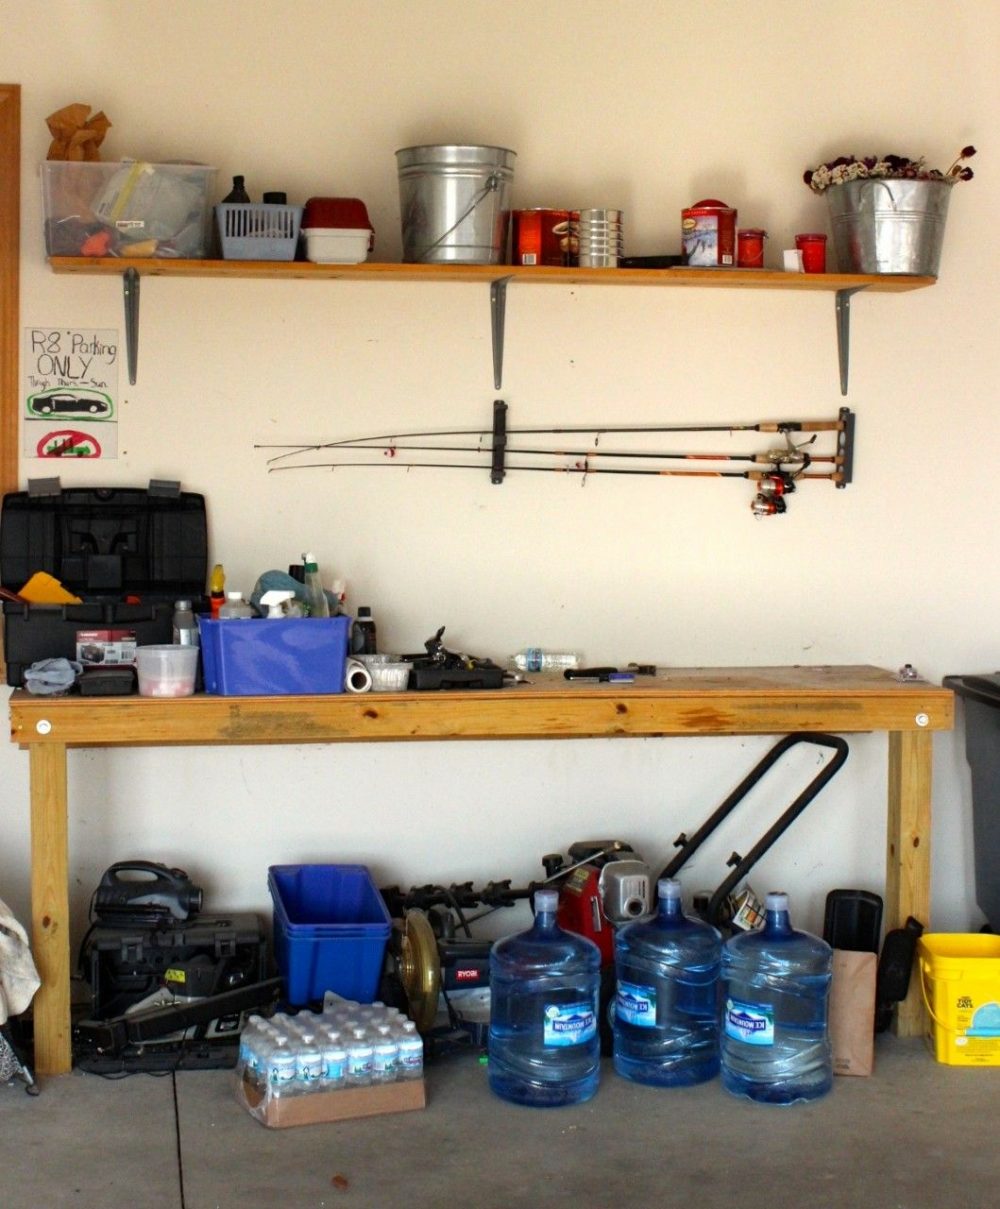
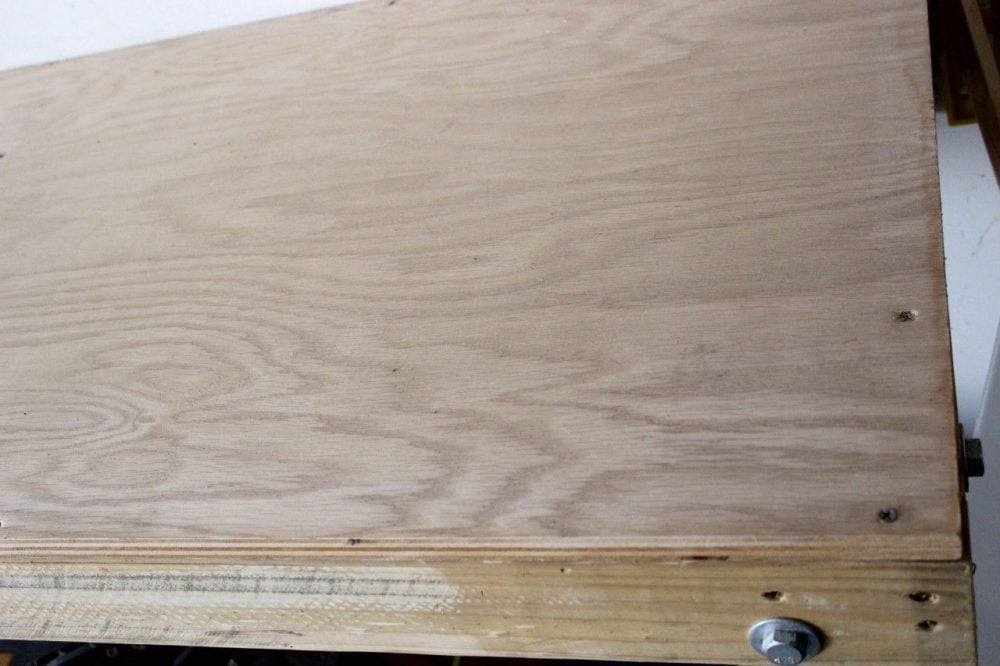
Oh, the boys also improved the look of the workbench 1000% and it didn't take any money. Just a little time and effort. Here is how it looked, stained and damaged.
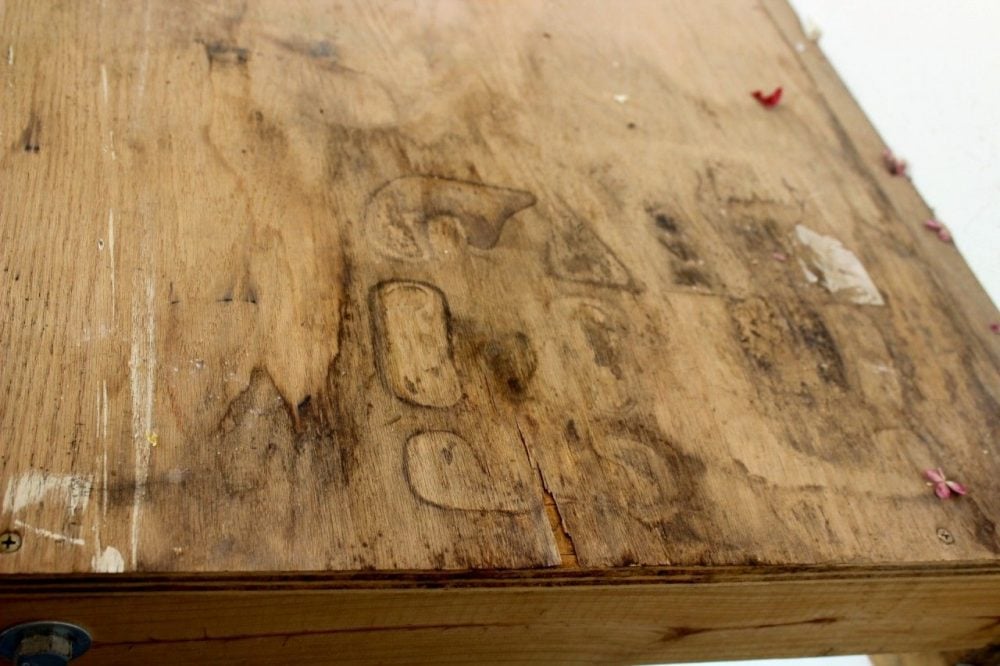
We just unscrewed it and flipped it.
Ta da!!
It looks brand new. It makes me happy :)! We do want to stain it to protect the wood but I wasn't sure if it was still to cold to use stain. It's still freezing here in Wisconsin!! Literally.
 I
I
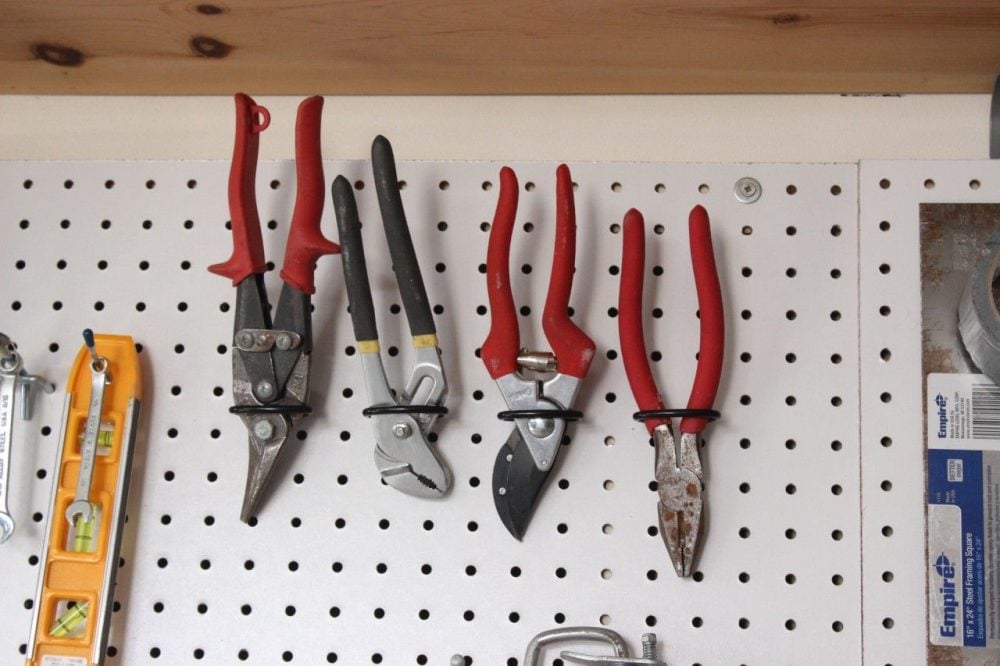
I love how neat the pliers look! Those plier holder pegs were also a new purchase.
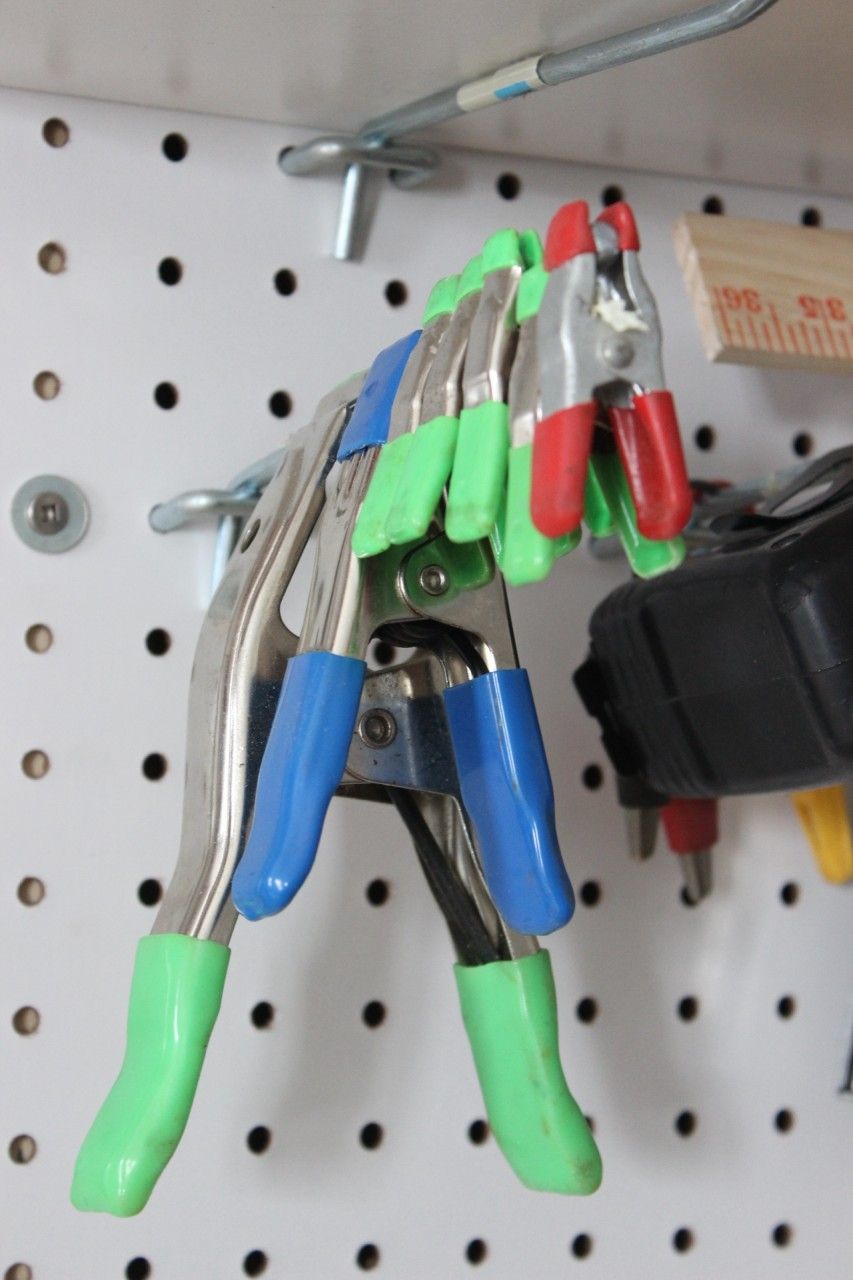
The clamps are organized by size.
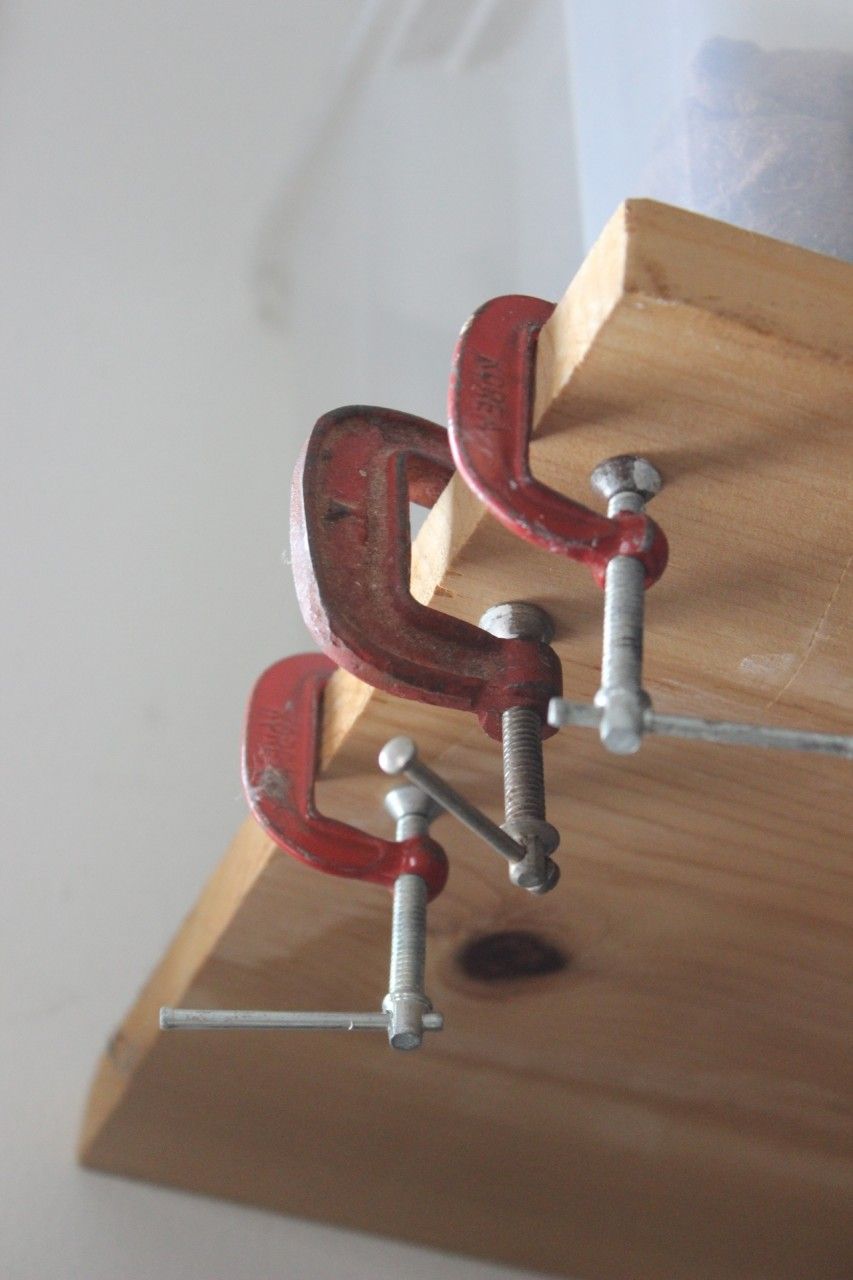
Look at these guys all clamped down and ready to go!
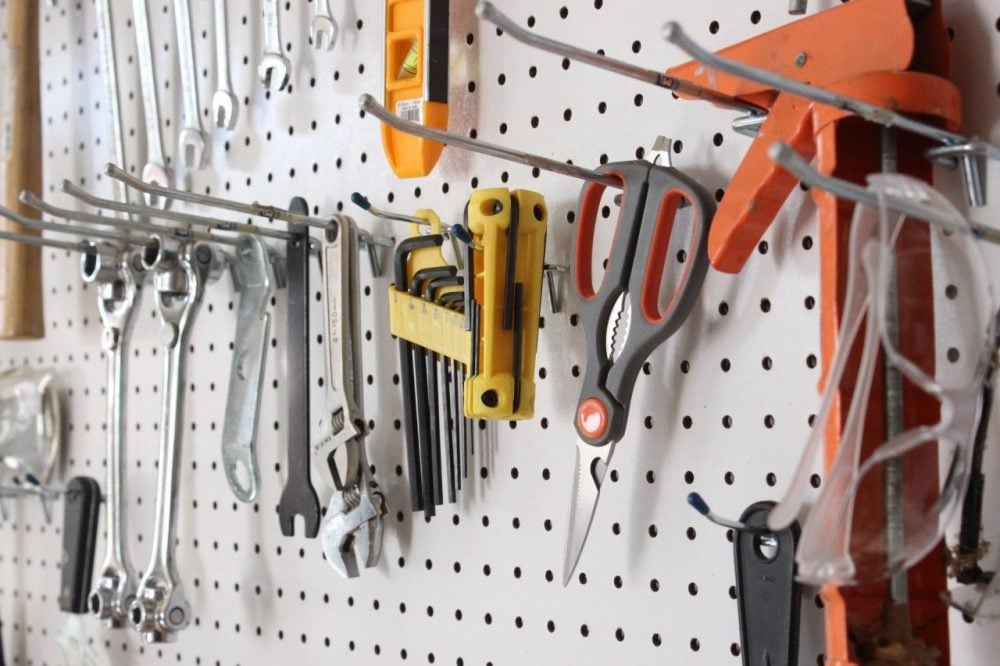
Safety glasses, scissors and wrenches. All easy to find. Plus lots of other misc. tools.
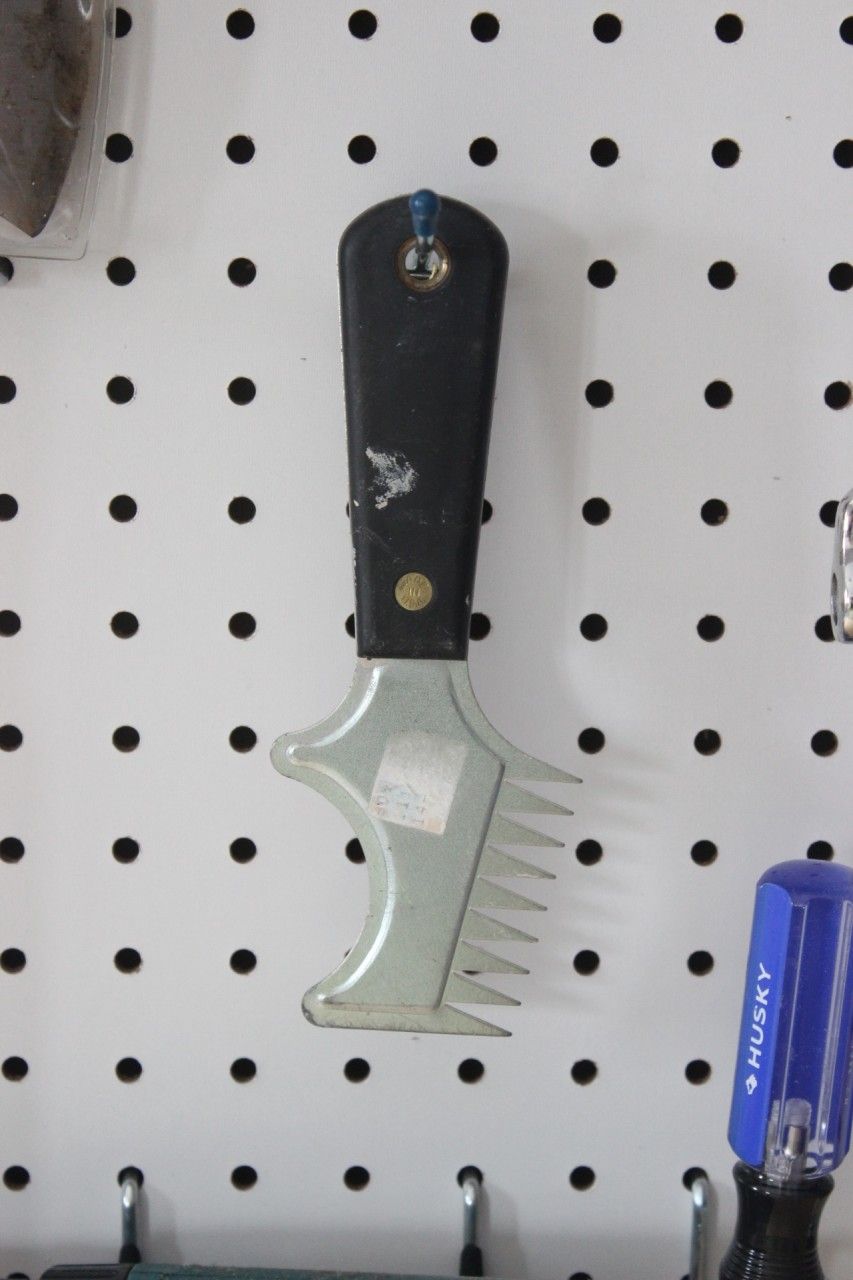
Even this thingy has a home. Even though we weren't sure what it is. Does anyone know?
Thanks for stopping by to see what we've been up to. If you like this post and like other DIY's and easy recipes on this blog, please do sign up to follow my blog!

Other Organizing Posts on Momcrieff
Organizing your scarves in your closet.

John h.
Gets me jacked up again about raising my organizational game in my garage! Any idea where the tool holders for pegboard are available?
John
Derek Hines
Amazing transformation! I did the same thing for my tool storage and it's been nice. But I like your use of a white pegboard. It makes the tools easier to spot. Mine is the brown kind and the tools kind of "hide" on the wall. Thanks for posting!
momcrieff
You can always paint your pegboard! It would give you a chance to take all the pegs off and start fresh with a new organization plan. Loved that pegboard. Am planning to put a new one up in my new (to me) garage.
Andy
The "thingie" is for cleaning paint brushes and paint roller covers. You take the tines and run them through the bristles of a paint brush along with soap and warm water to remove latex paint. The curved side is meant to rub over a roller cover while rinsing at the same time to remove paint. I've found that it's easier to throw away the roller cover and use a new one the next time. You waste so much water trying to get them clean and they never seam to work the he same again.
momcrieff
Thank you Andy! I had no idea what this was. And, I paint too so I will try it (on my paint brushes only). Roller covers are, just too much work to clean.