If you are looking for painting tips, this is the place to look! I've always done most of my own painting. But, I was doing what amounted to an almost whole house renovation and my contractor included painting in the quote. I bought a house that is 95 years old. It's been a ton of work but worth it. If renovating old houses interests you, please make sure to come back or sign up for blog post notifications.

There was lots left for me to paint so I thought I'd just let the painters paint the portions they quoted. Life is busy so I thought I'd just go for it. Let those painters paint!
For nine days they prepped and painted. Most days it was a crew of 4 guys. They come to my house and painted for NINE days. And, it wasn't even a ton of painting that needed to be done. I was taking pictures of what I thought would be helpful for painting tips for myself. My memory isn't what it used to be so now I resort to taking pictures of things I want to remember - anyone else do that? When you spend NINE days in the house of a blogger, expect pictures to be taken : ). As I looked through these pictures, I thought some of these tips would be helpful so I thought I'd share these with you.
It's all about the preparation!
1. Look at how they protected my floors. And, interestingly, they used scotch tape and not painter's tape. No pulling a tarp to the section you are painting. Maybe that's why I always ended up with paint drops on my floors or carpets when I painted! There wasn't a drop of paint on my floors when the painters were done.
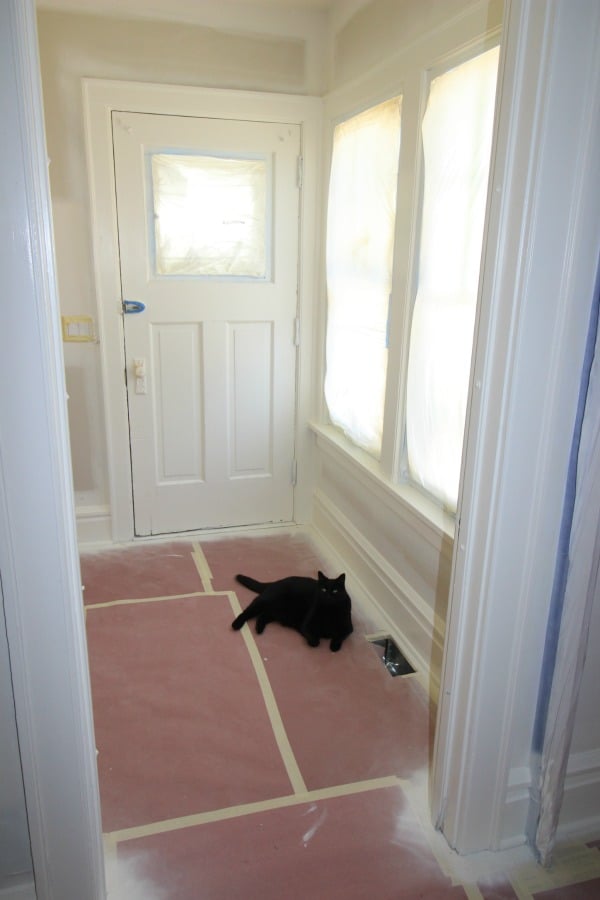
That fluffy, big-boned cat is Raji. He's my third child.
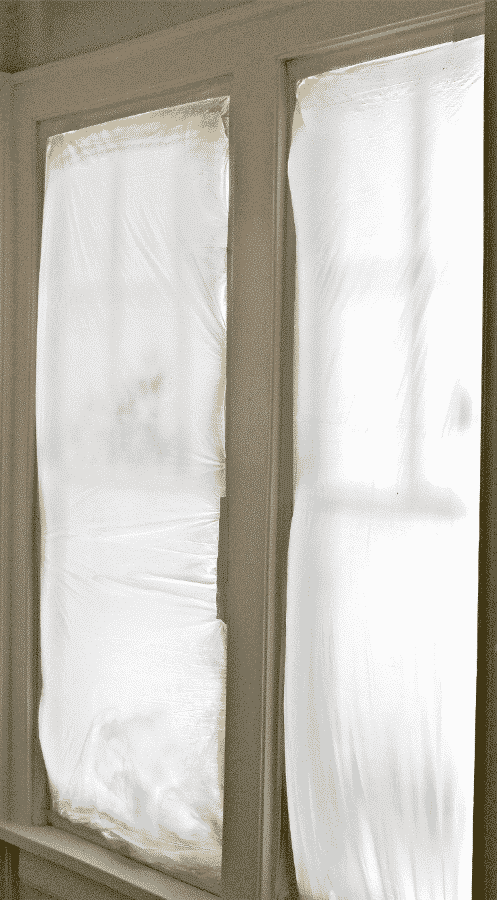
2. In the same picture, look how they covered the windows. No paint can get onto the windows when they are taped up with plastic! Here's a closeup.
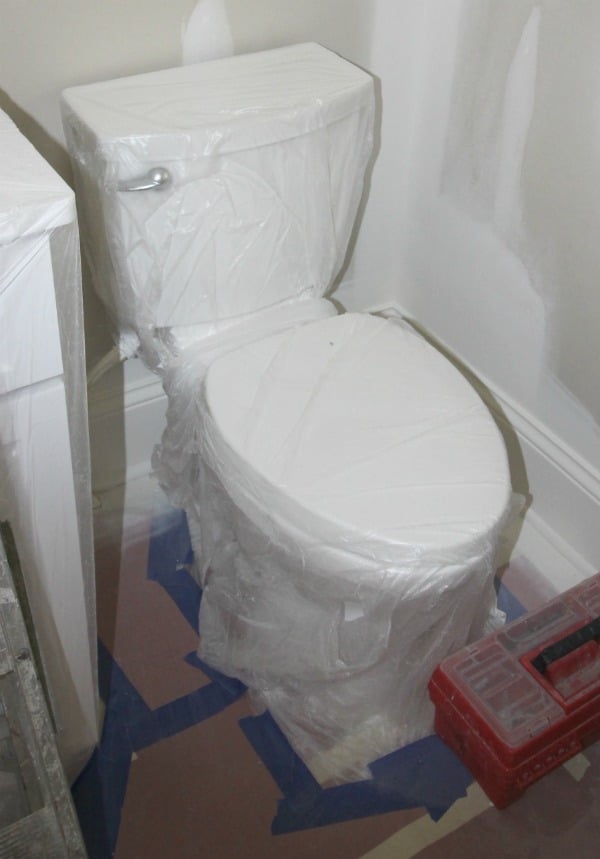
3. Cover important items with a plastic film so you don't get paint on them.
Imagine my surprise when I came home from work and saw my toilet like the image below. Another reason why I became an active library member (bahahaha!).
4. When my kitchen ceiling was being painted, my new kitchen cupboards were protected from the paint. Not a drop or smear of paint on my prized kitchen cupboards! During the day, the plastic film hung down to the floor. When the guys were done for the day, they rolled it up so I could get to my cabinets.

5. Items not to be painted were covered. My upstairs doors were painted on the outer part but were stained on the panel part. The parts not to be painted were covered with tape/paper. I think this not only protected them from paint but also from accidentally being painted. Not that I've ever done something like that - sighhhh.
Notice also the floor is well protected.

If you noticed the red plastic on the smoke detector (in the picture above), it's there for a reason. The smoke detectors were newly installed. On the plastic, there is a label with clear instructions that the plastic should not be removed until all drywall work and painting has been completed.
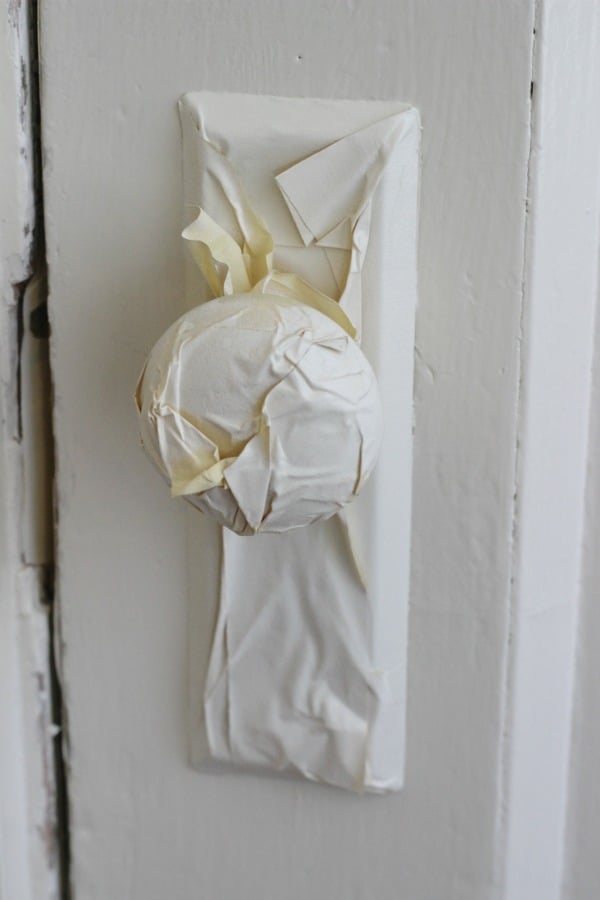
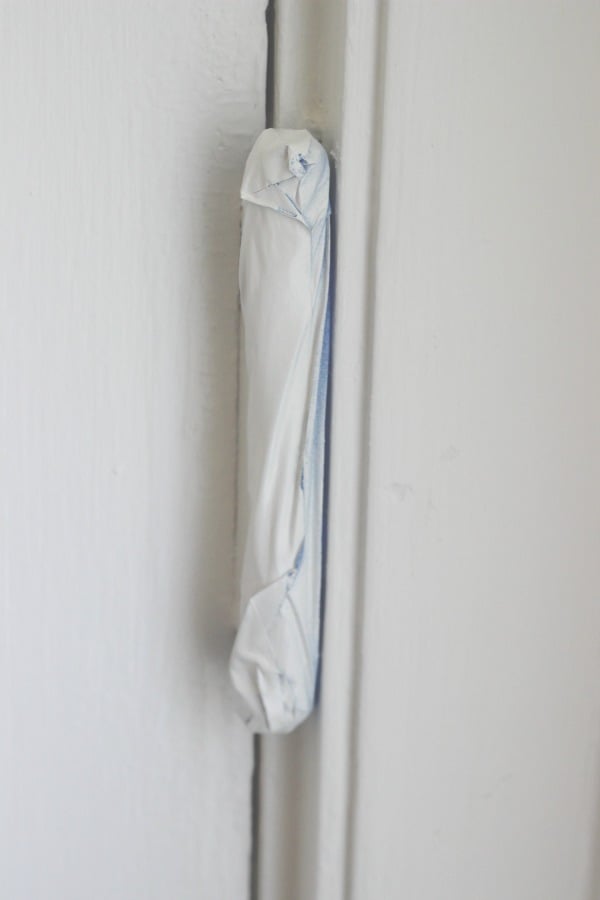
6. You don't always need to remove door hardware. But, make sure it's protected. I'm not sure if the painters always do this to door hardware. I know in the past I've had painters remove door hardware. I'm suspecting they were a little nervous about removing my original door hardware (95 years old).
My old doorknob and skeleton key lock mechanism were totally taped up.
So were the old hinges. These hinges are original to the house and I didn't want to have to deal with taking paint off them after the house was painted.
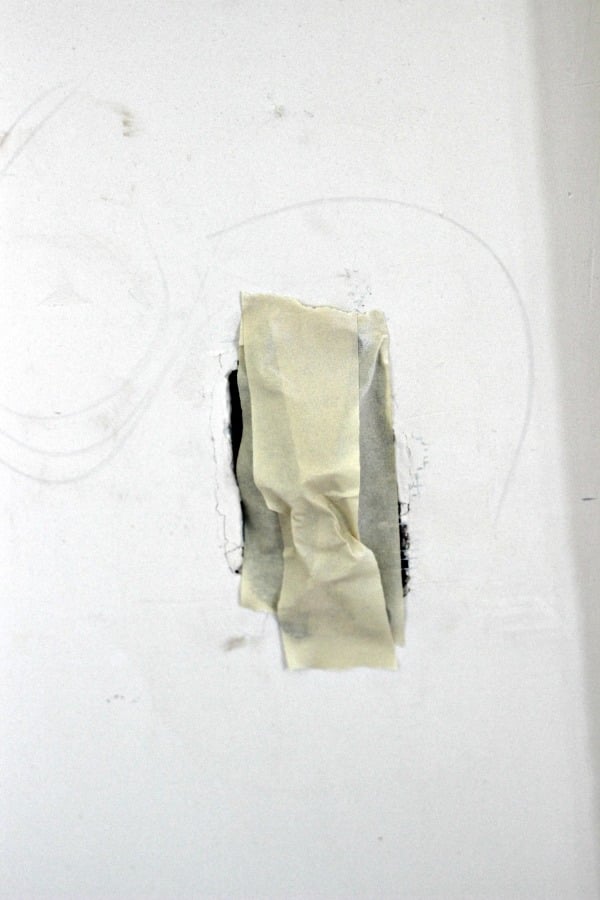
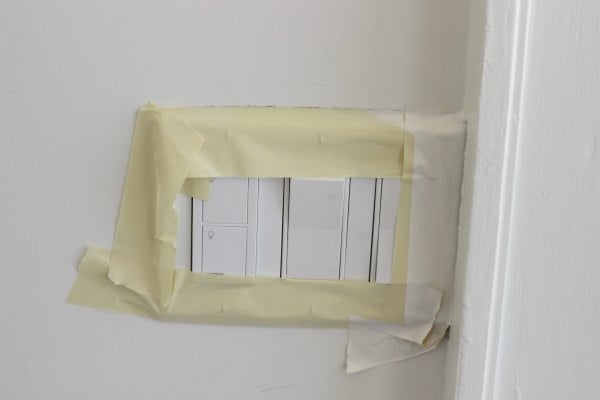
7. Light switches were dealt with in two different ways. Not sure why but here are the methods.
One, the light fixture plate was taken off and some tape put on the switch.
The second method, just tape around the plate.
The preparation portion of the painting took much longer than the actual painting. The end results were fantastic and I'll be sharing some of the results in a later post.
It's worth the extra prep. time! I've always done whatever I can to just get paint on the walls. Then I'd be scrubbing drips out of the carpet or trying to scrape paint off my trim. I can see that the time invested in preparation is definitely worth it.
Funny story
Let me share that I lived in the house during the last bit of the renovation (including the painting). I went to my local library to renew my library card. And, I went and took out books I never had any interest in reading. Why? Well, two of my three bathrooms had no doors. And, for some reason, the painters were always doing something in that one bathroom with a door. The facilities at my local library are really nice. And, I'm paying taxes there now : ). Seriously, can anyone do 'their business' in their bathroom with a bunch of guys you don't know just outside of the door (that doesn't lock)???? Yup, that was my life - NINE days.
I hope you found some of these tips helpful. What is your most helpful painting prep. tip?

jessa lin
Great tips for painting preparation, the pictures really help a lot worth sharing to friends at Painters North Sydney. Thank you
james jason
Thank you for these great tips. This is very informative it really helps me to hone my expertise and have more ideas for future transactions.
Alamo
Nice Article. Thank you for sharing.
Vivian Black
You made a great point about protecting the floor and how you should use strong tape to keep the floor safe. My husband and I are looking for a residential painting service that can help us paint our daughter's room when she is born. We will keep these tips in mind as we search for a professional that can help us best.
Painter Pros
Just don't leave the tape on too long... some tapes really adhere too well! Nice job on covering that toilet, half the job is in the prep it takes to paint.
Austin Saunders
I like what you said about covering important fixtures with plastic so that they don't get damaged while you repaint your home. My sister has been telling me about how she wants to make her walls a different color. I'll share this information with her so that she can look into her options for professionals who can help her repaint her home.
Airless spray painting Auckland
Thanks for sharing info.Keep up the good work.painting preparation tips professional painters.We hope you will visit our blog painting preparation tips professional painters often as we discuss topics of interest to you
momcrieff
My painters did an awesome job - and they took a long time with the prep. work. I was told spending the time on the prep. work is what makes the paint look good and last!
Suchoson
Extra fine paint pens are excellent for detailed parts marking or drawing but require patience as it takes the paint time to flow down to the tip.
Nick
We've just started our new house painting service company. Really appreciate you taking the time to educate us on this. This article is very helpful!
Braden Bills
I want to get my living room painted, but I'm not sure how to do it. It makes sense that the proper preparation would be beneficial. Maybe I should get a professional to handle this for me, since they would have the equipment necessary to get everything covered right.
Sahriyar Selim
Your post is very helpful. Thanks a lot