Finally, a bulletin board for a teen boy which is functional and it looks great! I like it so much, something similar may appear elsewhere in my home!
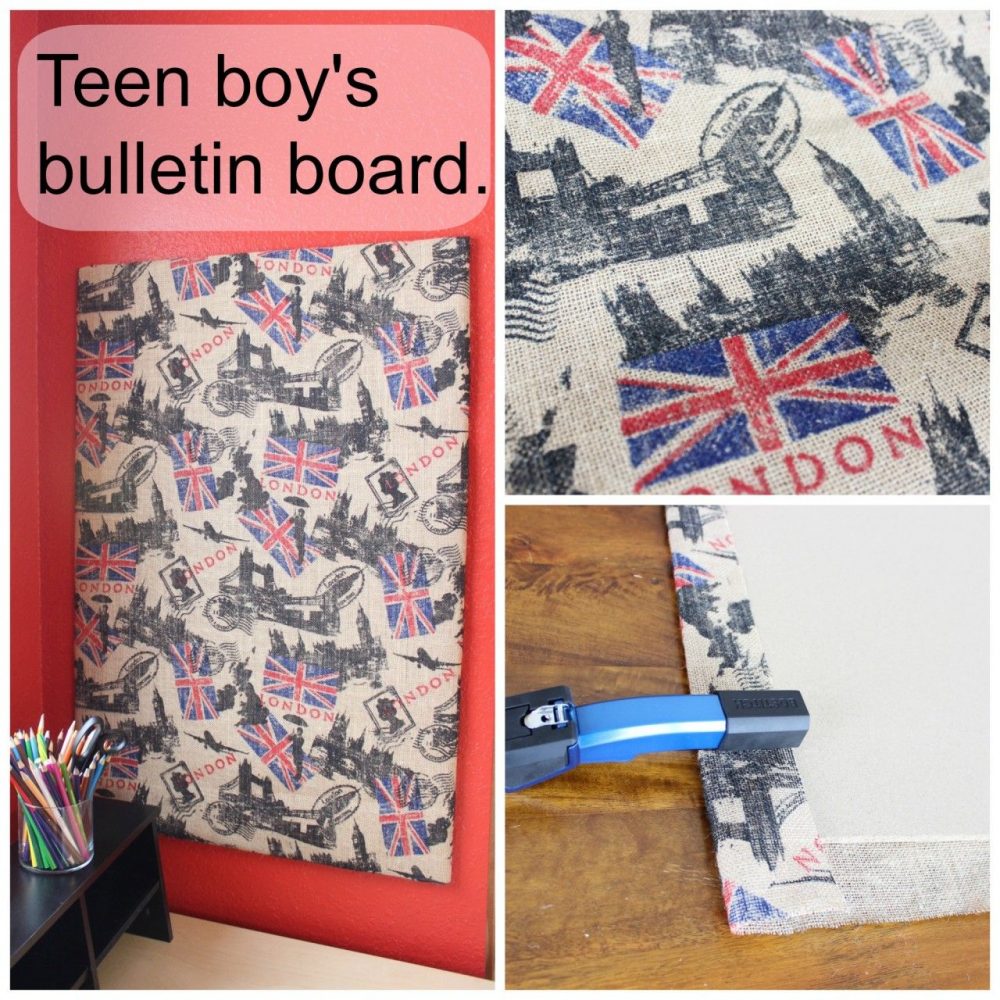
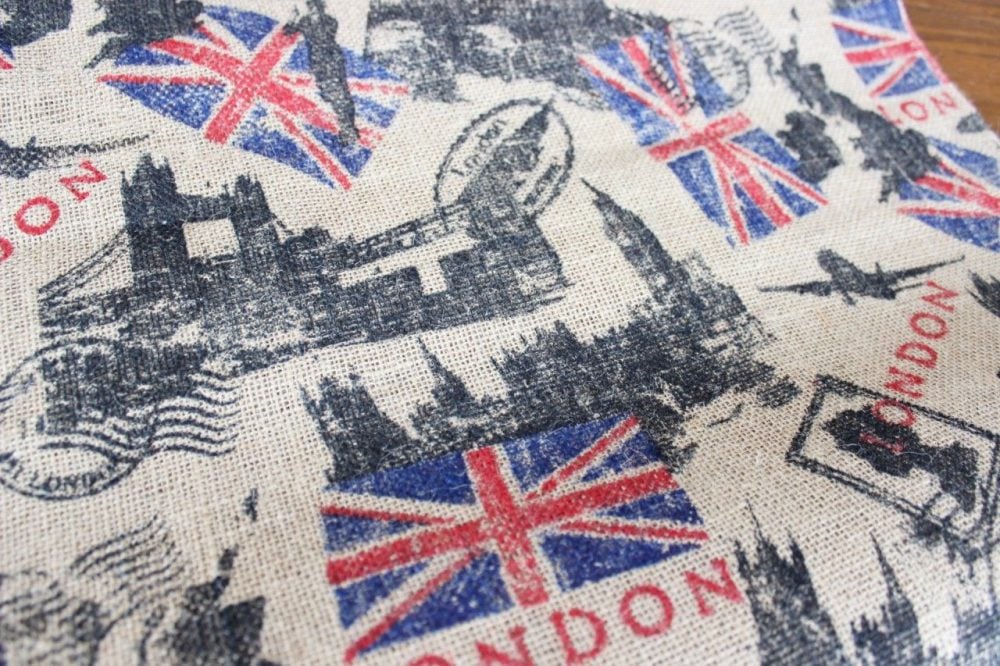
I had a damaged ugly bulletin board but I liked the dimensions. A couple of days ago, I was wandering around Joann Fabrics and I spied some printed burlap that I LOVED! It had a London, England theme. Where we went on vacation two summers ago. I've also been eyeing burlap for a while since some of the DIY projects with burlap I've seen have been amazing. My son's room is now painted red (not my choice….but it actually looks great) and the burlap print is red and black. I will show you the whole bedroom once it's all put together and the new curtains arrive :).
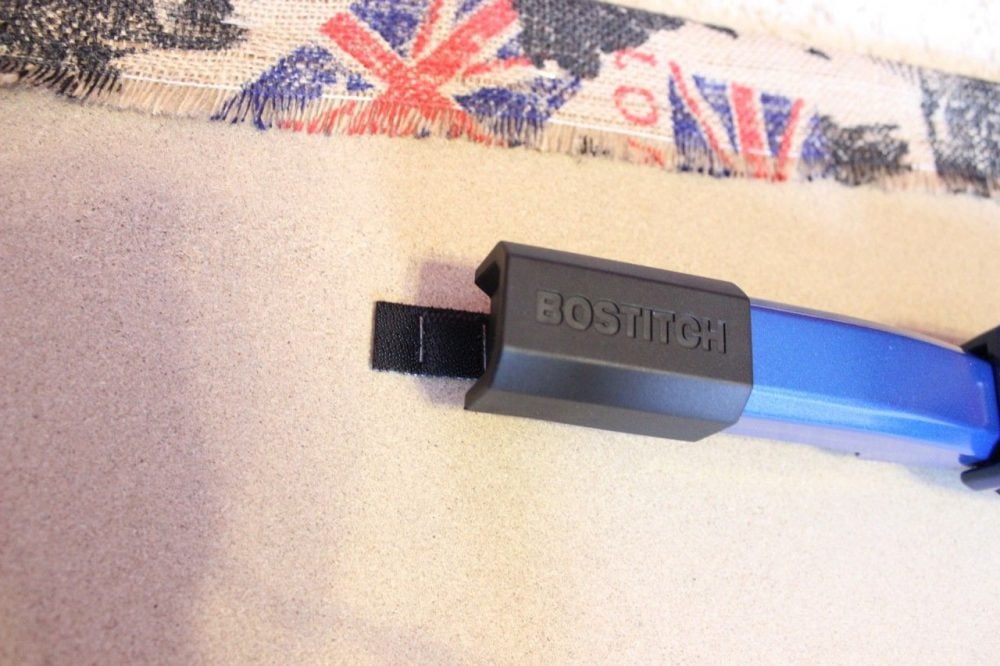
The bulletin board was quite simple. All I used was a damaged bulletin board that I had, a regular stapler that folds out (the bulletin board was too thin for my super-duper stapler), and a yard of fabric. I made sure that there would be enough fabric to overlap all sides by at least 2 inches. Oh, I also used some Command Strips that I had purchased before but hadn't used. Make sure you buy ones that you would use to hang a picture frame (and make sure you buy ones for the appropriate weight).
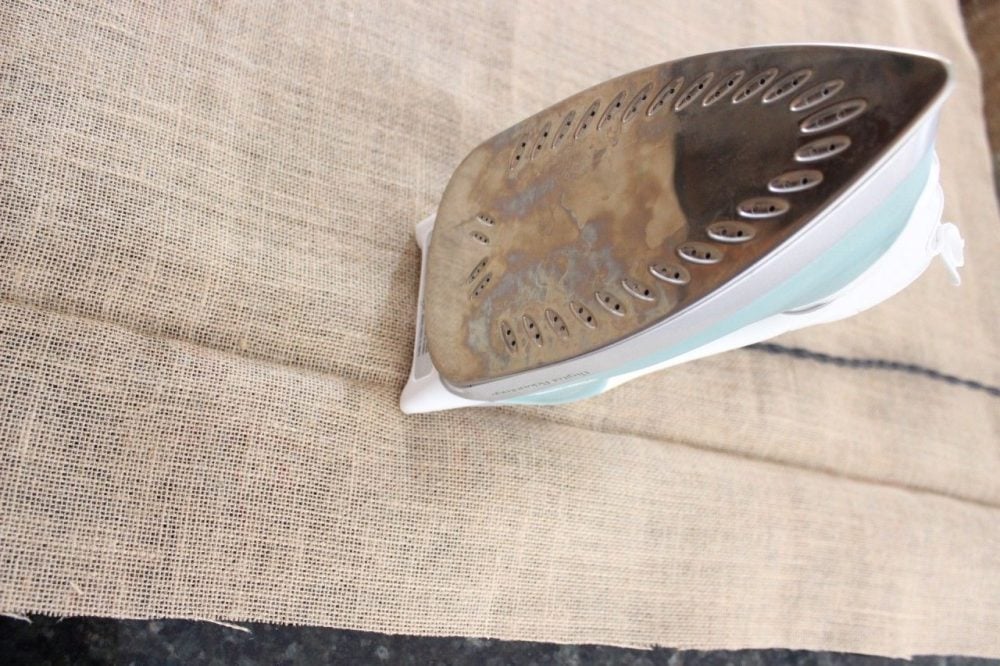
I hate ironing but would hate a big old wrinkle more. So, I flipped the burlap to the wrong side and ironed it.
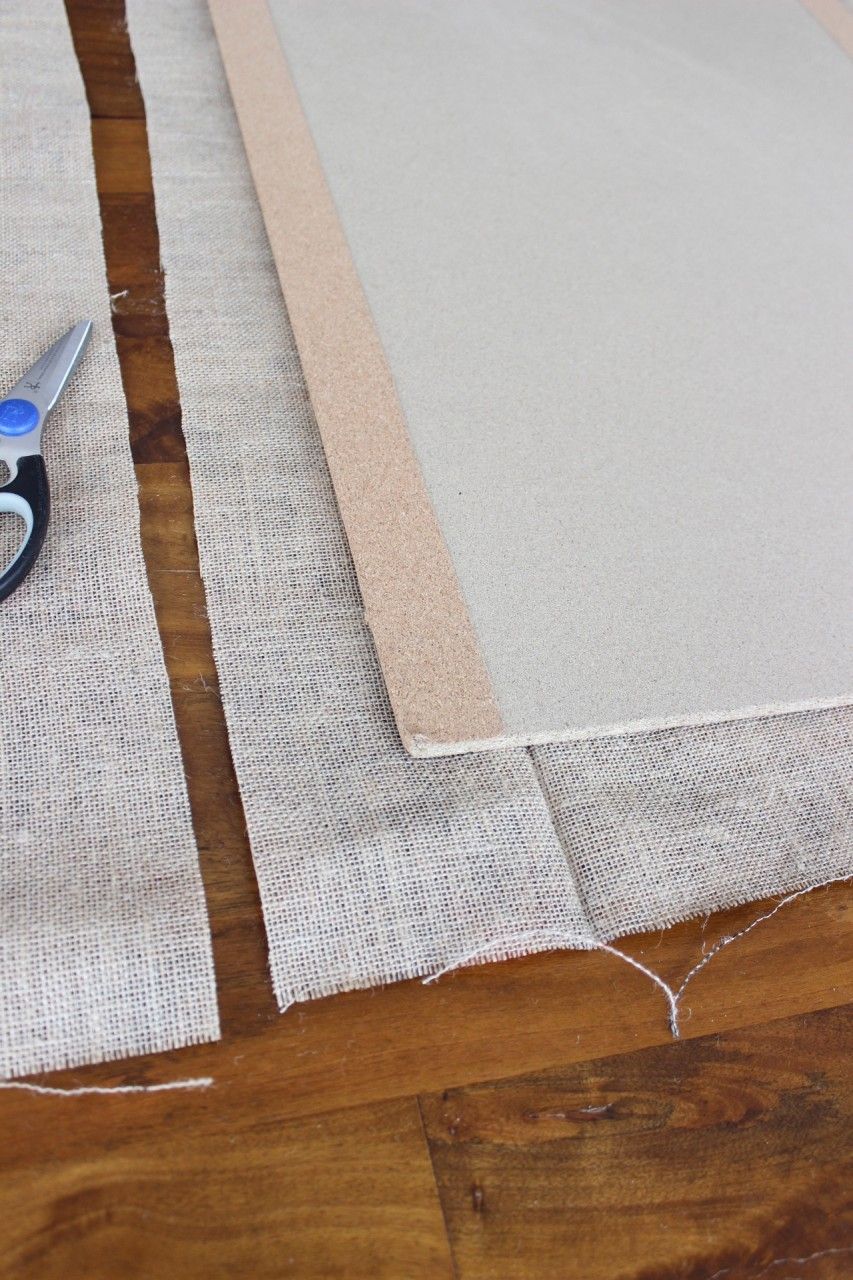
Then I placed the old bulletin board onto the burlap. Trim the burlap so you have about a 2 inch overlap.
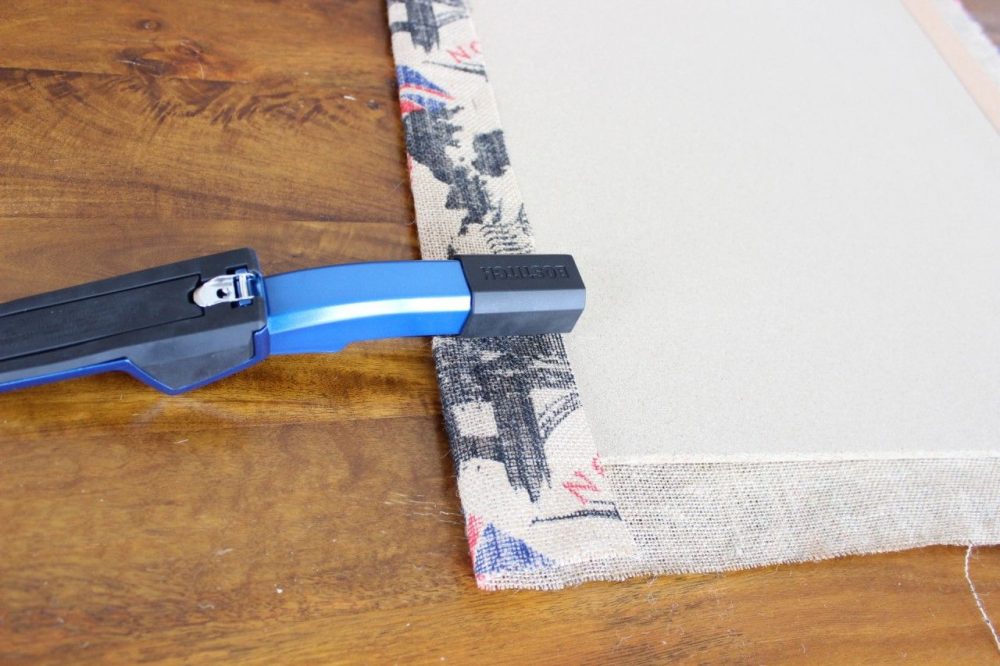
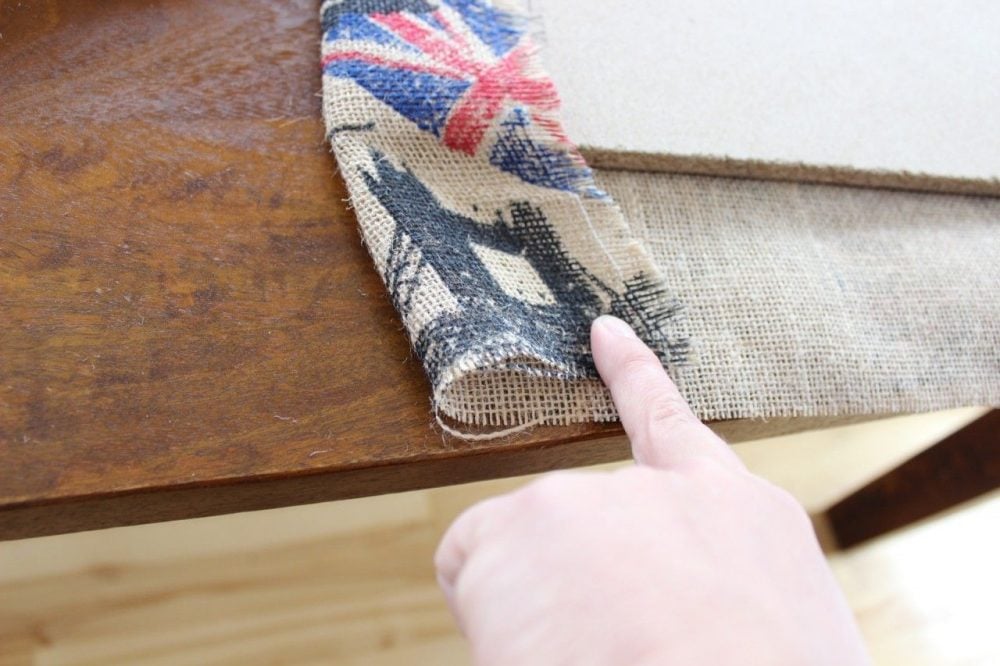
Fold the edge over the bulletin board and make sure it's just tight. Then staple away!
For the corners, I kind of folded the material under a bit so it was a clean look from the front. Does that make sense to you? Good thing I can show you a picture!!
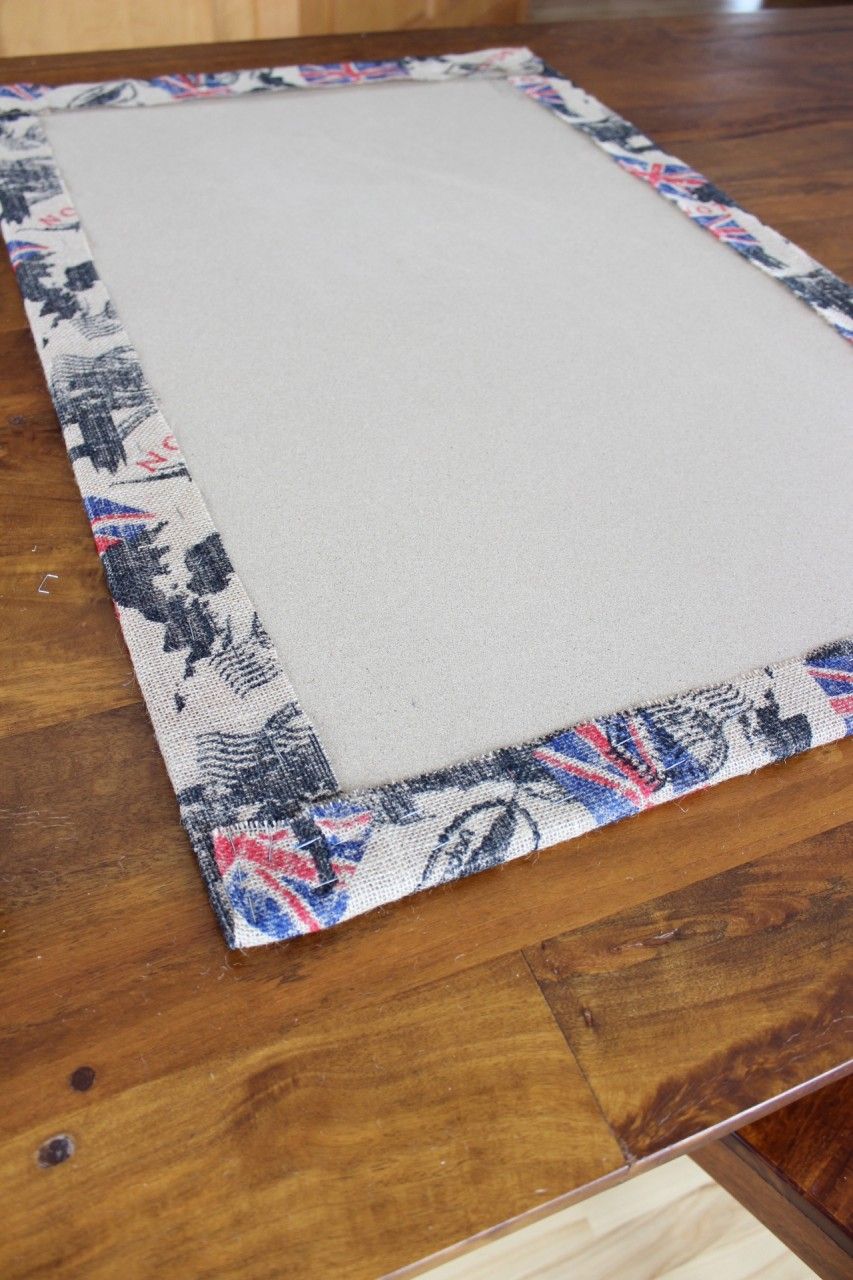
Finish stapling all around. Then, when I felt I probably had enough staples, I did a quick additional row. I also added even more extra ones to the corners. Took me all of an extra 3 minutes and probably cost me less than a quarter for the staples.
Then I flipped it over!
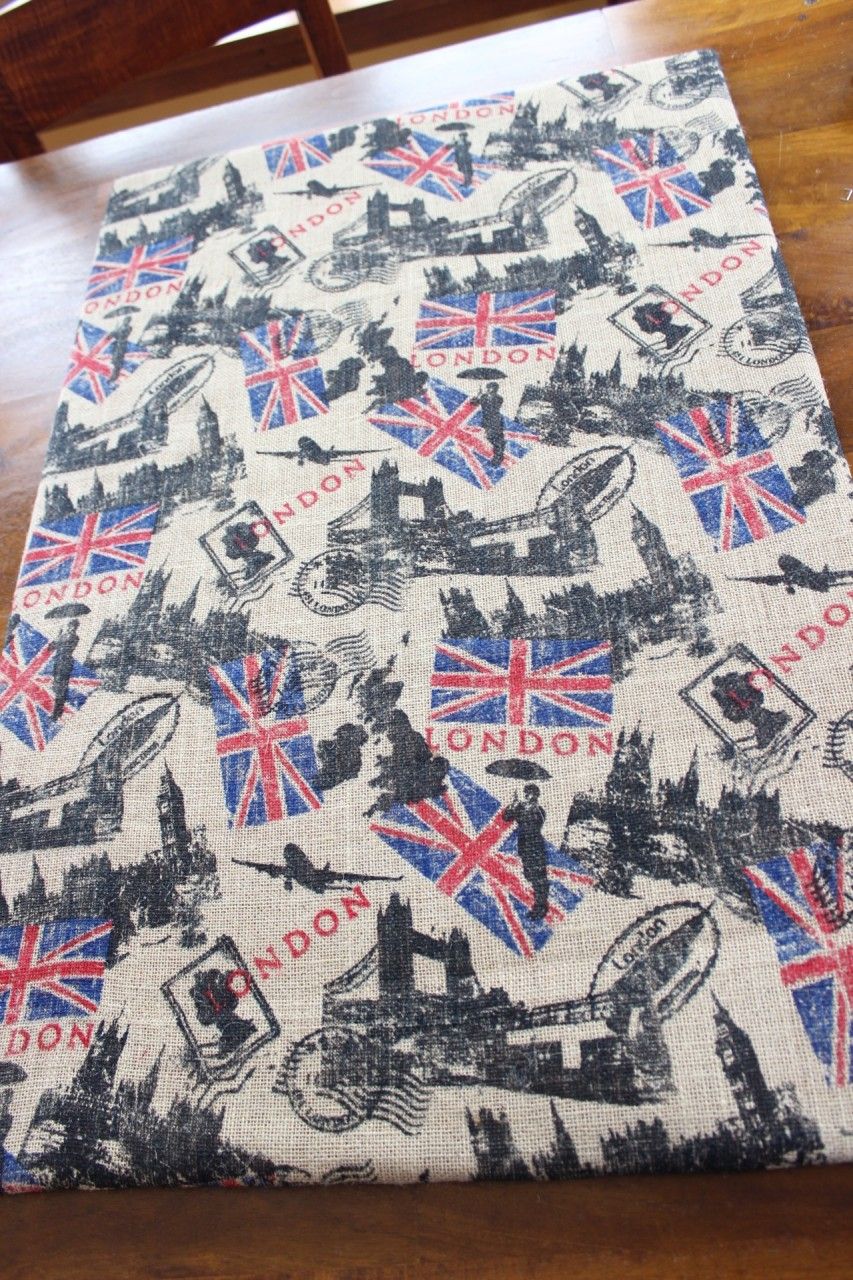
LOVED IT!!
Then I used the Command Strips that are specific to hang up picture frames. I just repainted the walls and didn't want to make holes into them. DO NOT use any cheap two sided sticky things to try to put your bulletin board up on the cheap. This is what happened when I put one on and then tried to take it off!

Looking for super easy delicious recipes? Sign up and I'll send them!
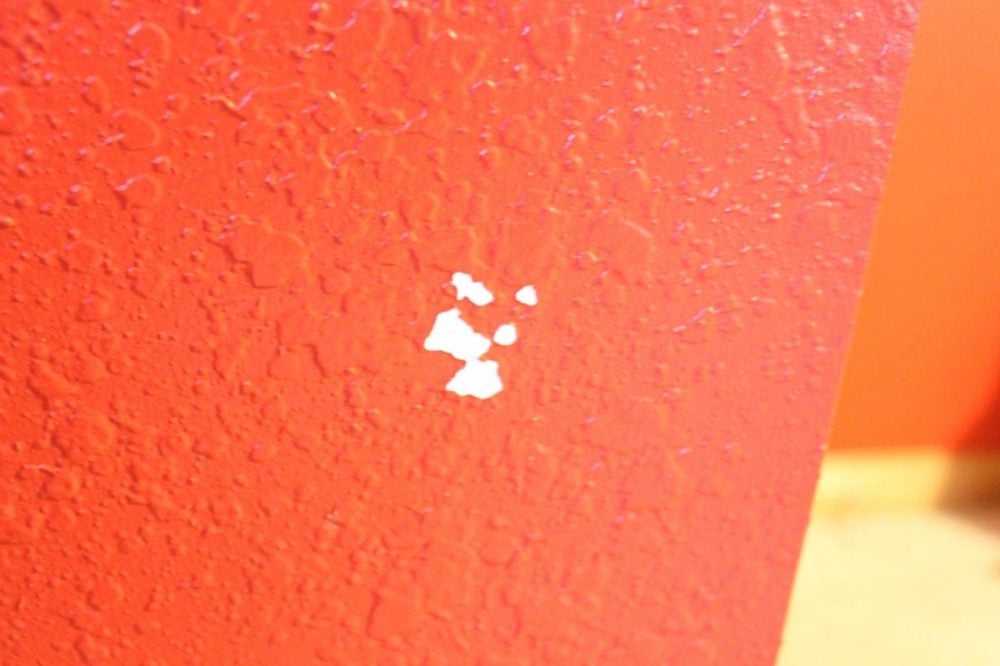
Grumpy! On my newly painted wall!
So far, I have not had a problem with Command Strips. Please let me know if you have.
OK, I followed the directions on the package, pressed the two together, stuck one side on the bulletin board, took the paper off the side that was going to go against the wall and pressed everything tightly on the wall.
Ummmmm, I can honestly tell you it didn't work! The bulletin board fell off the wall. Much to my shock! It fell right off the wall! But, the velcro sticky tapes were still on the wall! Both sides of them.
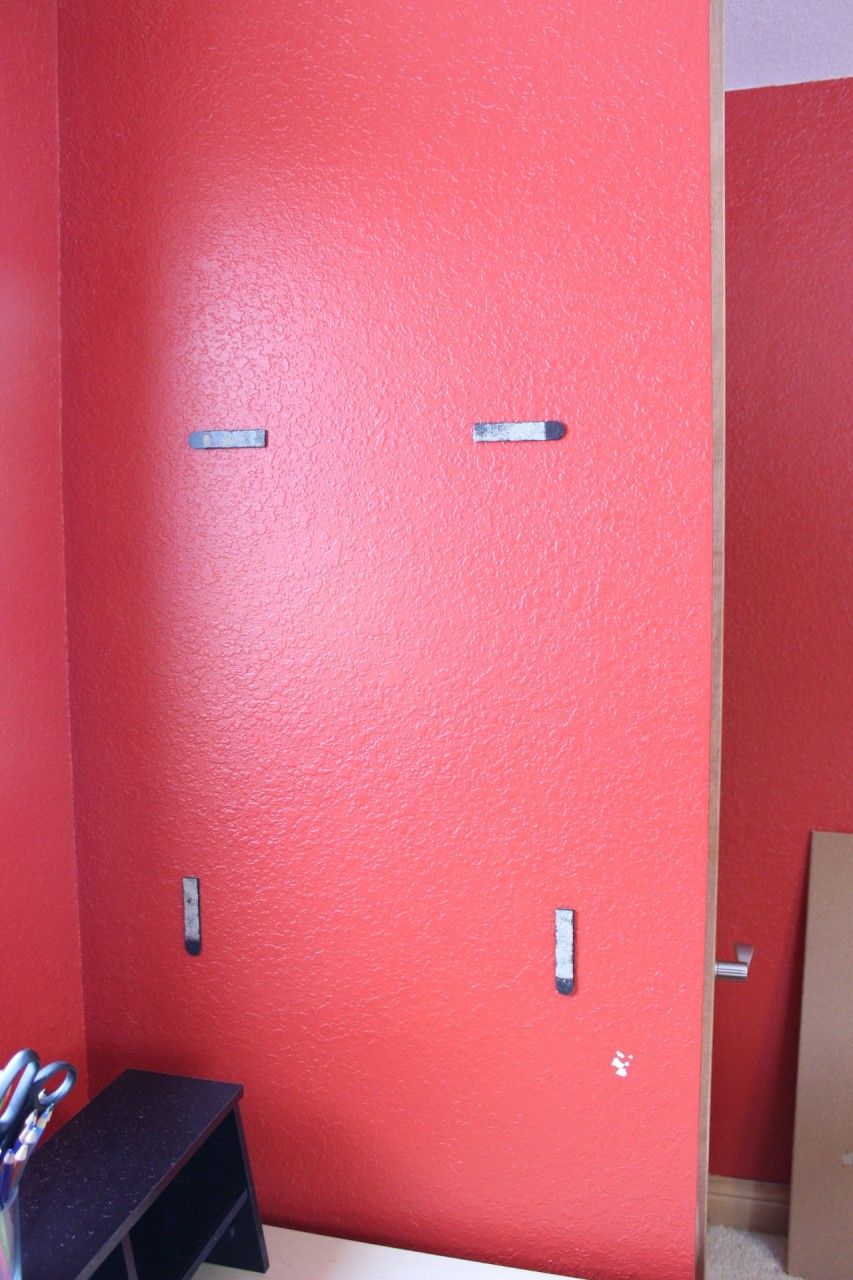
What I noticed was the glue from the command strip had taken off a layer from the bulletin board. OK, this was an easy fix.
I carefully peeled both layers of the Command strips off my wall (they had been on the wall all of 2 minutes). I didn't do the stretch thing, I just peeled the whole thing off because I was going to put them right back on.
I separated the pieces and then stapled the bulletin board side onto the bulletin board.
I then attached the other (wall side) part on and AGAIN pressed the bulletin board firmly onto the wall.
Success! It looked great and it was attached firmly!
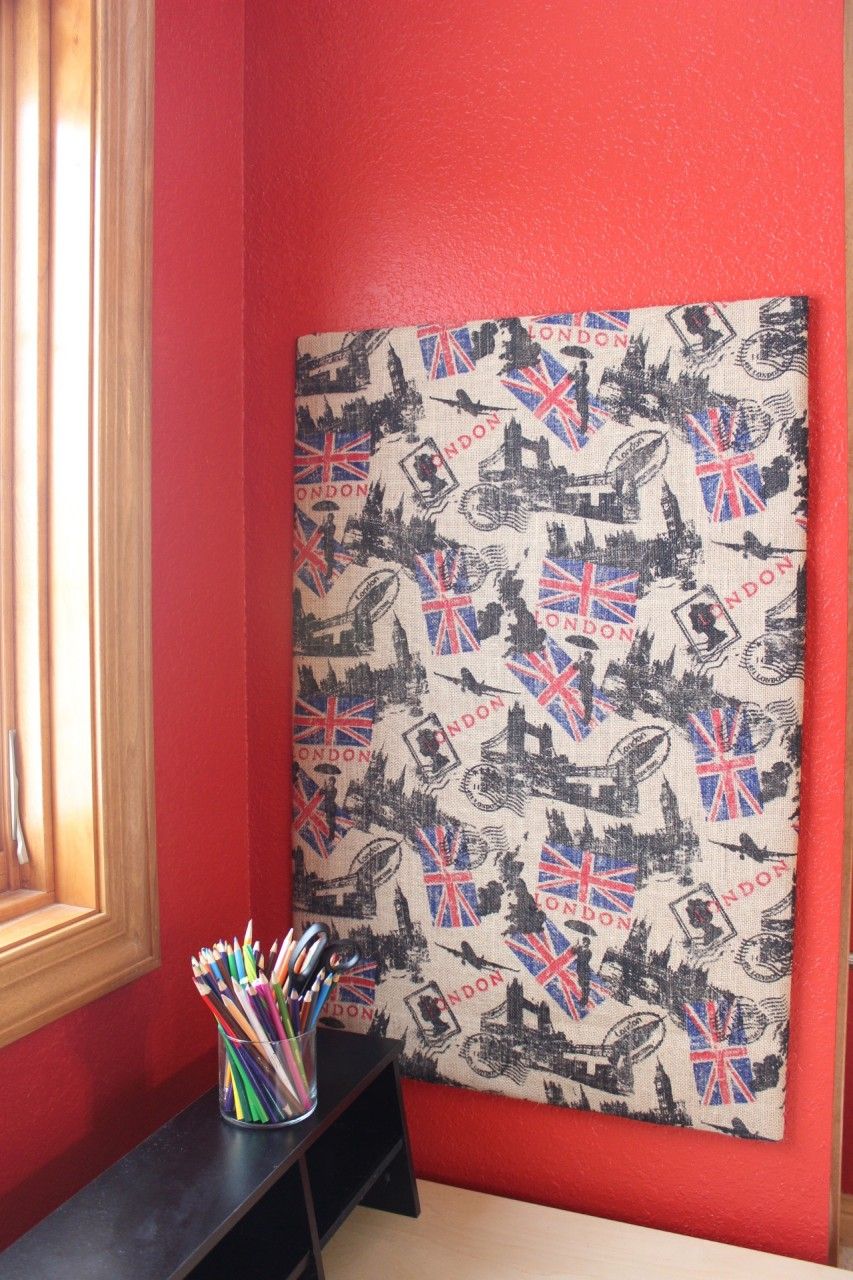
Doesn't it fit perfectly! It's a great size and the London print on the burlap had the red in it and also the black that matched the little shelf on my son's desk. I just love the look!!
Unfortunately, it will all get covered and cluttered :(. Oh well, I guess that is what a bulletin board is for. I can always go back and look at this post and see how great it looks!
There are so many choices of fabrics and patters in fabric and craft stores! Just make sure you know the size of the bulletin board you want to cover and figure out the colors you need.
Easy, inexpensive, functional and appropriate for a boy! Never thought I'd be so excited about a bulletin board. Maybe that's why my teens think I'm weird :).

techlazy.com
This looks amazing and fairly simple to do. I have never made stuffed anything but these look simple enough to try sometime. I love how you made garlic zucchini noodles to go with the dish. That’s my favorite way to eat zucchini noodles. I use my spiralizer weekly. Definitely one of the best birthday gifts I have received.